5-Day Southwest Road Trip in a Camper Van
So you’re interested in visiting the great southwest? Whether you live on the other end of the country (or the world), or you’re a local to the area, the southwest never gets old; the towering mountains, stunning red rock structures, warm weather, and adventures without end. There are a number of routes to take and places to stop it’s hard to choose what to do. I will be reviewing my 5-day southwest road trip from Phoenix, Arizona to Ouray, Colorado and back.
Disclaimer: This post is in partnership with Boho Camper Vans.
What time of year should you take a southwest road trip?
The awesome part about this trip is that you can visit year-round. Due to some possible road closures and dangerous terrain, I do suggest avoiding winter for this trip. We visited at the end of August. I highly recommend mid to late summer and into fall (mid-October at the latest).
It can get well above 100 degrees in Phoenix, but we quickly left the valley for cooler temperatures. In late August, temperatures ranged from 45-80. If you visit in the summer, realize that afternoon thunderstorms are very common. Luckily, I was told this before the trip and came prepared. Fall is another beautiful time to visit. Leaf colors peak anywhere from late September to Late October and they are radiant.
SUMMARY: Late Summer to Fall
WHERE SHOULD YOU START?
I live in Phoenix, Arizona, so this road trip will start in Phoenix. Phoenix is a very accessible airport. You could also start in Salt Lake City, Las Vegas, Albequerque, or Denver if you choose.
WHERE SHOULD YOU START YOUR SOUTHWEST ROAD TRIP?
I live in Phoenix, Arizona, so this road trip will start in Phoenix. Phoenix is a very accessible airport. You could also start in Salt Lake City, Las Vegas, Albequerque, or Denver if you choose.
WHAT VEHICLE SHOULD YOU TAKE?
There are multiple options for this southwest road trip. If you live locally, you may choose to take your own vehicle. We have a Jeep Wrangler, and thought about taking it.
If you live out of state and are flying in, you could choose to rent a car from the airport and book hotels along the way. I don’t recommend taking these rental cars on any dirt roads however. This option is fine, but it limits what you can do and it’s hard to plan hotel locations if plans change.
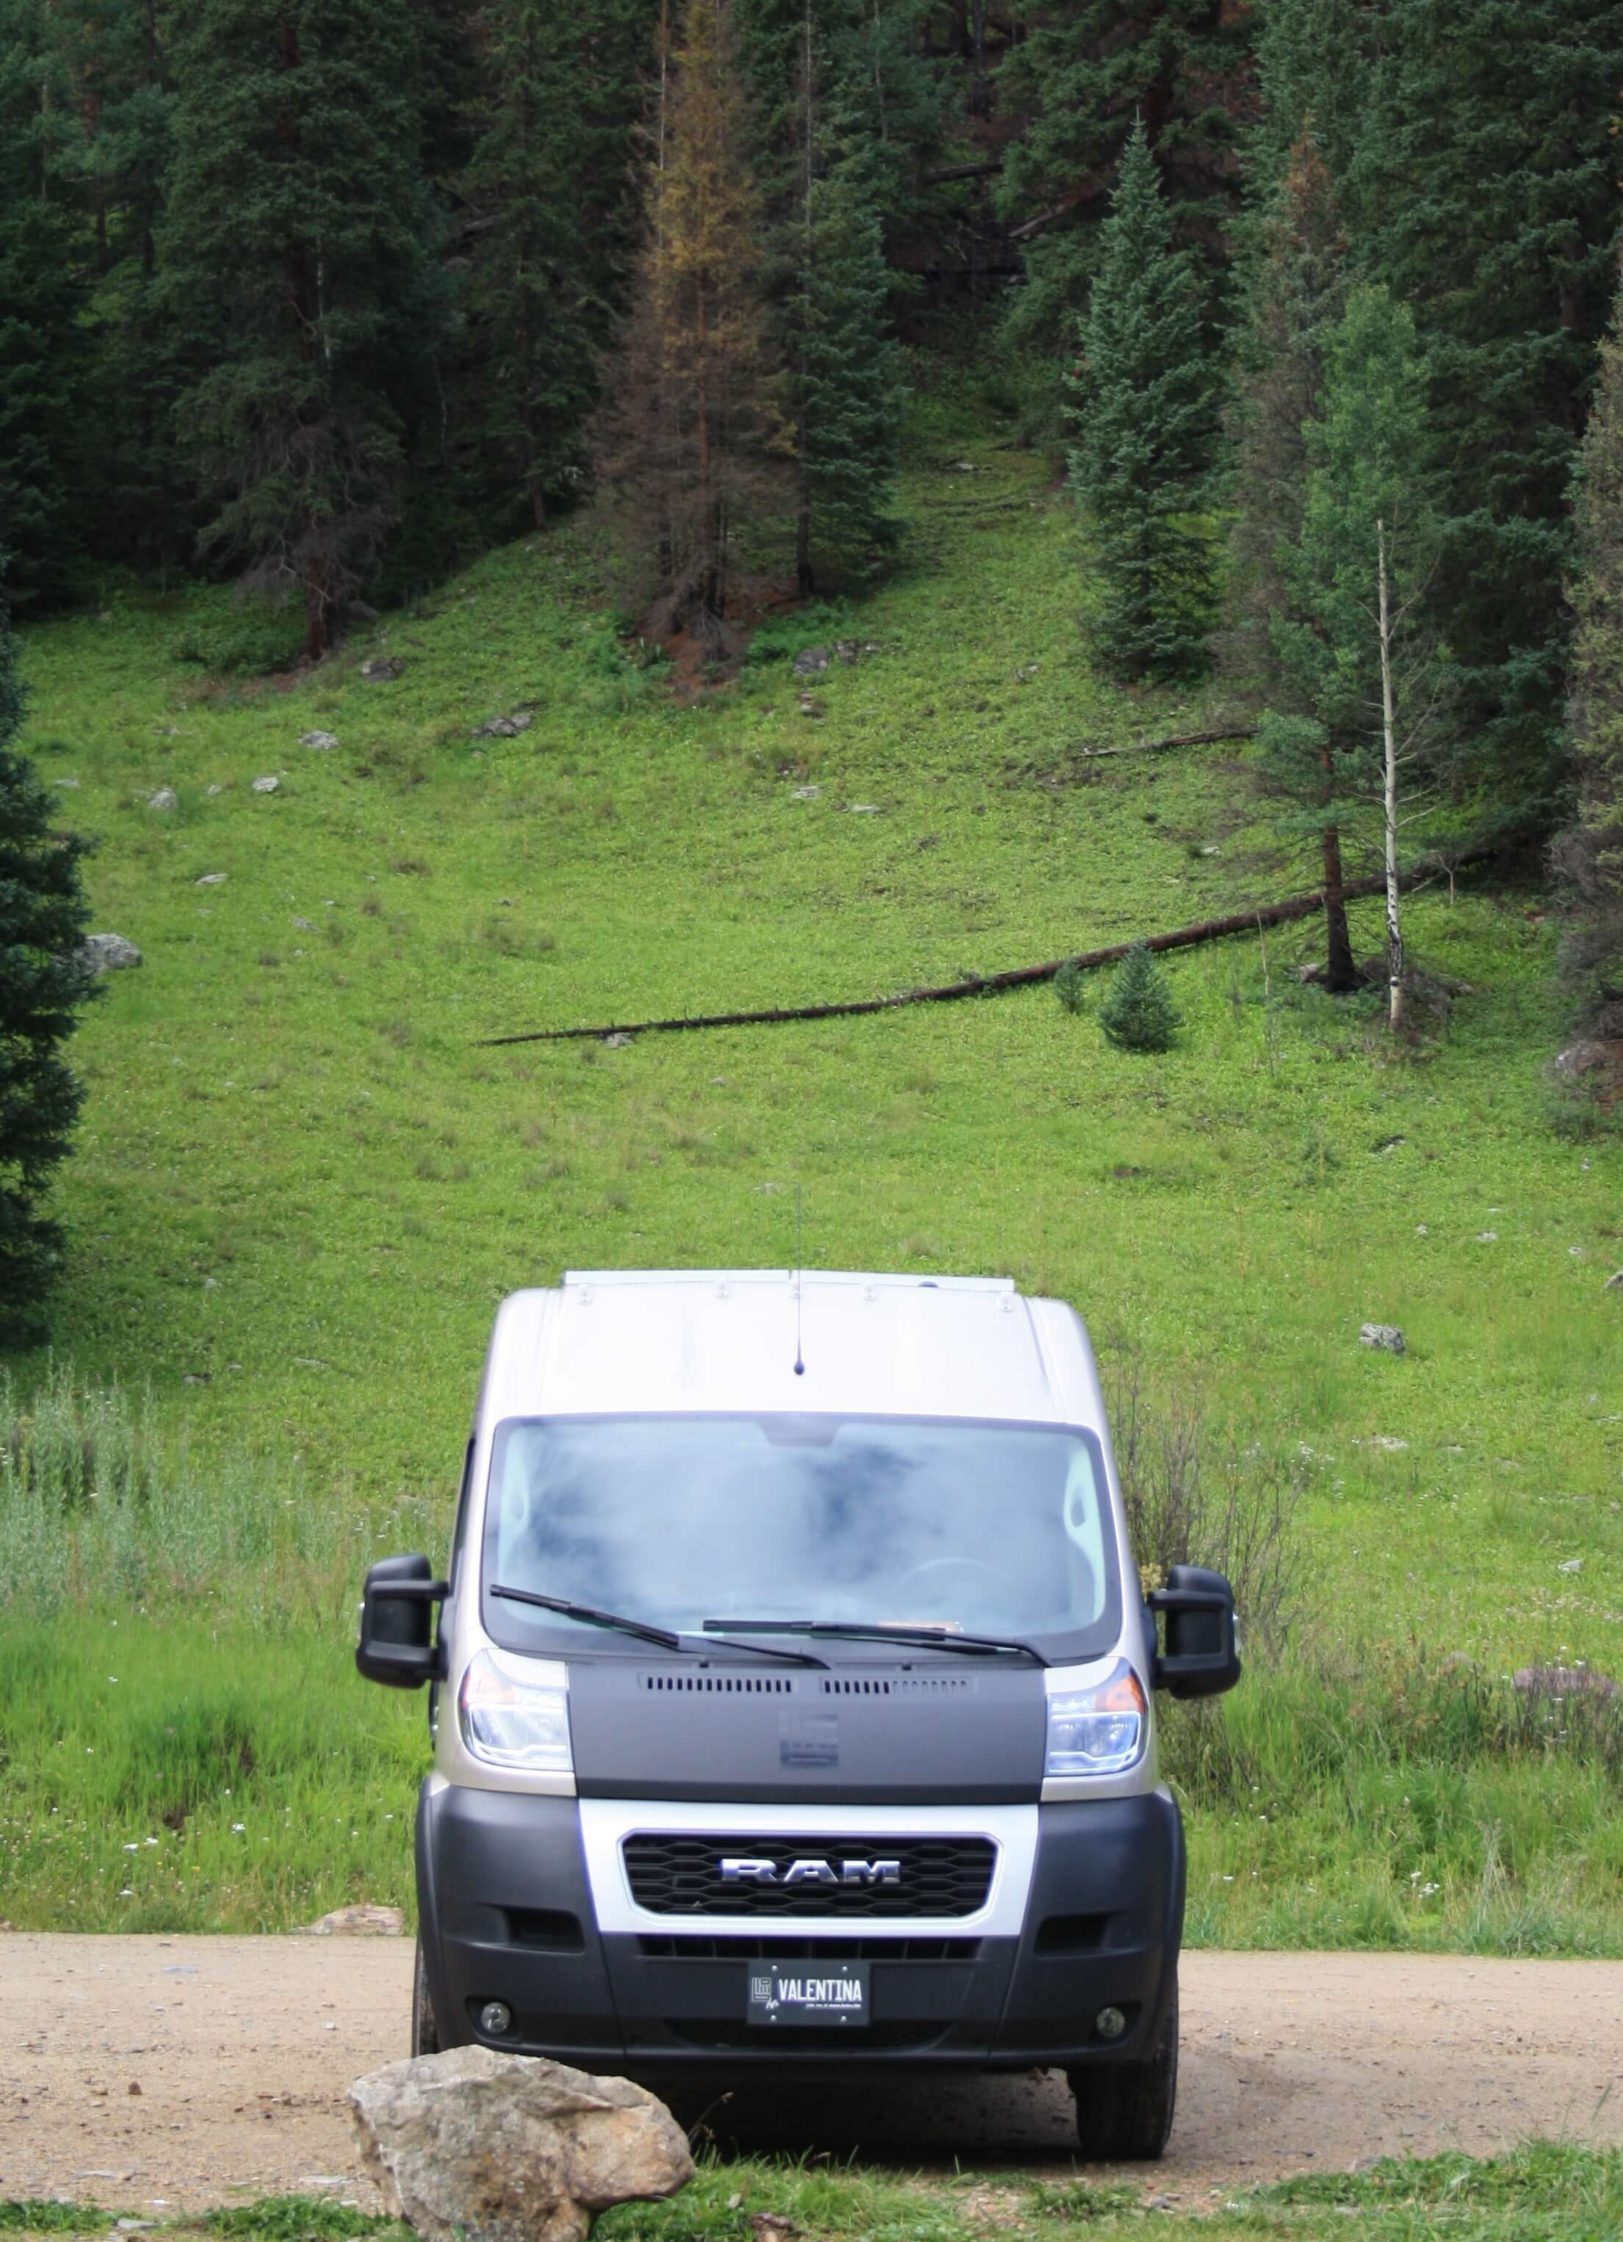
My favorite option, and the one that I choose, was to rent a camper van with Boho Camper Vans. This way, you can be spontaneous and change plans as necessary based on weather and other circumstances. At approximately $200 a night, it’s about the same price as any half-decent hotel, but with a van, you wake up with some of the best views in the country. If you live nearby and want a camping road trip experience but don’t have all the gear, Boho Camper Vans is also the perfect option for your southwest road trip because they provide everything you need.
Even better, they’re located only 3 miles away from the airport. An Uber would probably cost you less than $20! It’s truly the perfect setup for locals and people out of state alike.
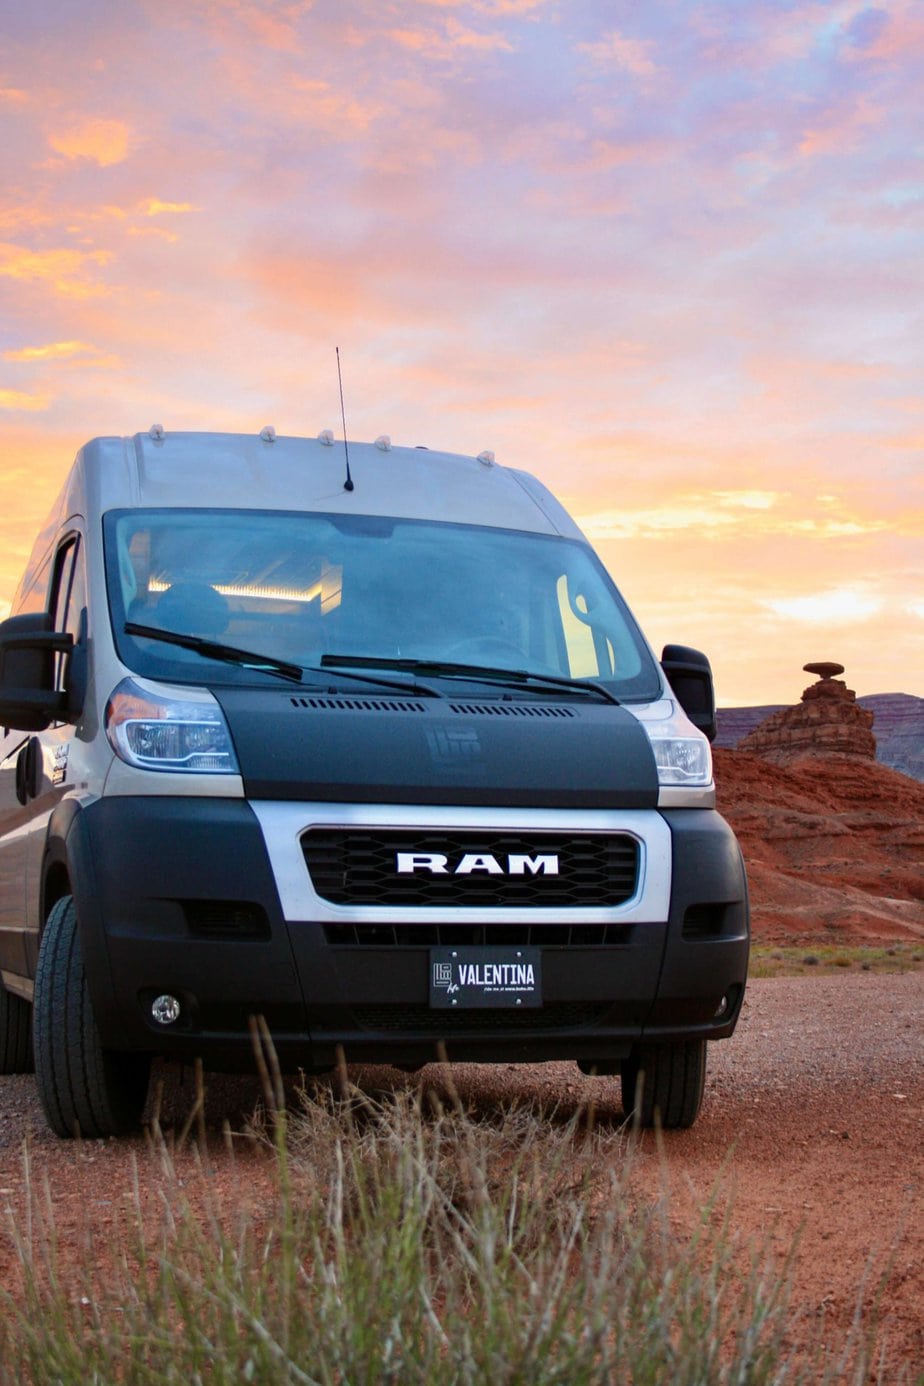
WHAT YOU CAN EXPECT FROM BOHO CAMPER VANS ON YOUR SOUTHWEST ROAD TRIP
As I mentioned beforehand, Boho Camper Vans is the perfect rental for a southwest road trip. I know it’s hard to prepare for a van trip and know what to bring and what to expect- I felt the same things. You can read a full list of supplies available on the rental section of their website (I linked the car Valentina that we drove), but I will give you a summary here.
THINGS THEY SUPPLY
- Kitchen Supplies: Coleman Stove with propane, dishes for 2, french press, pots, pans, etc
- Bedding/Linens: Full-size bed with bedding and towels for showering
- Cleaning: Cleaning spray, paper towel, toilet paper, towels
- Features: Sink, Hot Shower, Small fridge with freezer shelf, empty cabinets for storage, matches, mirror, curtains for all windows
SUMMARY: FULLY STOCKED!
THINGS YOU SHOULD BRING
- Food: You can grocery shop before or after picking up your van- we were ready to get out of town so we shopped beforehand. We brought some fresh food and some freeze-dried backpacking meals.
- Clothes: for Colorado I recommend rain gear!
- Adventure Pup: Boho Camper Vans are dog-friendly!
SUMMARY: Truly the van is packed with everything you may need.
DAY 1: PHOENIX to MONUMENT VALLEY
Okay, let’s get into our Southwest Road Trip Itinerary. On the first day, we picked up our camper van at 11 am. The typical pickup time is 1 pm. Be aware, that the process of picking up your van takes about an hour. They are very detailed and thorough and they help you understand how to use and drive the van. You’re allowed to park your car there overnight if you choose- we did and it was just fine.
Once we got all set up, we grabbed lunch and headed up towards Monument Valley. First, we stopped in Flagstaff, Arizona to get some gas. If you’ve never been to Arizona before, you may choose to add a day here to see Sedona or the Grand Canyon.
Click here to be directed to my Arizona page where you’ll find numerous posts on Sedona and the Grand Canyon.
In summer, sunset is around 730 so we had to book it. We had plans to drive the scenic drive in Monument Valley and take some photos before heading up to our campsite.
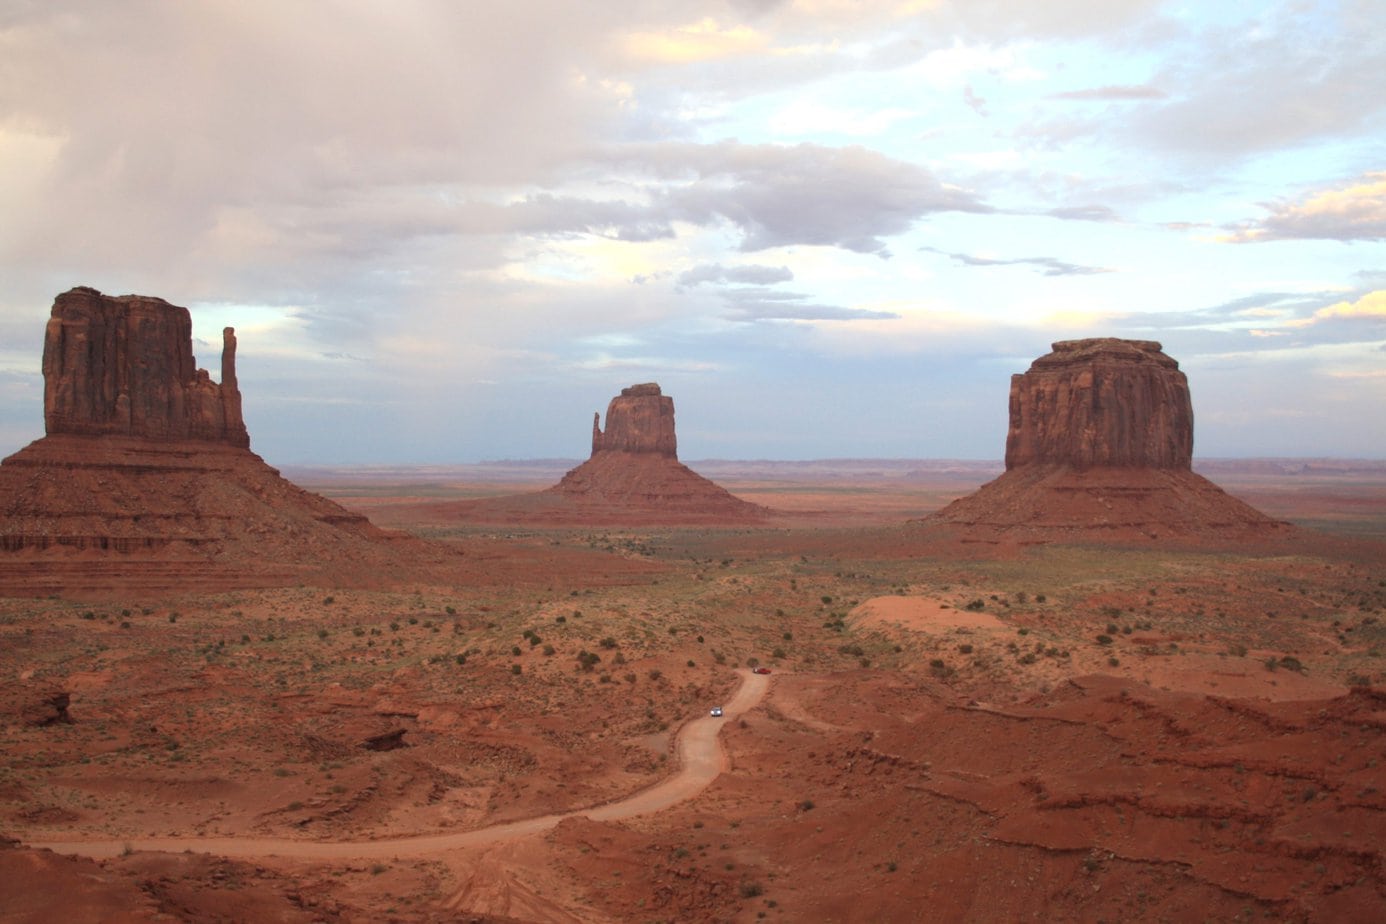
MONUMENT VALLEY
Location: Utah-Arizona Border, Route 42, Oljato-Monument Valley, AZ 84536
Summer Hours: (March-August): Park Hours 630-730, Drive Hours 630-5
Winter Hours: (September-February): Park Hours 8-4, Drive Hours 8-2
Features: Gift Shop, Restaurant, Hotel, Campground, Scenic Drive, Tours
Dog-Friendly: Yes
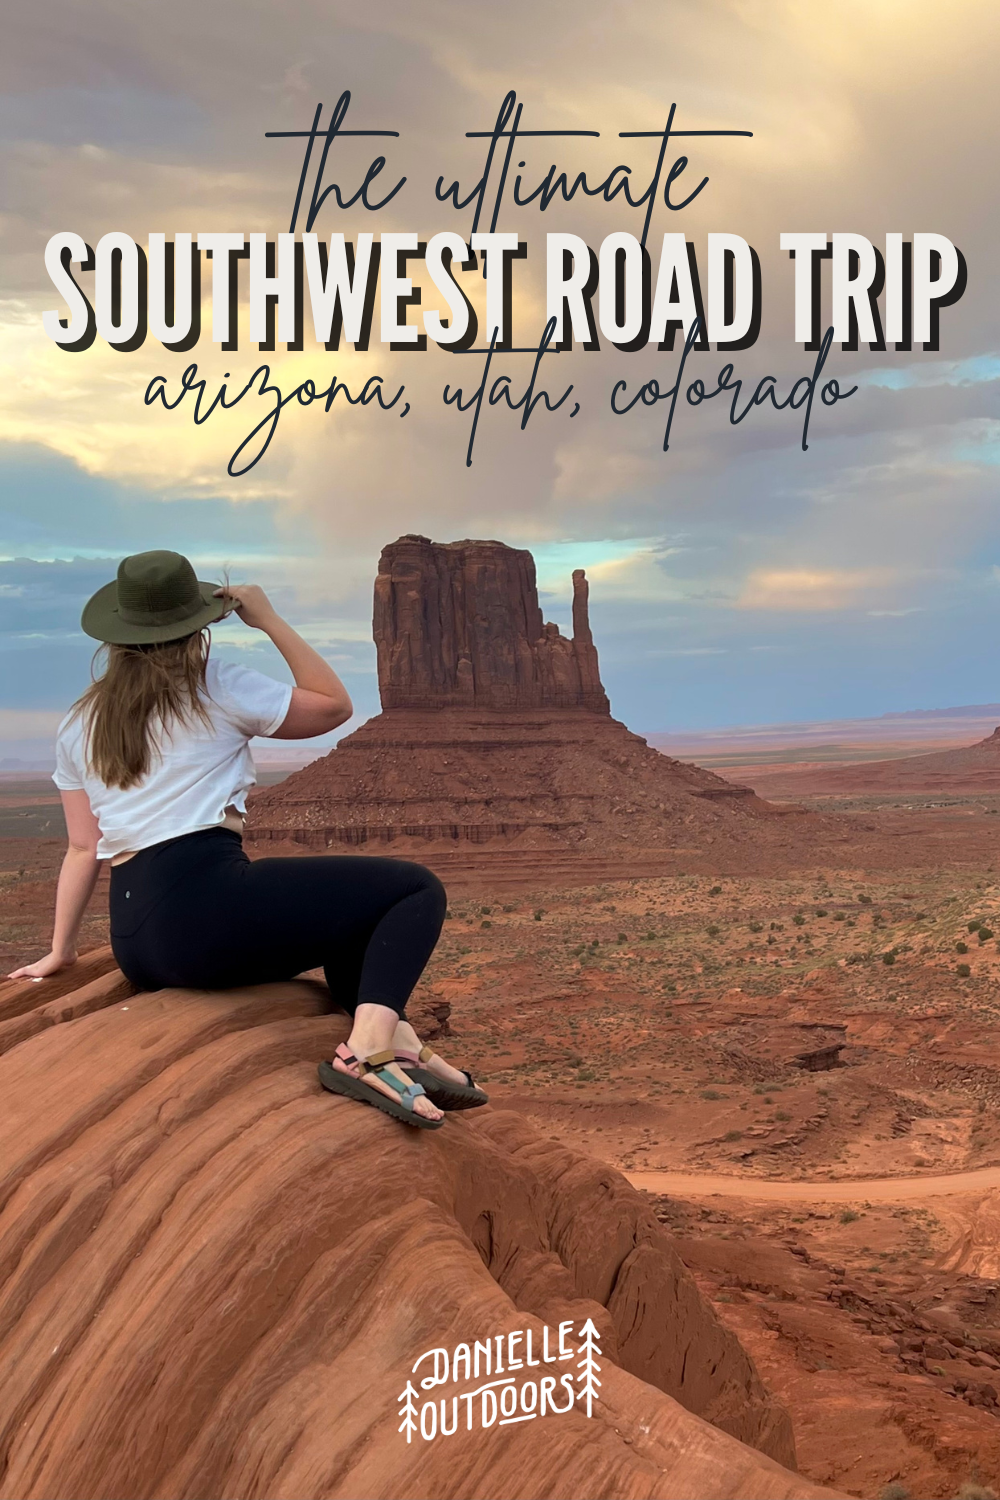
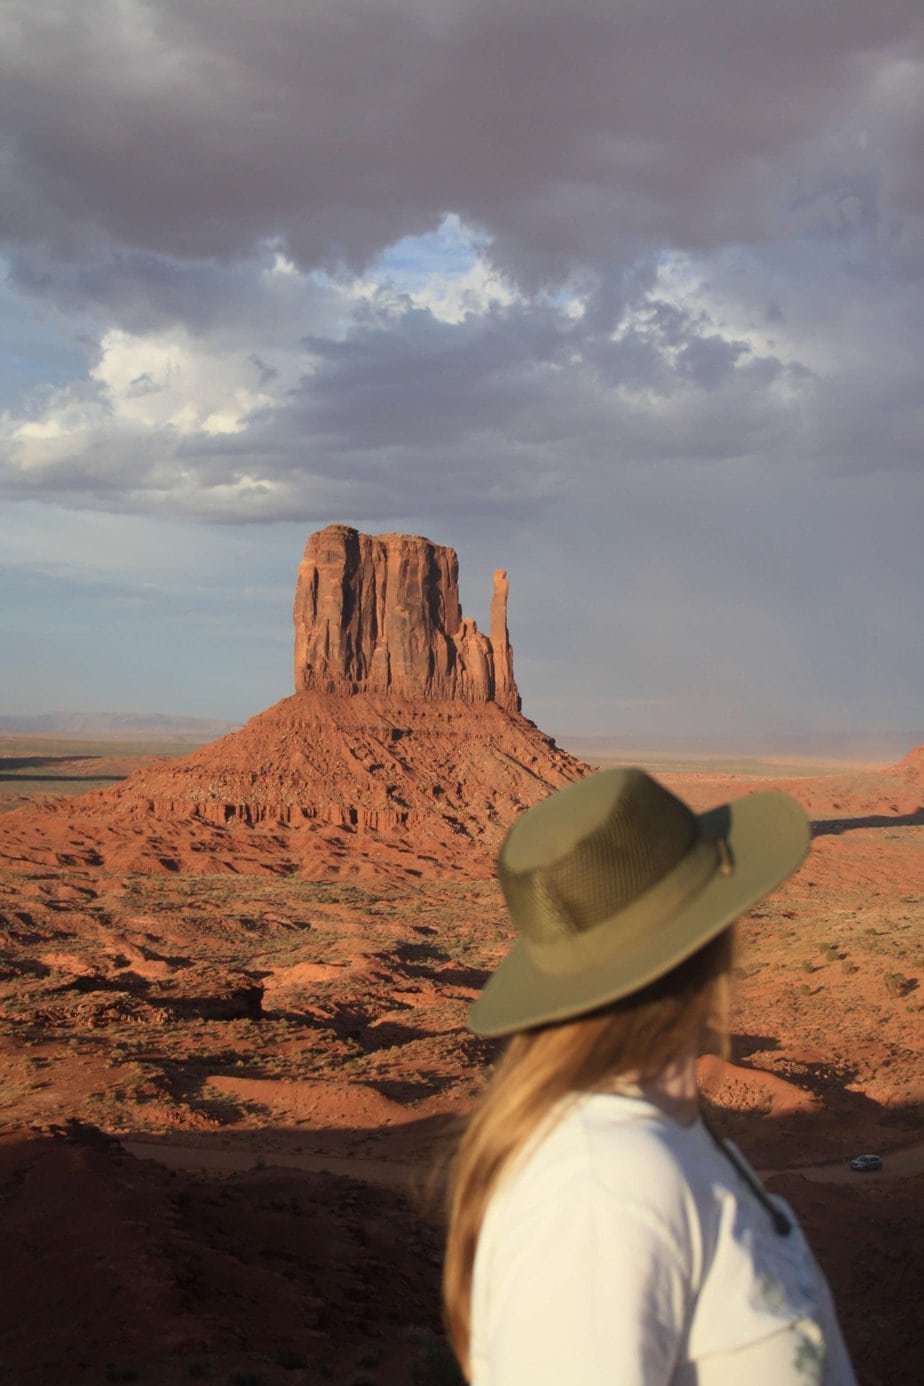
Monument Valley is definitely a must-see on your Southwest Road Trip. Keep in mind, that if you’re driving from Phoenix, you may have a time change to Monument Valley (Arizona doesn’t change time zones, but Navajo Nation does). There is a 1 hour time difference if driving there in the summer season.
Due to the time change, we didn’t get to the park soon enough to do the scenic drive, but I have done it before (actually in winter). It is 17 miles long and has multiple stops and viewpoints. There are also handmade Navajo gift shops- I bought one of my favorite pots from here. I highly recommend stopping by John Ford’s point. Sedans can drive on this road- it is bumpy at times but not significantly.
We choose to sit at the lookout and watch the sunset. You still get an incredible view from here, but it is much busier. This area attracts visitors worldwide. In my experience, people can be selfish with taking pictures and were really rude to us and it took the joy out of enjoying the view.
SUMMARY: Make time to do the drive- there are fewer people and you get to be up close and personal with these beautiful rock structures.
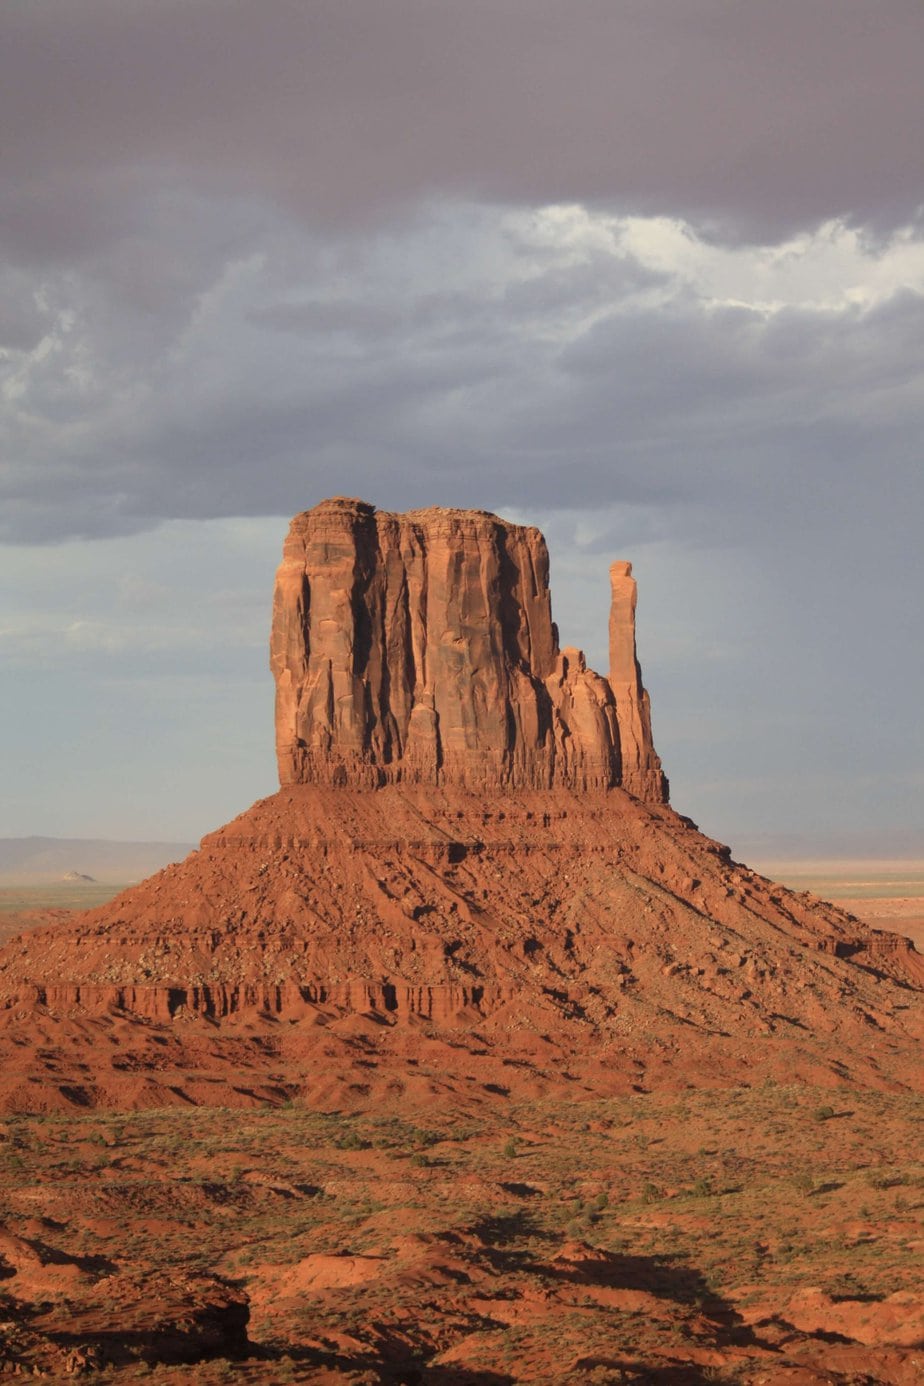
View from Gift Shop
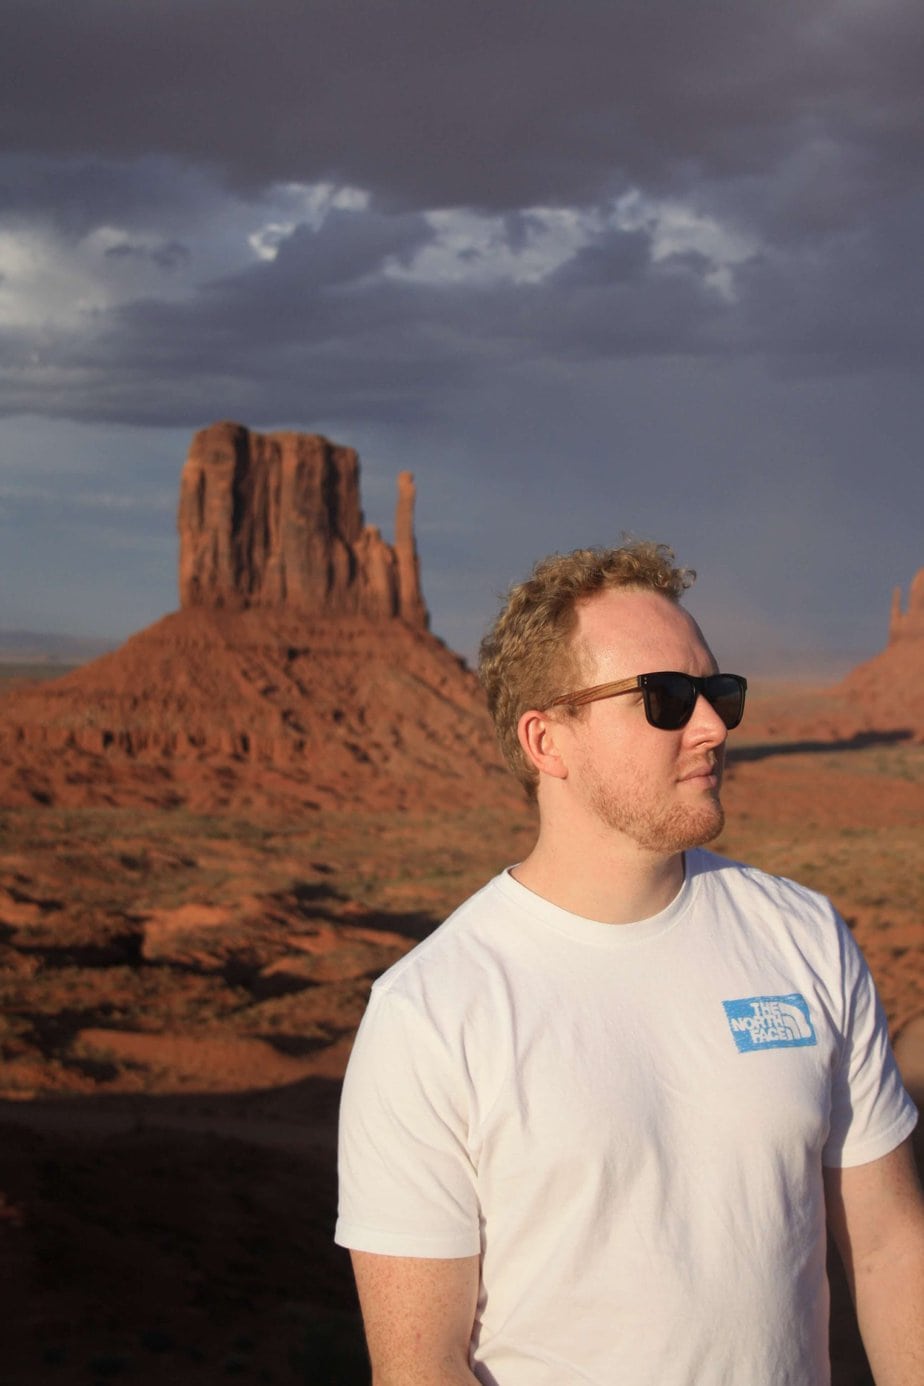
View from Gift Shop
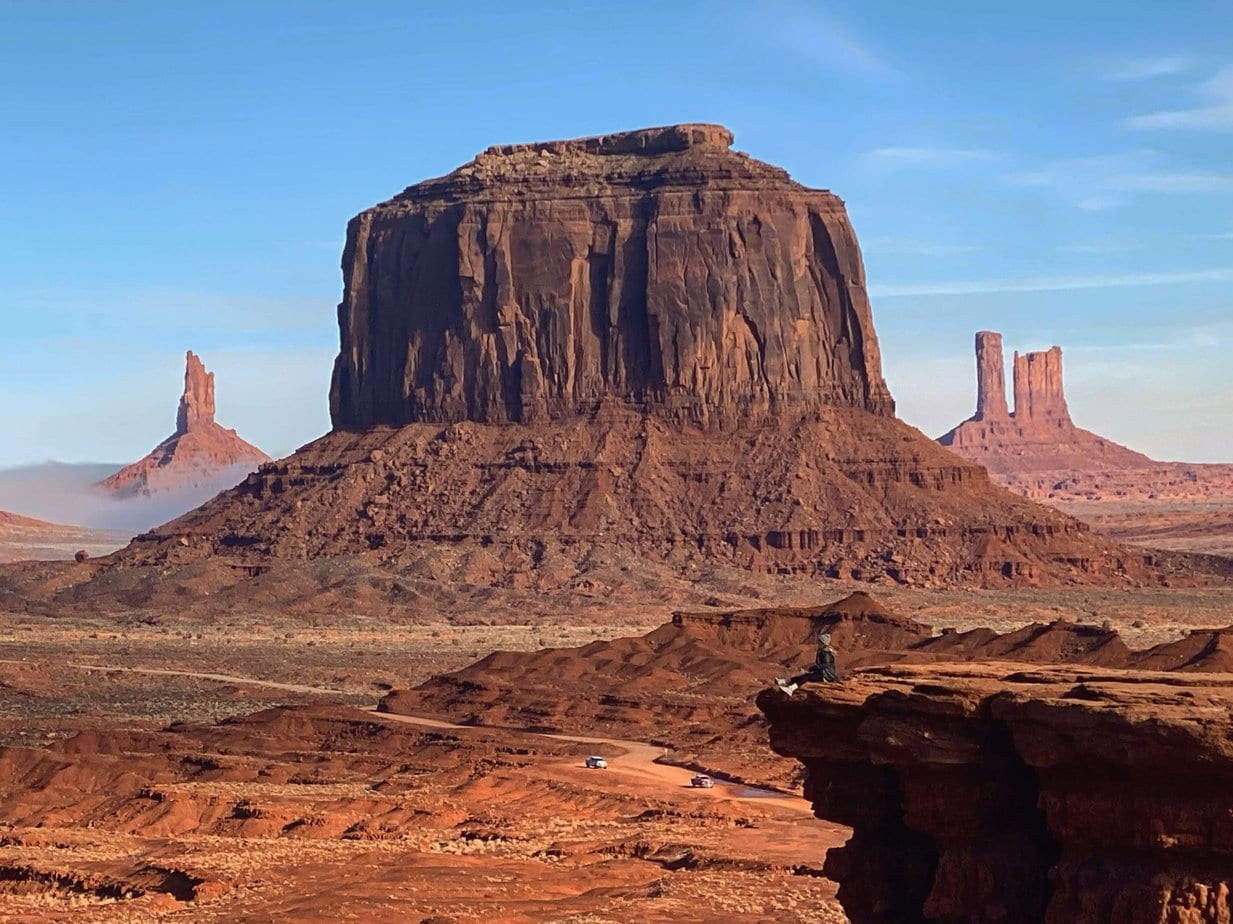
John Ford’s Point
NIGHT 1 CAMPING- MEXICAN HAT, UTAH
After our short visit to Monument Valley, we headed up towards Mexican Hat to camp. First, we had to make a stop on our Southwest Road Trip to Forrest Gump Point. This is the exact spot where Forrest Gump stopped running in the movie. It’s a beautiful road overlooking the valley. Use the GPS coordinates 37°06’09.5″N 109°59’21.1″W to find it. It’s about 16 miles or 19 minutes north of the park. I’m sure you’ll see many people hopping out into the middle of the road taking photos. It was really dark when we visited on this road trip, so this photo is one from a prior trip.
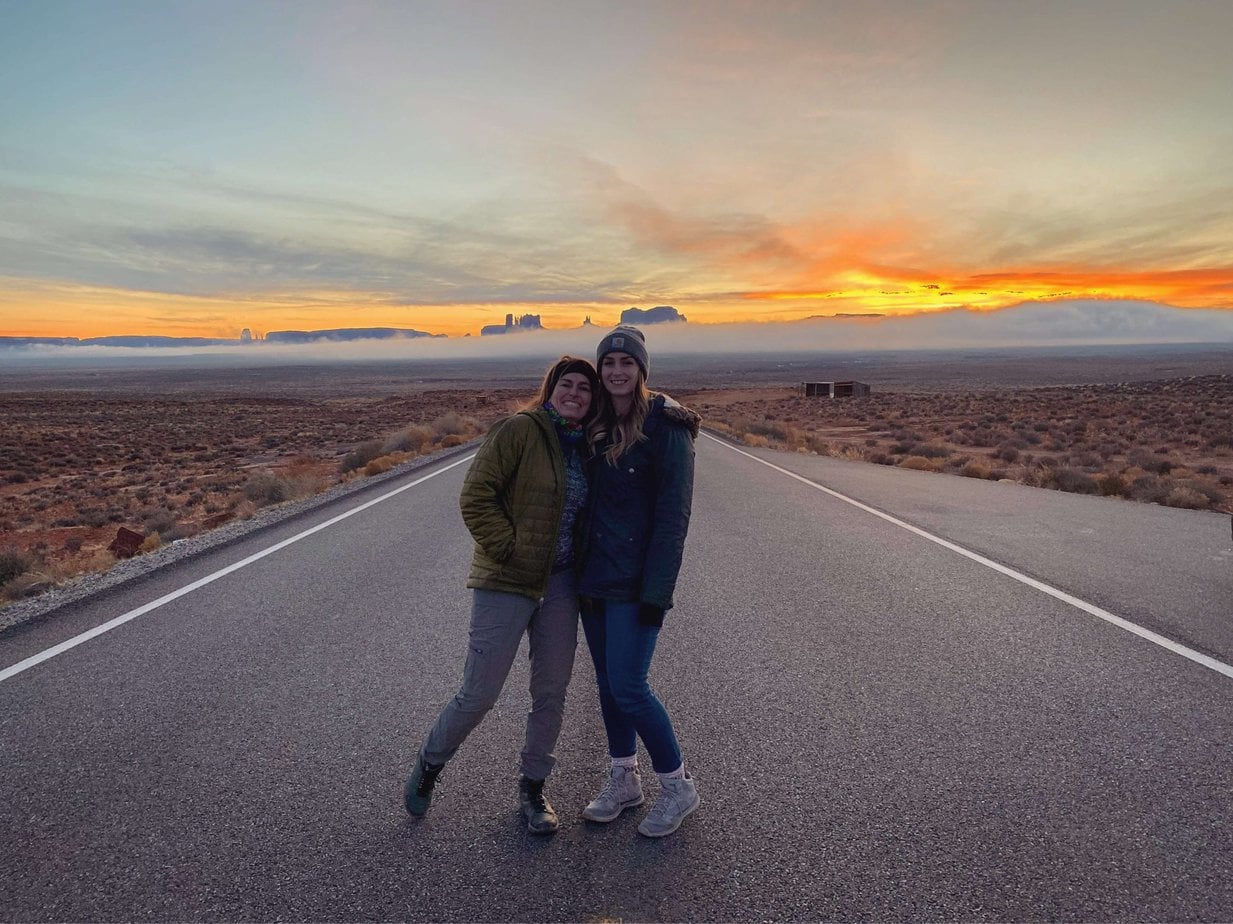
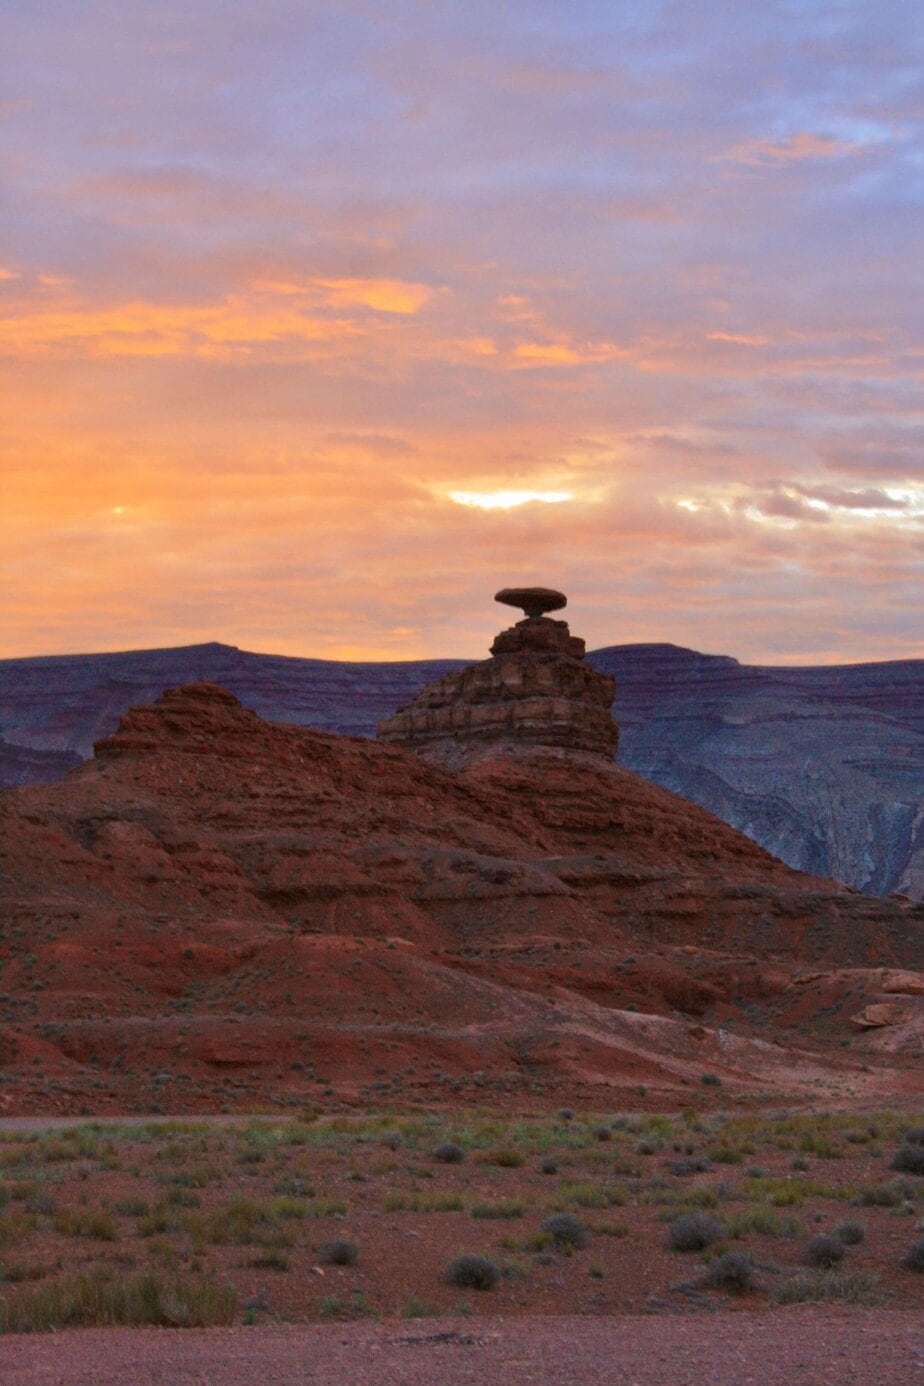
Continuing on 11 miles north of Forrest Gump point is Mexican Hat road. This dirt road continues a few miles back to a stream. Regarding the name, there is actually a rock that looks like a person wearing a sombrero and a poncho, kinda goofy. We camped pretty close to the highway but didn’t hear noise throughout the night. Make sure to bring a light so you can cook in the dark! This camping is free and dispersed with no resources- my favorite (no sarcasm here).
Other options for lodging/camping:
- Goosenecks State Park: $10 camping, 35 miles/ 50 minutes north of Monument Valley, less than 10 spots, first come first serve, open 24/7
- Sleeping Bear Campground: 13 mile/25min north of the park, $20, run by a local
- Goulding’s Lodge/Camping: $30-50 for tent/RV sites, has groceries, restaurants, etc- 6 miles/10 min west of the park
- The View Hotel/Camping: $50-60 for tent/RV sites, in the park
- KOA Monument Valley: $50 about 6 miles/10 min west, a bit north of Goulding’s
DAY 2: MONUMENT VALLEY TO DURANGO
BREAKFAST IN MEXICAN HAT, UTAH
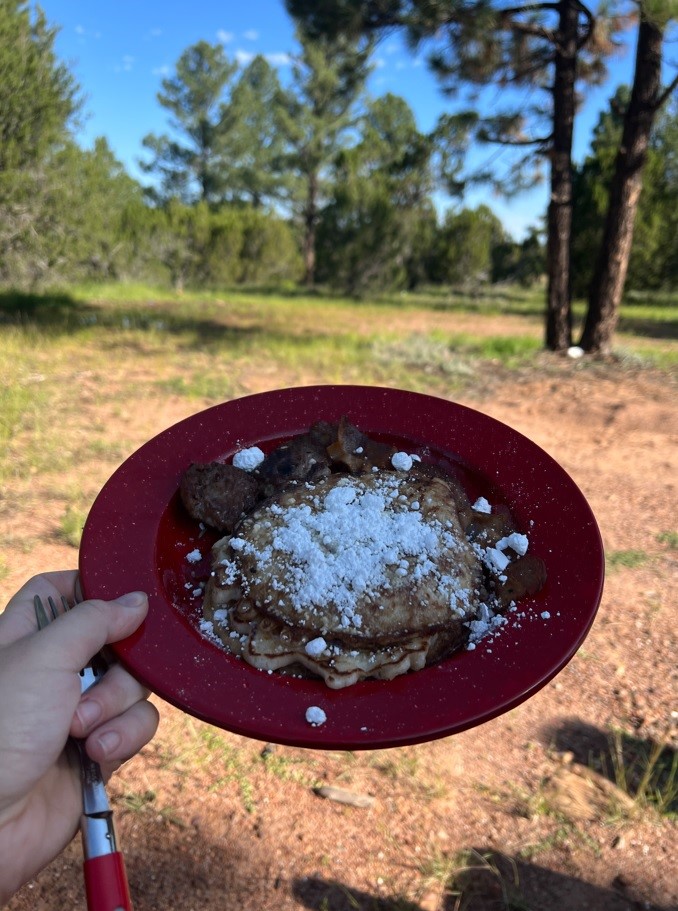
On Day 2 of our Southwest Road Trip, we woke up in complete solitude in the middle of the warm desert. Waking up in a van has its benefits- simply hop out of bed, open the trunk, grab your kitchen equipment, and get cooking. The fridge makes it easy to store things like butter and syrup, to make our delicious pancake breakfast!

VISIT GOOSENECKS STATE PARK, UTAH
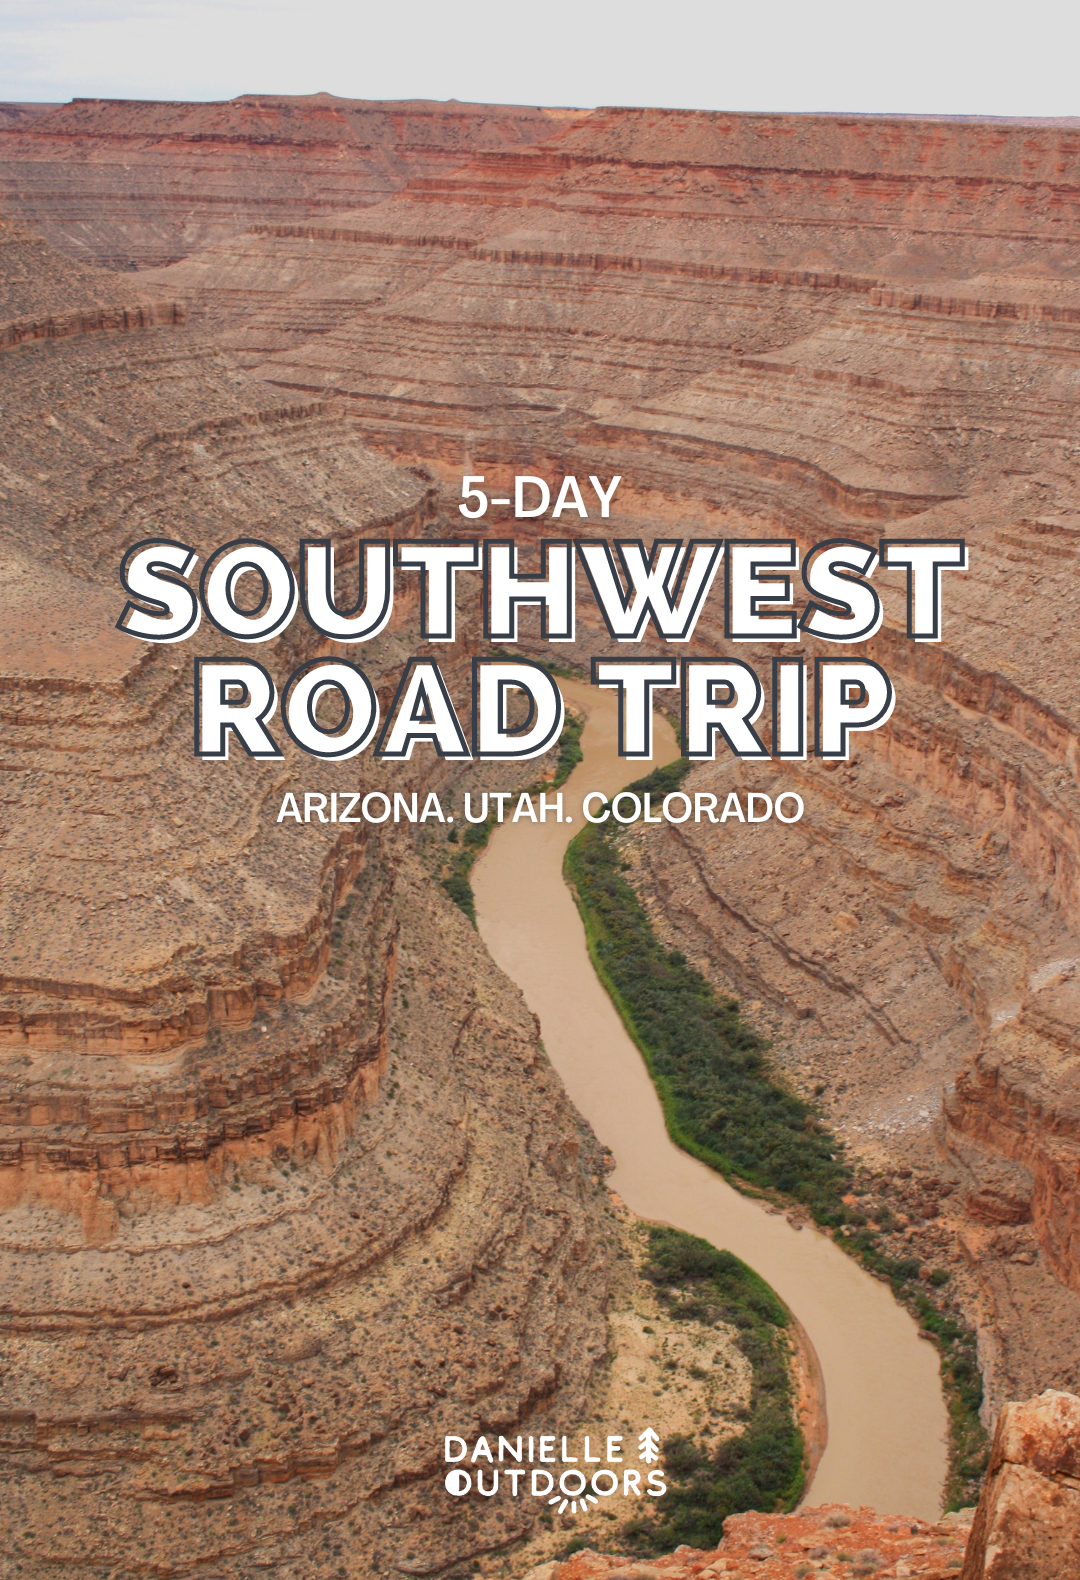
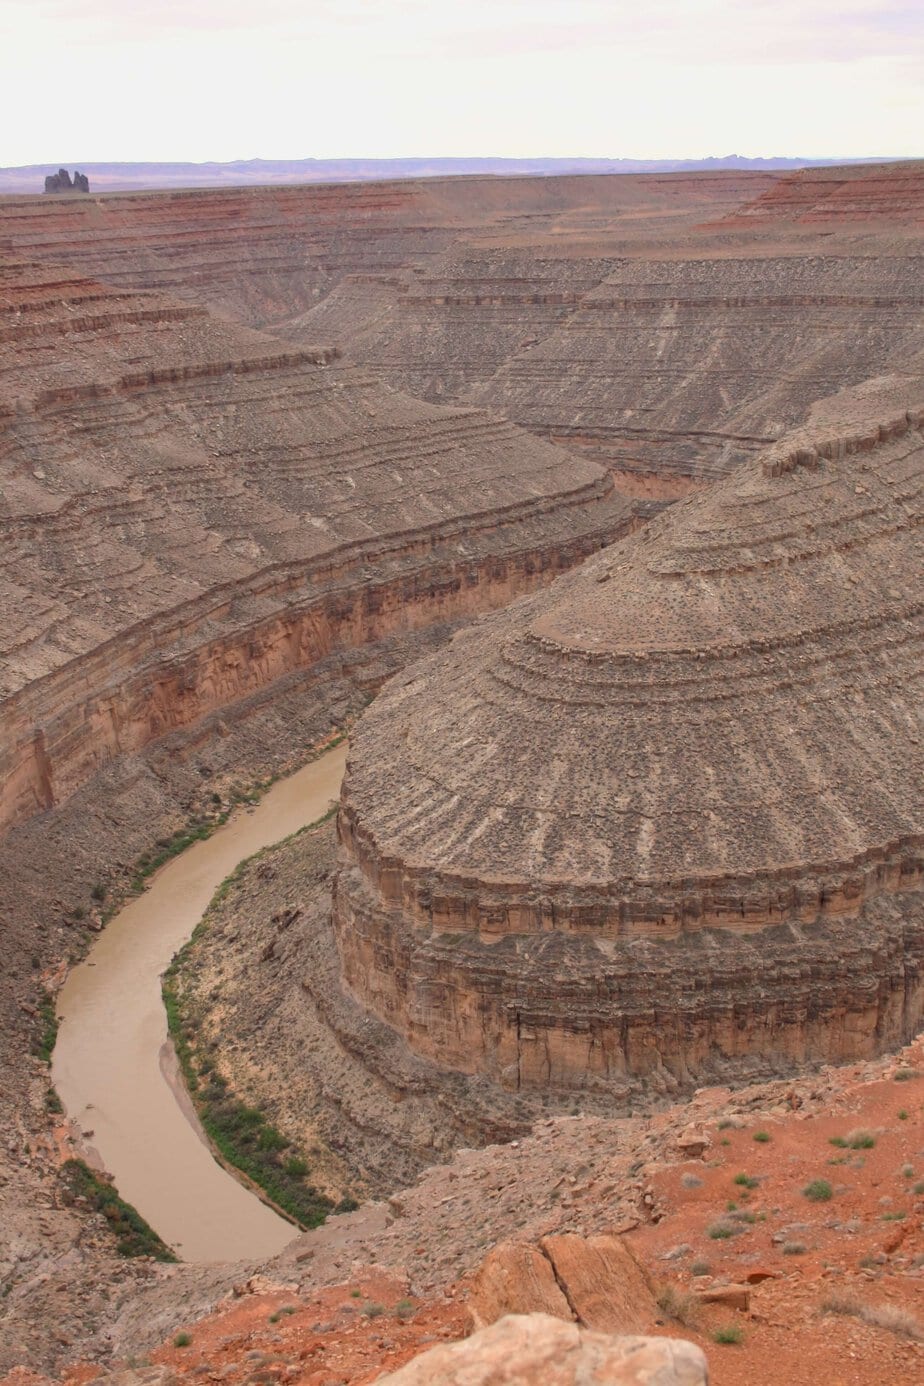
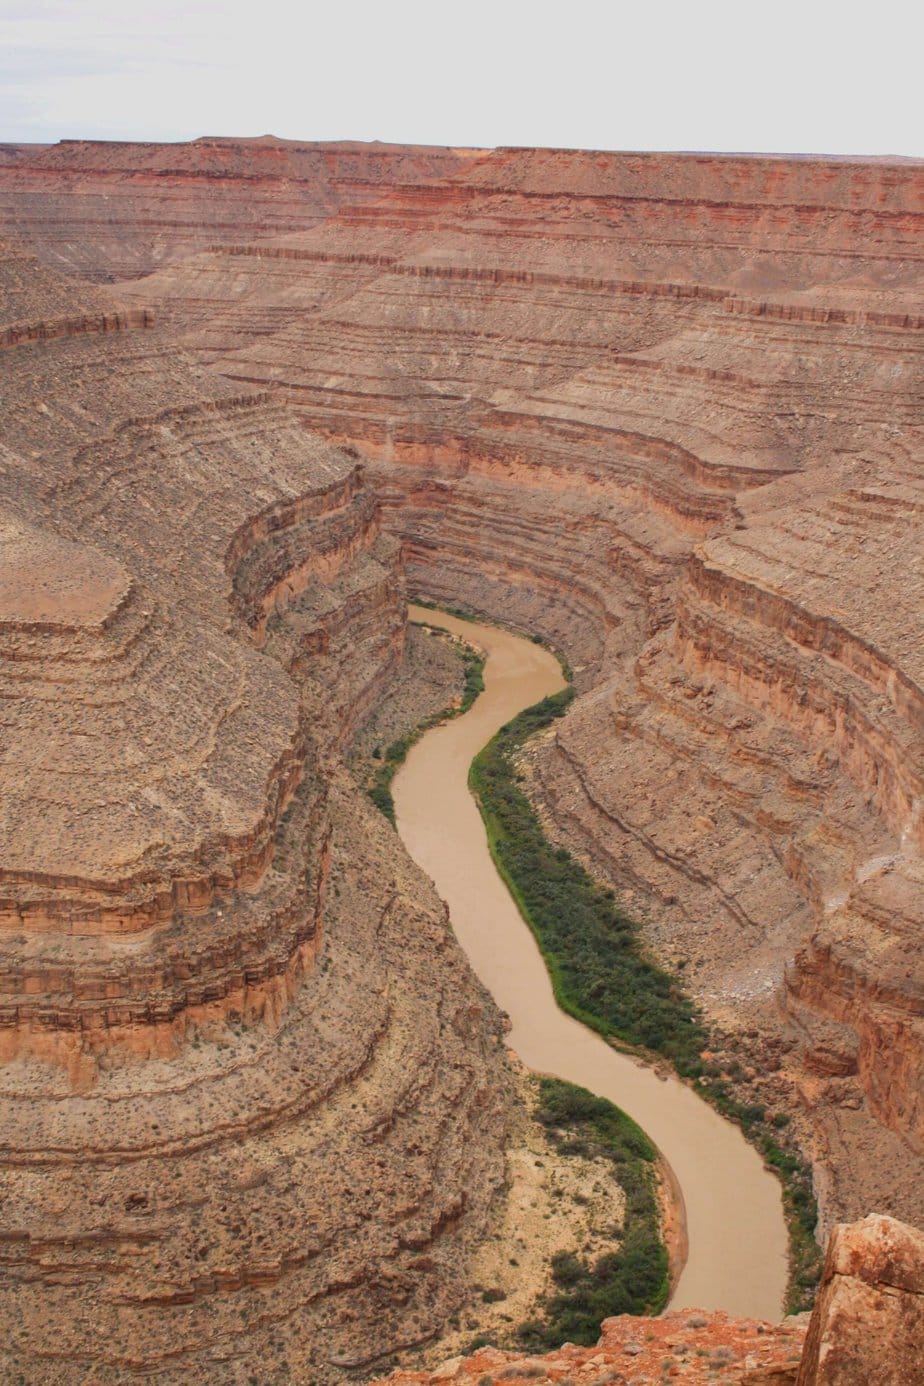
After packing up (doesn’t take long in a van!), we headed towards Durango. First, we made a quick stop at Goosenecks State Park since it was only 10 minutes away from Mexican Hat. It costs $5 to get in (pay online ahead of time or bring cash), and the park is very small so you can easily stop and take photos in less than 30 minutes.
Goosenecks State Park is beautiful too. People have said it’s like Horseshoe Bend without the crowds. I would agree (to some extent). There are multiple horseshoes here which is cool. The water is brown and so are the rocks, which vary from the red rock and blue water of Horseshoe Bend. I’ll be honest, Horseshoe Bend is still way cooler, HOWEVER, I loved visiting Goosenecks State Park. The park was so quiet and peaceful and still beautiful. If I would have known how close the campsites were to the edge, I would have camped here instead of Mexican Hat.
GOOSENECKS STATE PARK TO DOWNTOWN DURANGO
Up next on our Southwest Road Trip: visit Downtown Durango, Colorado. This drive was an easy 2 hours and 40 minutes from Goosenecks State Park.
If you’re wanting to see more of Utah on your road trip, consider reading this post.
It was so fun to see the landscape change rapidly from dry red rock to thin brush to tall mountains and flowing rivers.
When we get to a new area, we love to explore a few local shops and get some food in the downtown area. I’m obsessed with souvenirs that blend into your normal home decor or wardrobe- things that don’t necessarily say “Durango” on them, but that you’ll remember where you got them from. Here’s a few photos from a few fun downtown places we visited. BEWARE- you can’t park your van in certain downtown parking spaces because of the length (I got a ticket, boo).
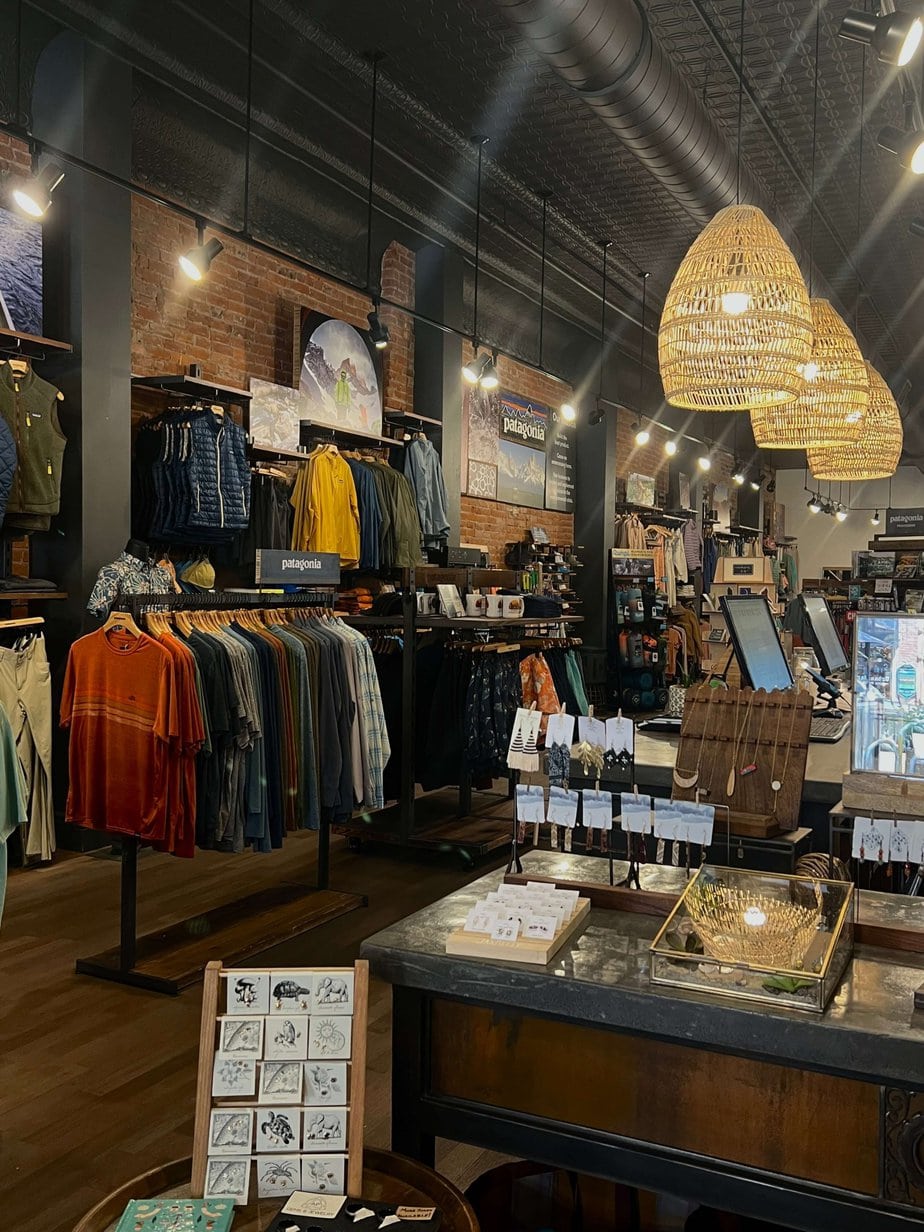
Pine Needle Dry Goods
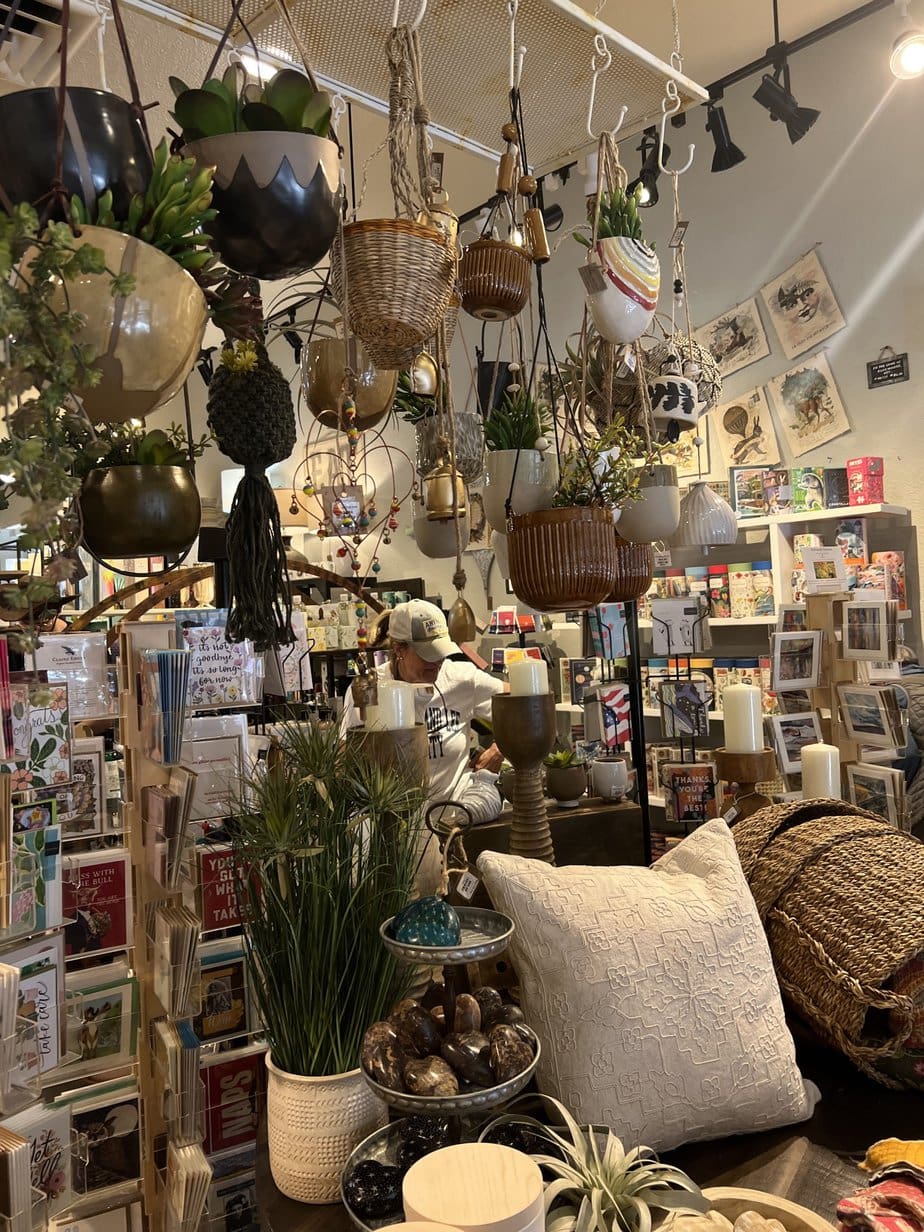
Urban Market
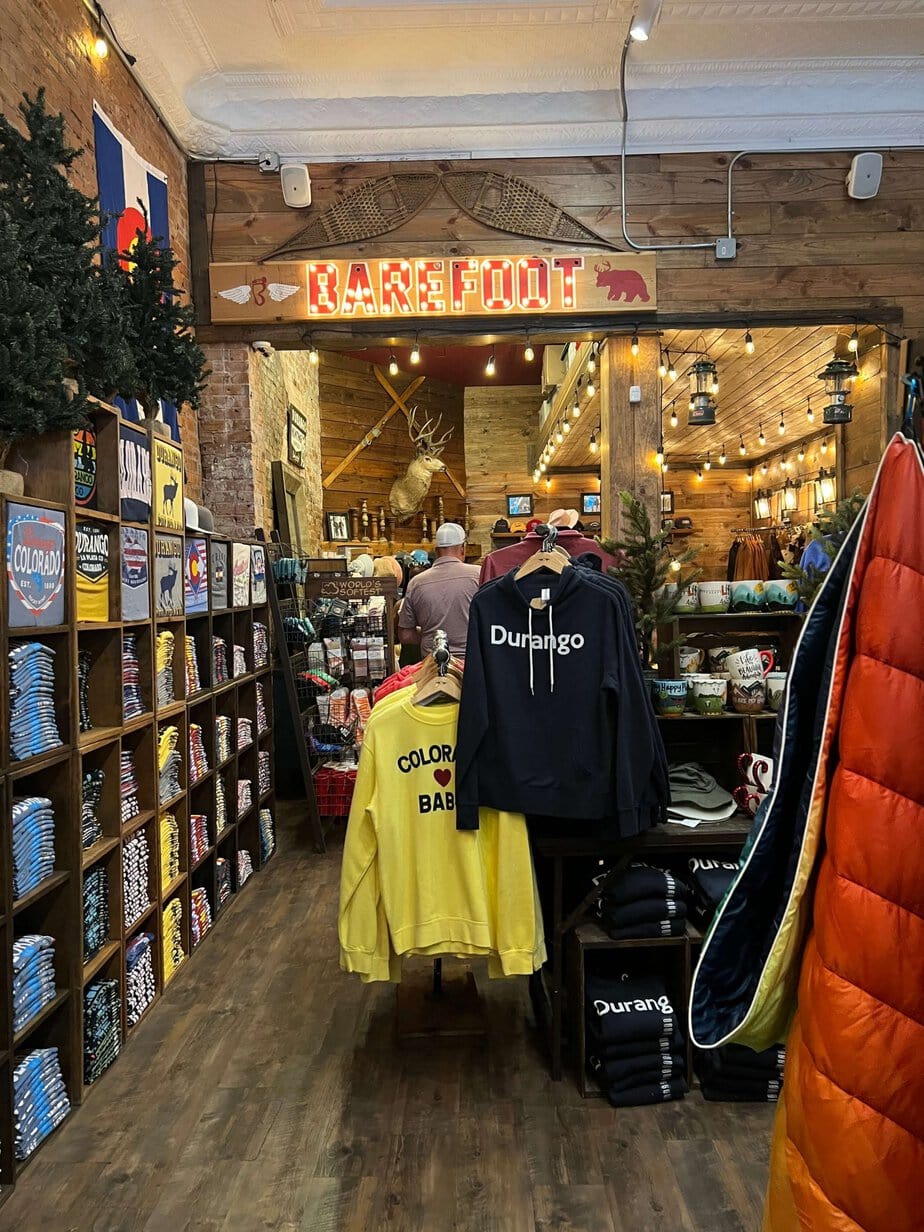
Barefoot Durango
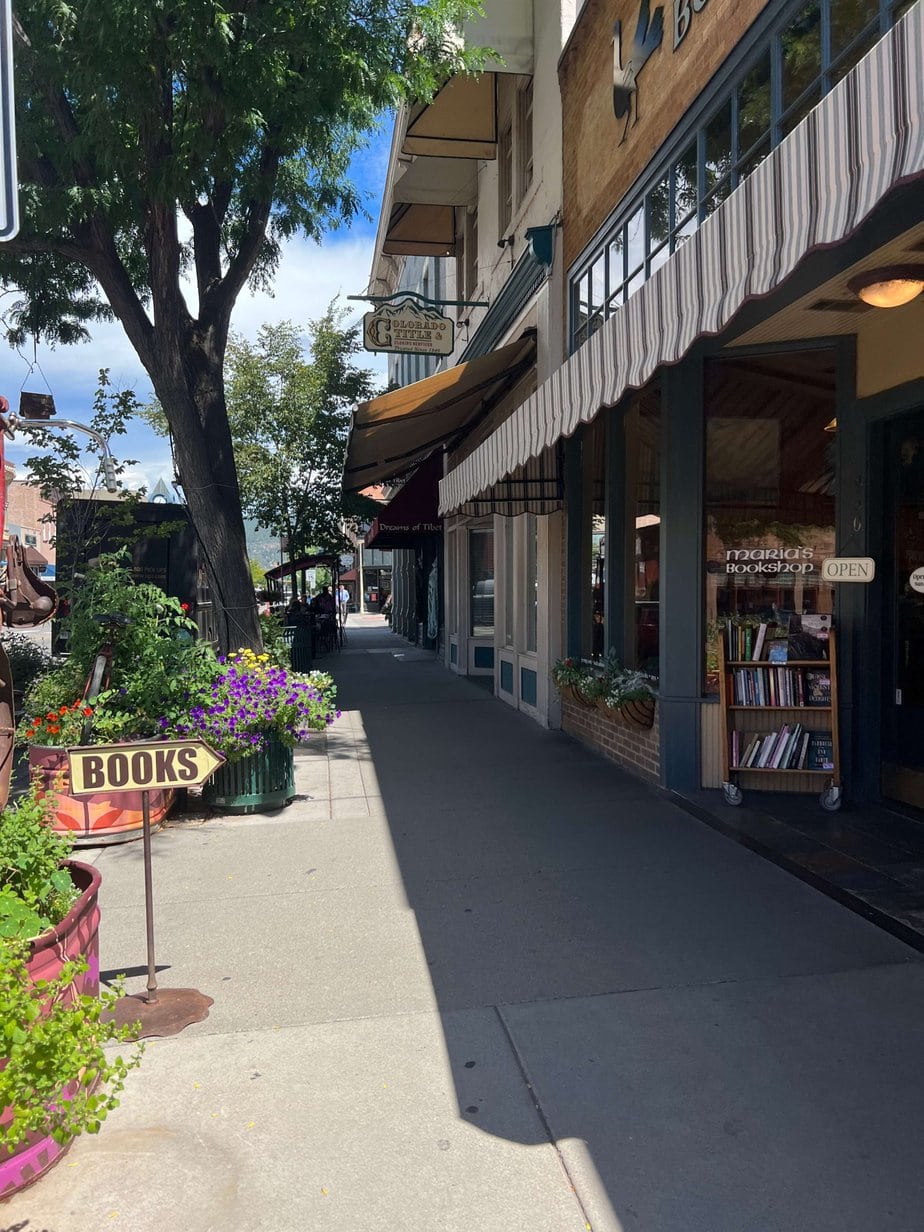
Downtown Shops
After getting a few souvenirs, we were starving from our Southwest Road Trip, so we stopped at the 11st Street Station to get some lunch. We did try to go to RPG’s Flame Grilled Wraps which looked delicious, but there was an hour and a half wait so we skipped it. This downtown corner was used over the past decade for local auto shops and fuel stations, now it is a popular food truck location with community seating and an indoor bar. The setting is eclectic and really fun. I had a panini and a Durango Mango Smoothie from Sunshine Smoothie and my husband had some barbeque. They have indulgent and healthy options here.
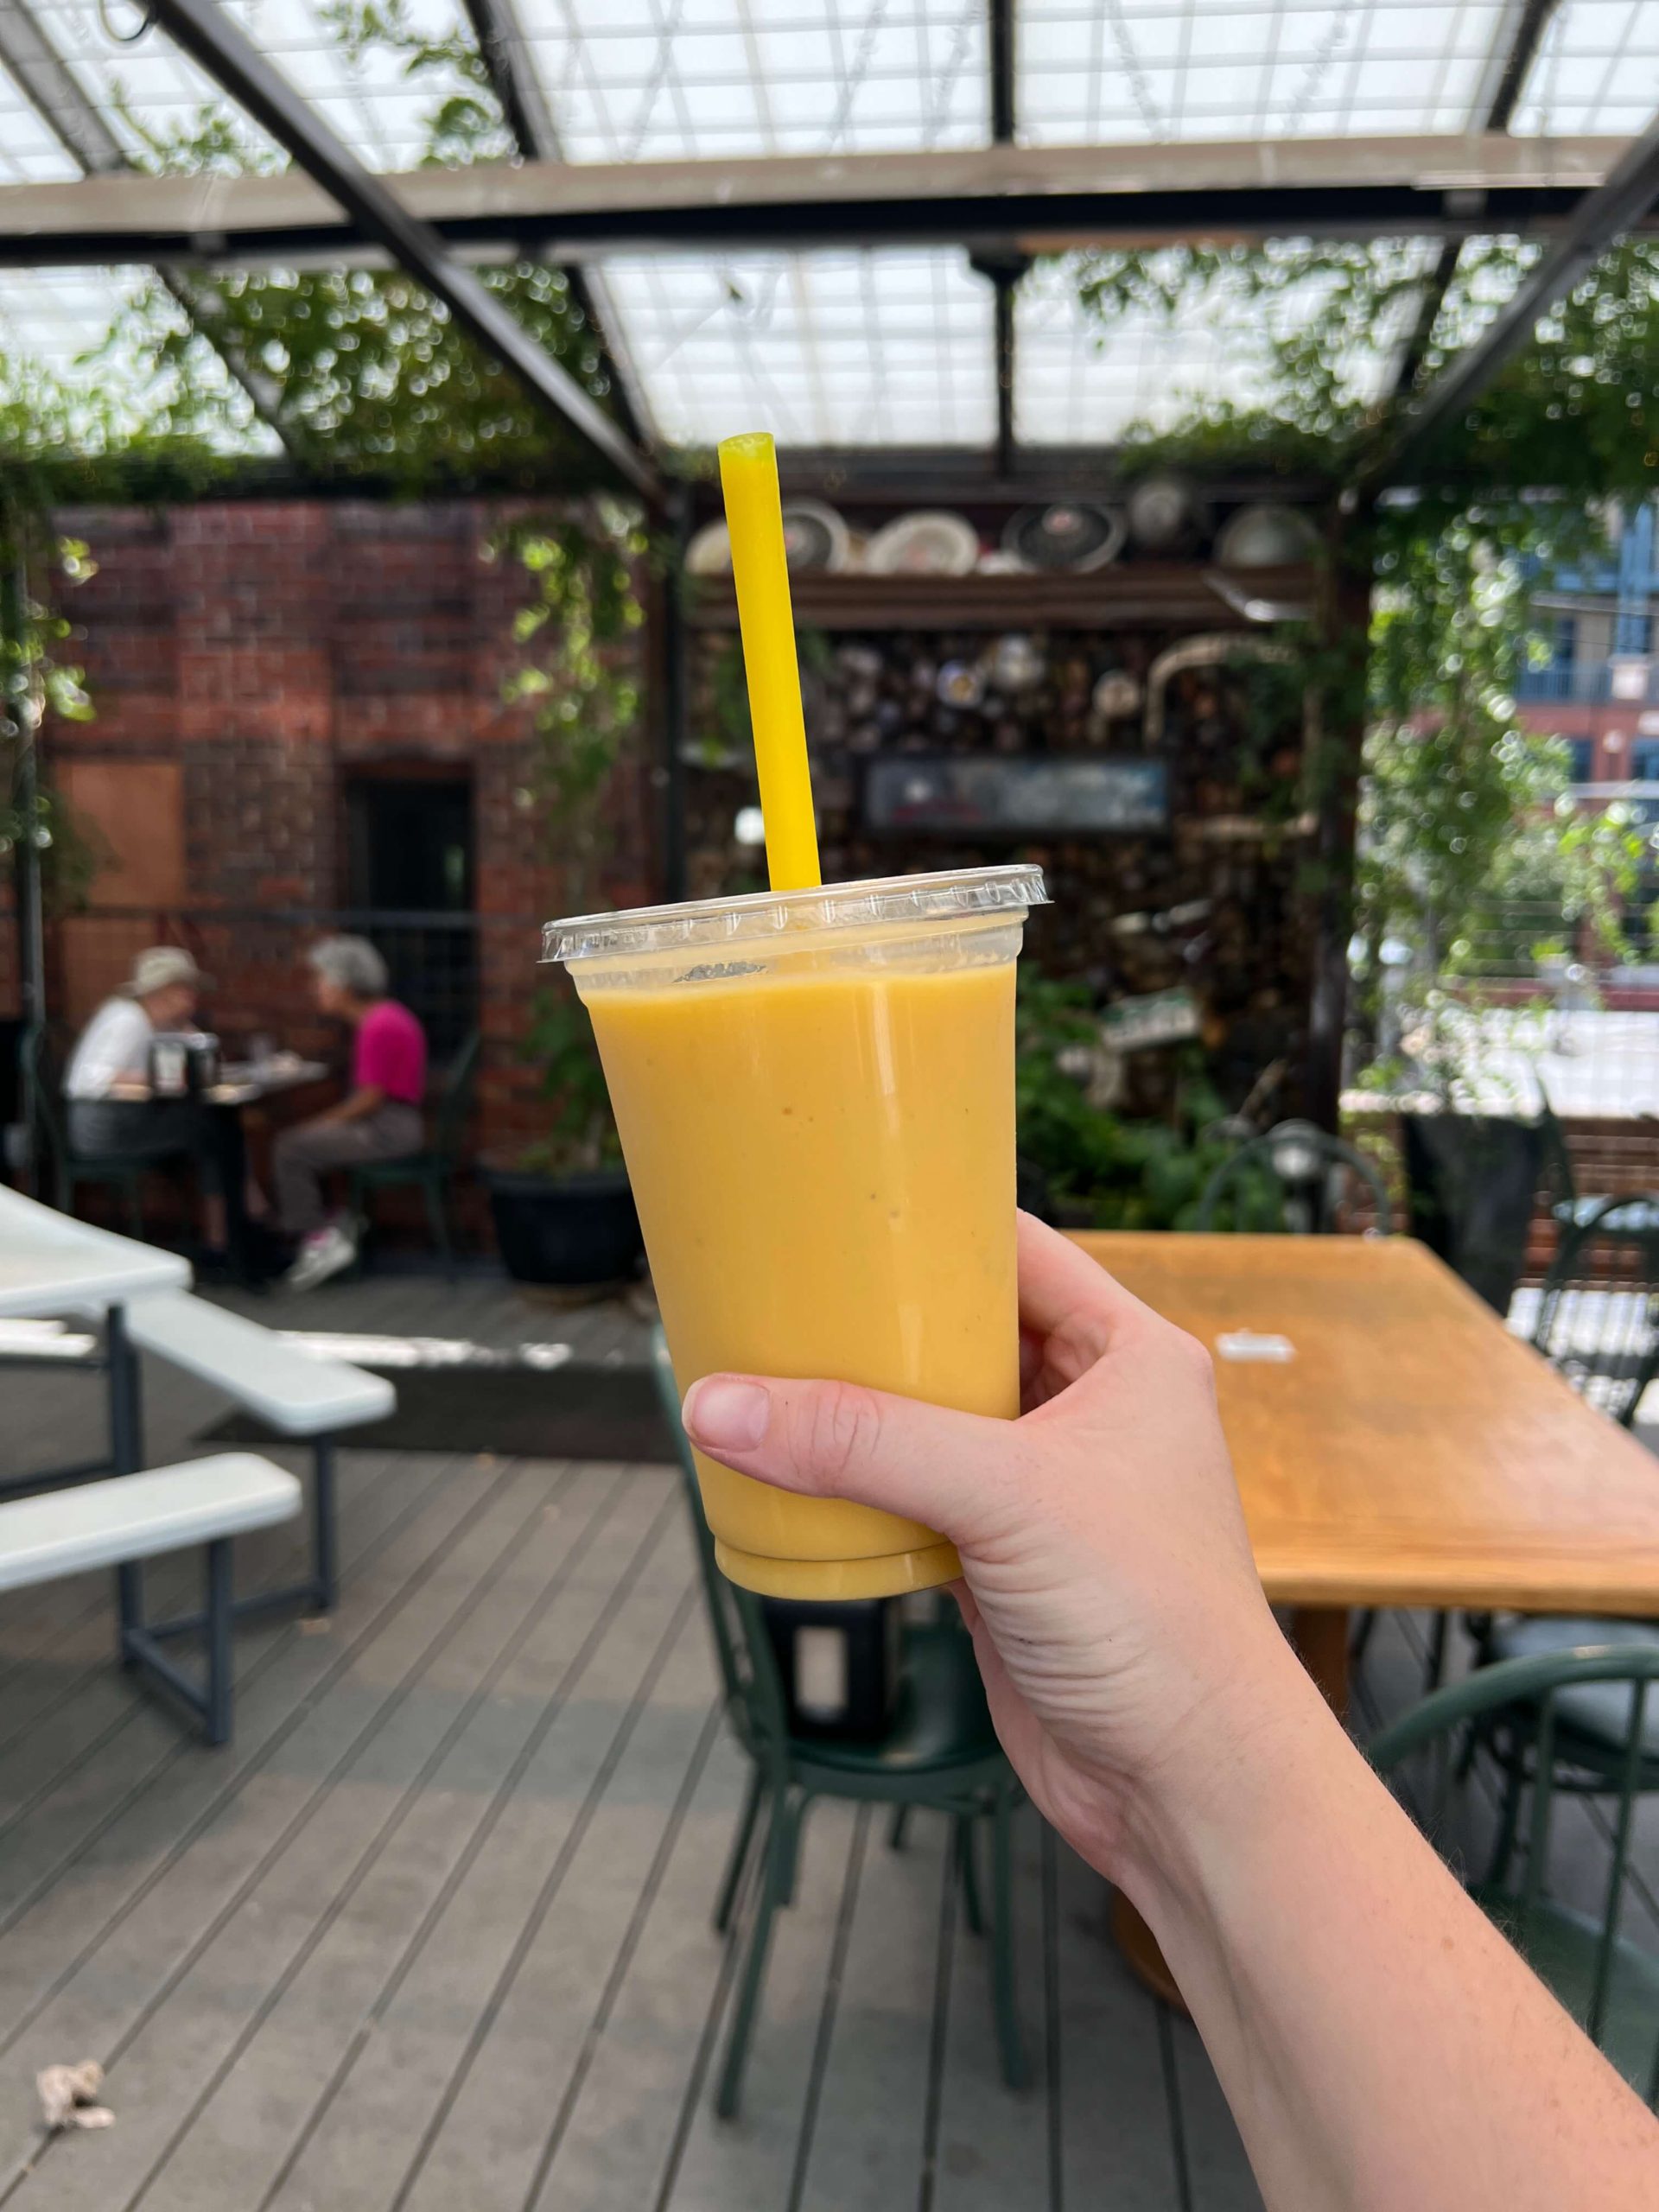
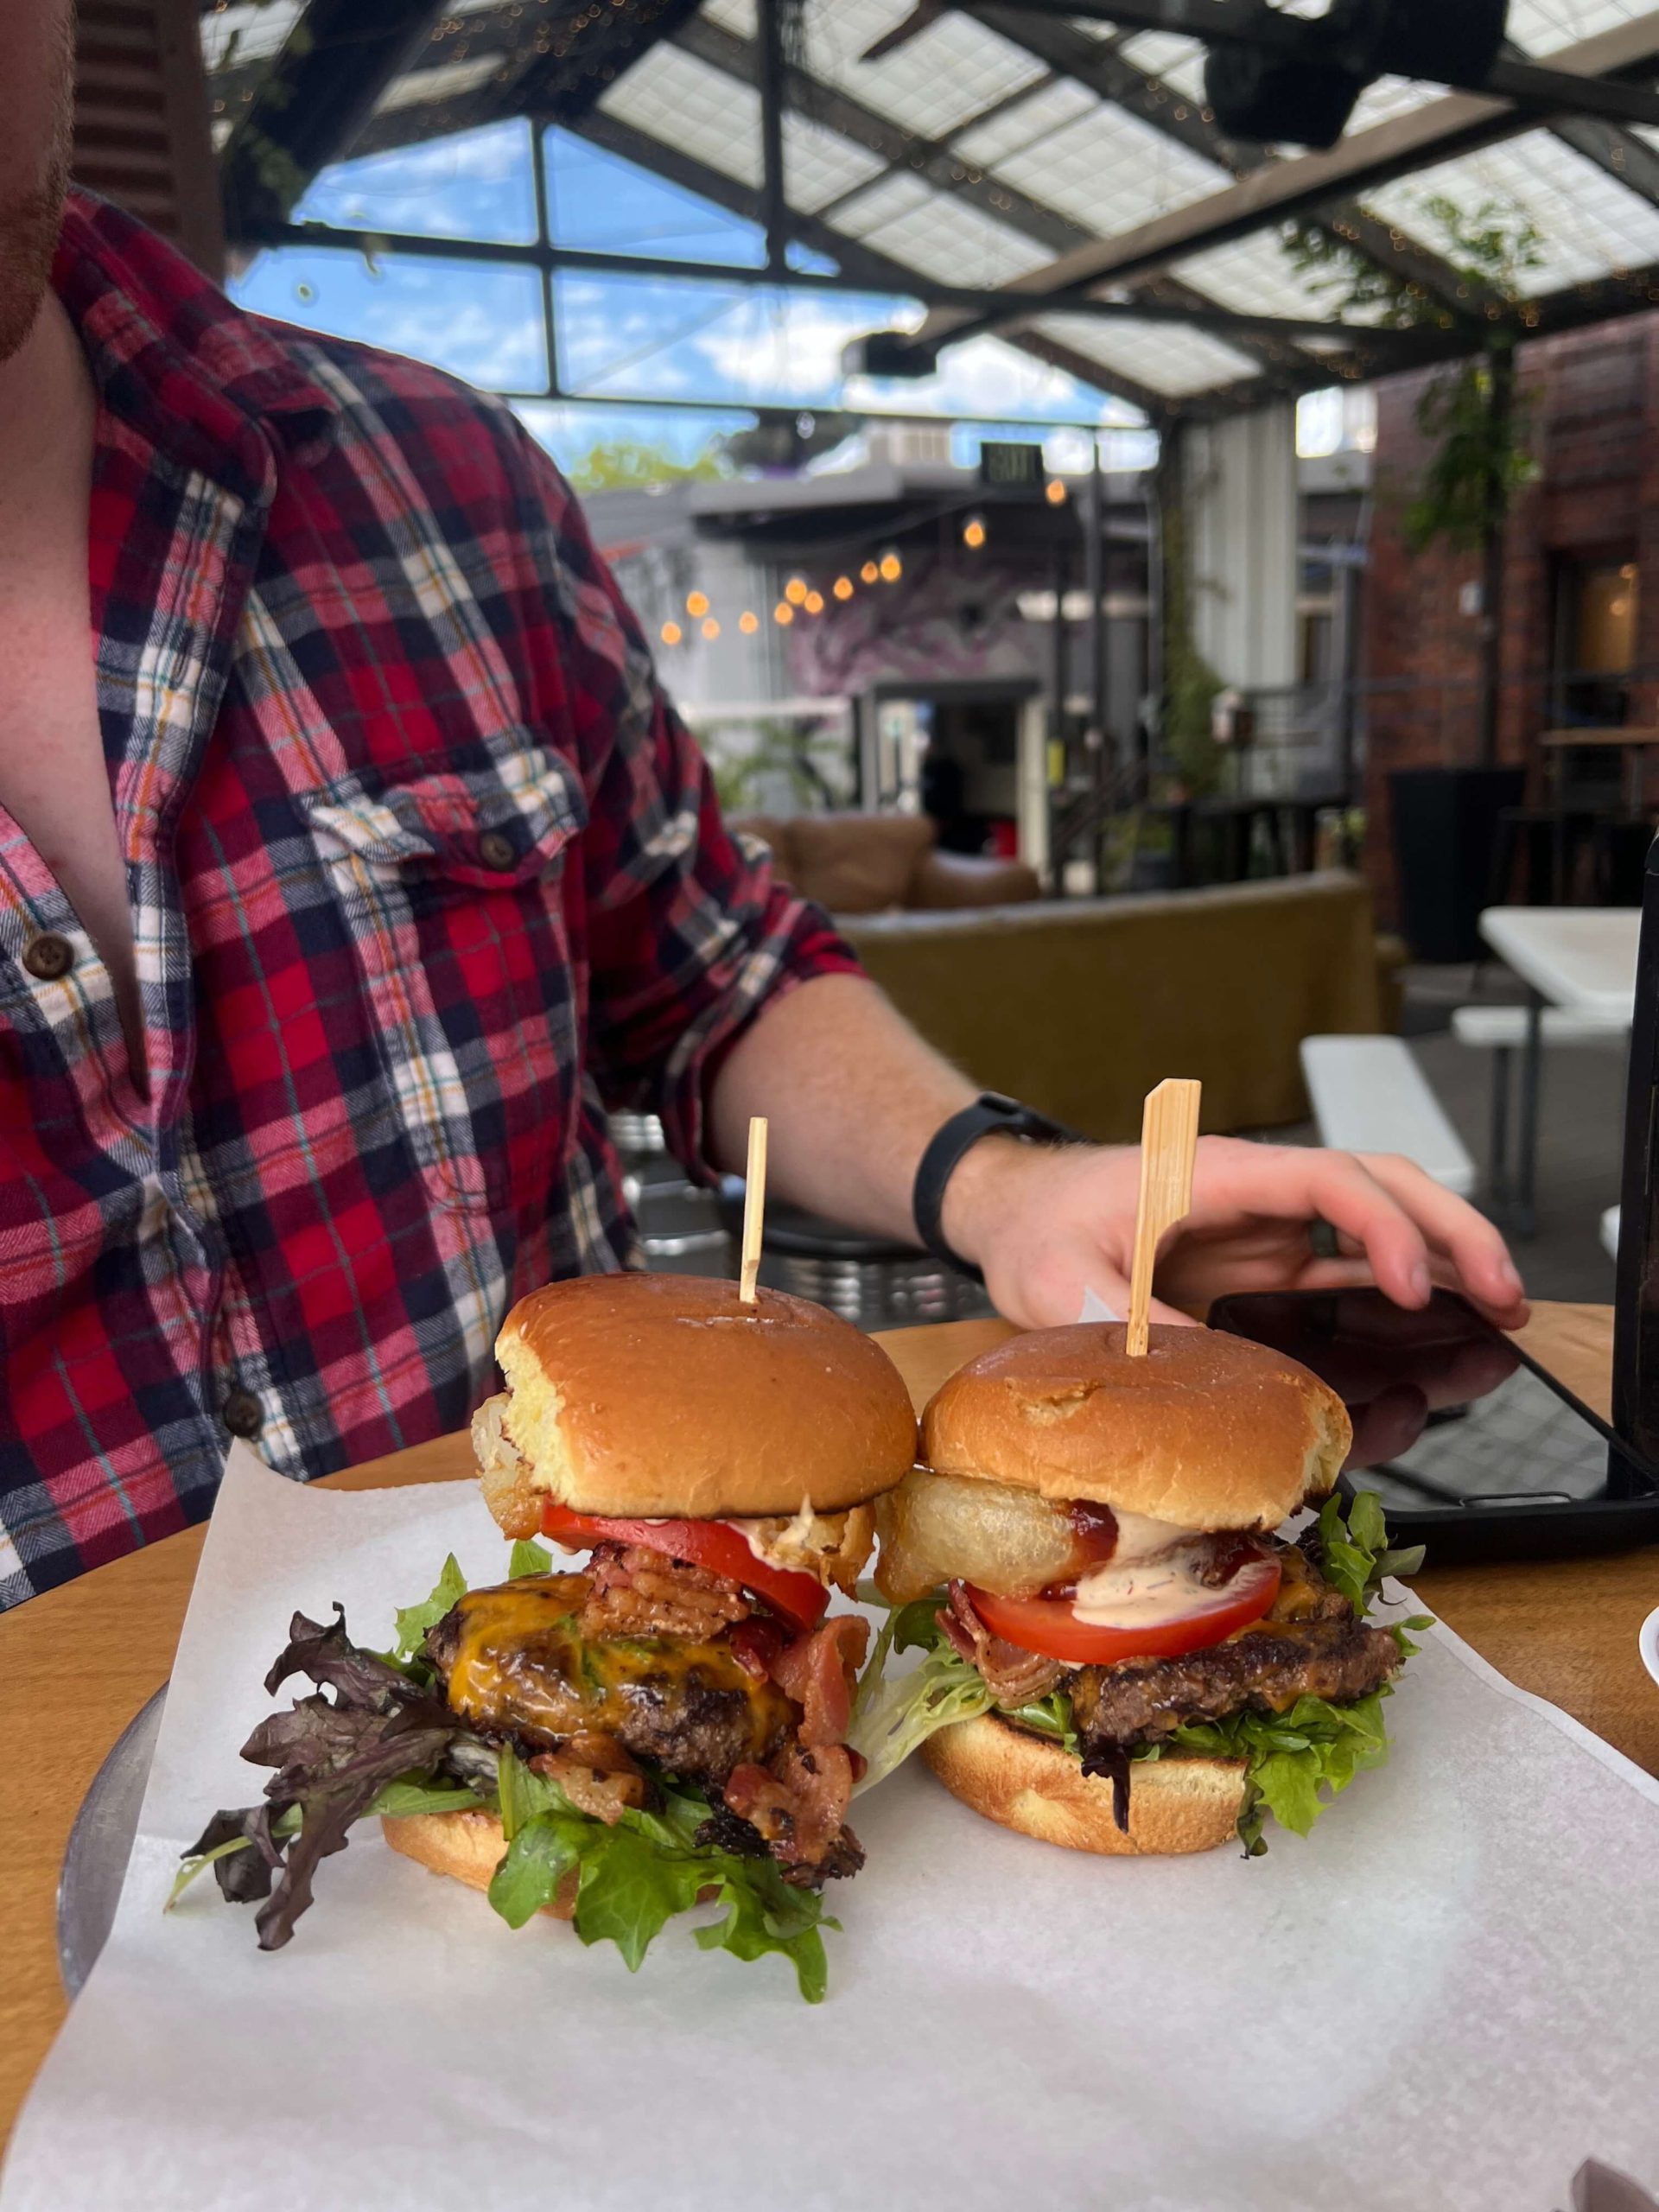
DURANGO ACTIVITIES FOR YOUR SOUTHWEST ROAD TRIP
On our short 5 day itinerary, we had to pick and choose which activities we prioritized. Durango was so cute and there are a million things you can do around the area (you can even focus your whole trip here), but we decided to head out of the area after lunch. Here are some extra activities you could choose to add to your itinerary that I did research on!
⇒ Durango-Silverton Railroad: Scenic Railroad through a beautiful canyon on a day trip with a stop in a historic mining town. About $115 a person. This is on my bucket list, but we had our dog with us and I figured if I’m driving the same route, I didn’t need to do that AND a train on the same trip.
⇒ Raft Down the Animas River: The Animas River runs through downtown. You can choose to raft the river on a 2-4 hours adventure for about $50-100 per person. Again, we have a dog so I decided to skip this adventure.
⇒ Durango Hot Springs: For $40 a person you can soak in the local Durango Hot Springs. This is definitely on my list of things to do as well.
⇒ Purgatory Resort Chairlift and Alpine Slide: You can choose to take a scenic chairlift up this famous ski resort or slide down an alpine slide. Depending on the season and time, this could cost $20-40 per person. It was raining on this day, so we chose not to do either of these.
DRIVE TO SILVERTON
The drive from Durango to Silverton isn’t part of the “Million Dollar Highway,” but that doesn’t mean it isn’t beautiful too. We continued on our Southwest Road Trip up the canyon past Purgatory Resort. I had my heart set on seeing a waterfall on our way up to our next planned campsite near Silverton. First I’ll go over the two options I didn’t do, and the one I did.
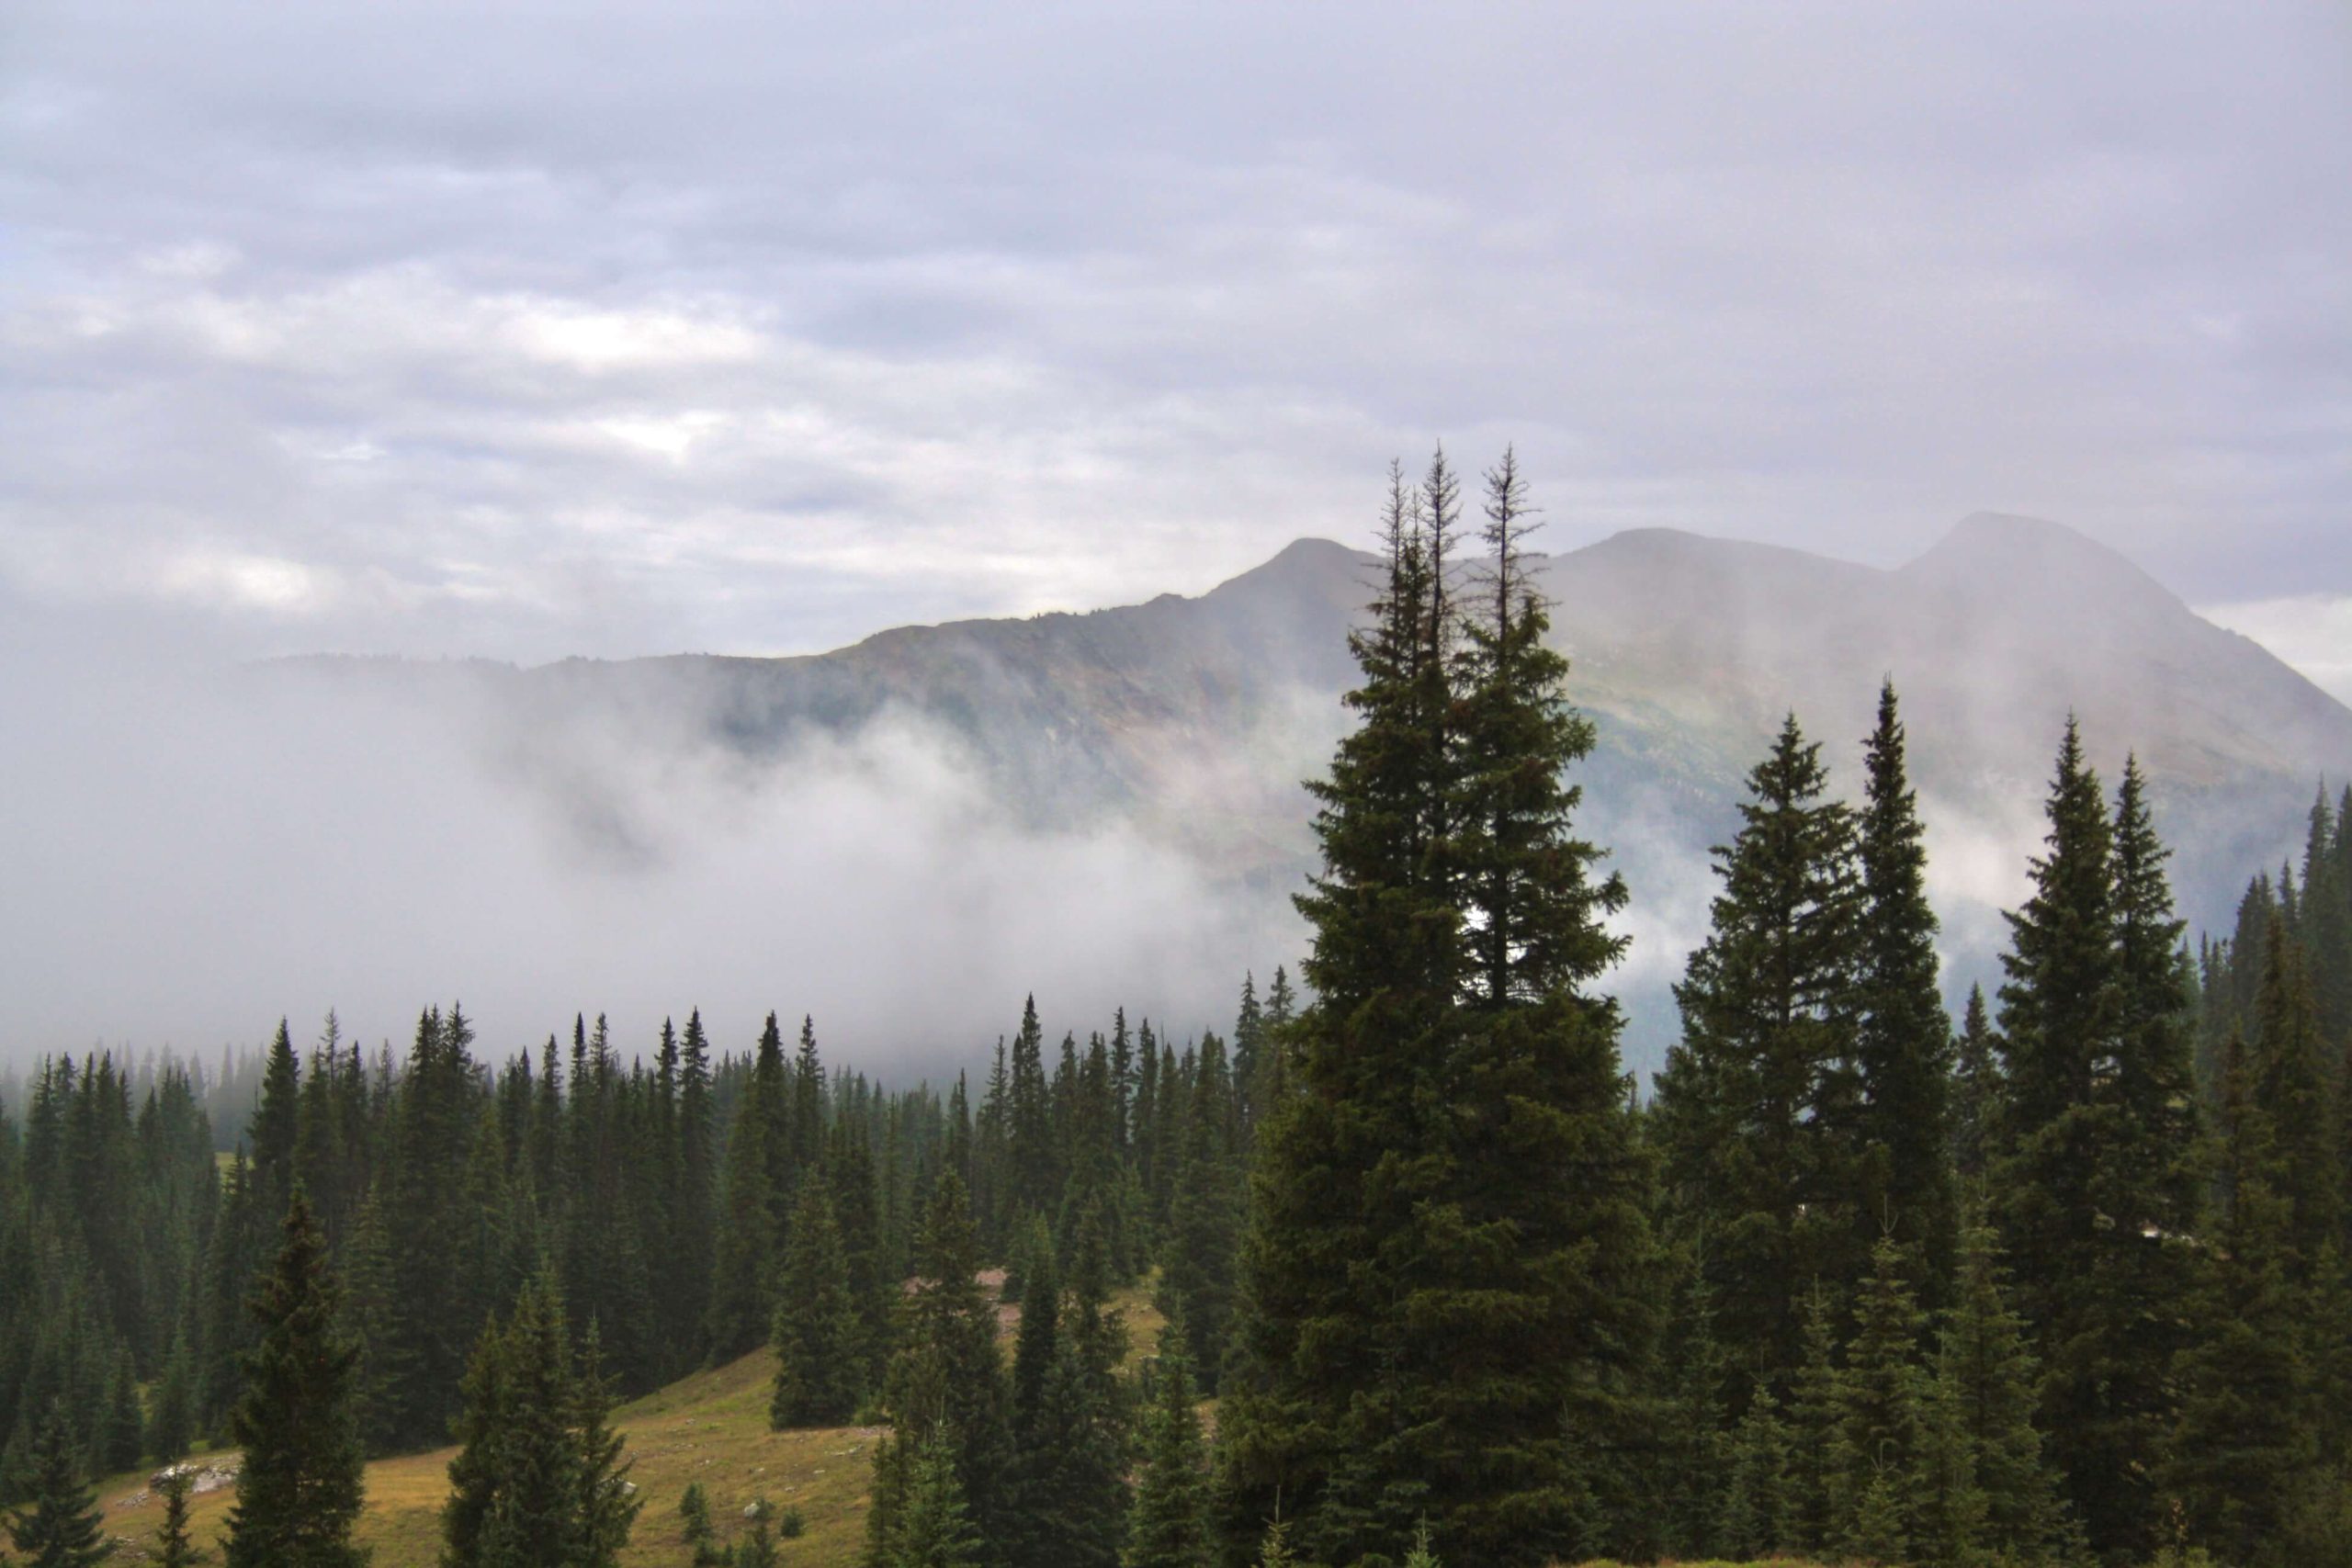
⇒ Cascade Canyon Falls: This is a popular waterfall near Durango, just past Purgatory Resort on FR783. It features a beautiful waterfall cutting through tall rock canyons. It is about 2 miles round trip. Here’s why I DIDN’T do it: First, I couldn’t find an accurate trail to follow. AllTrails didn’t have the trail I was looking for. We had actually parked at the base of FR 783, but no one was around and we didn’t know where to go. Second, the weather was iffy and I didn’t want to get us lost in a storm. We felt safety is first and moved on. Some day I’ll do the hike. We did our trip pretty spontaneously and I didn’t have time to adequately research and the information online was conflicting. SAFETY ALWAYS FIRST!
⇒Adrenaline Falls: As I read online, this waterfall is more hidden even amongst locals. It is a popular destination for cliff jumping. I really wanted to do this waterfall, until I realized it is on a 4×4 road, Lime Creek Road. The waterfall is right off the road within about 2.5 miles. Next time I visit Colorado, I’d either like to drive my jeep up or rent one.
SILVERTON, COLORADO
Up next on our Southwest Road Trip journey is visiting Silverton, Colorado. Silverton is a historic mining town established in 1874. A few years later, the train was established and the population boomed. This is now the start of the Million Dollar Highway and a destination throughout the country. The town is small and you won’t need much time to make this fun stop!
We stopped in some souvenir shops, a local coffee shop, and the Rocky Mountain Funnel Cake Factory. They have more funnel cake flavors than you could ever imagine. 100% this is worth a stop.
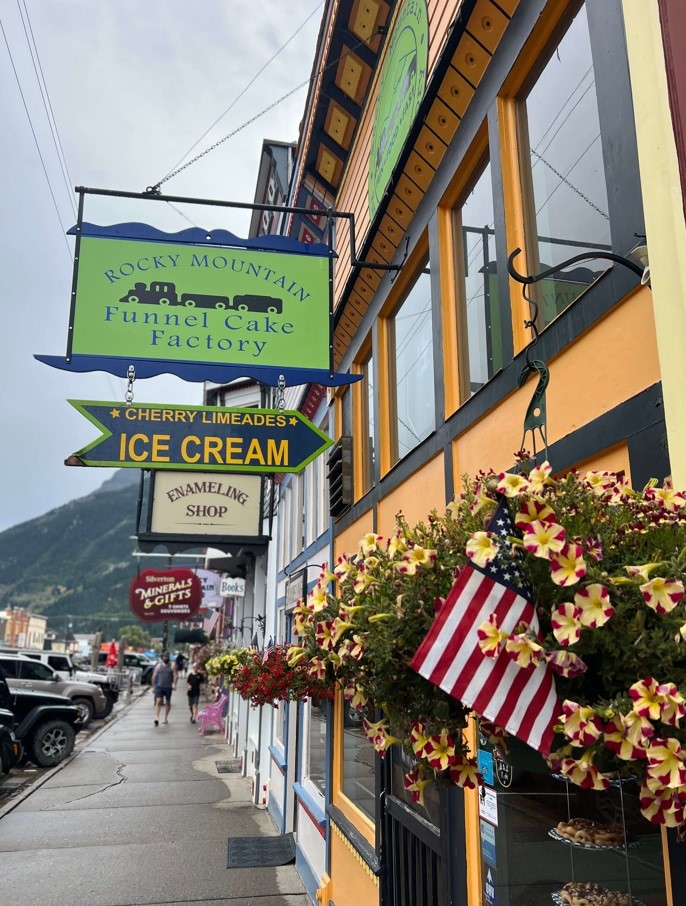
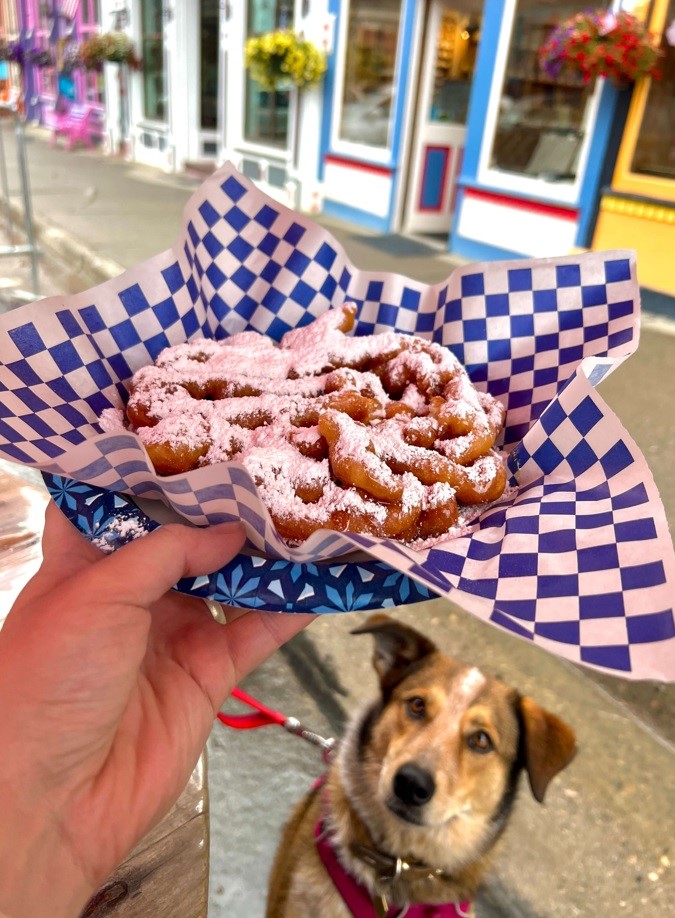
After getting a snack, we headed up the road to our hike and camping spot for the day.
SOUTH MINERAL FORK CREEK WATERFALL
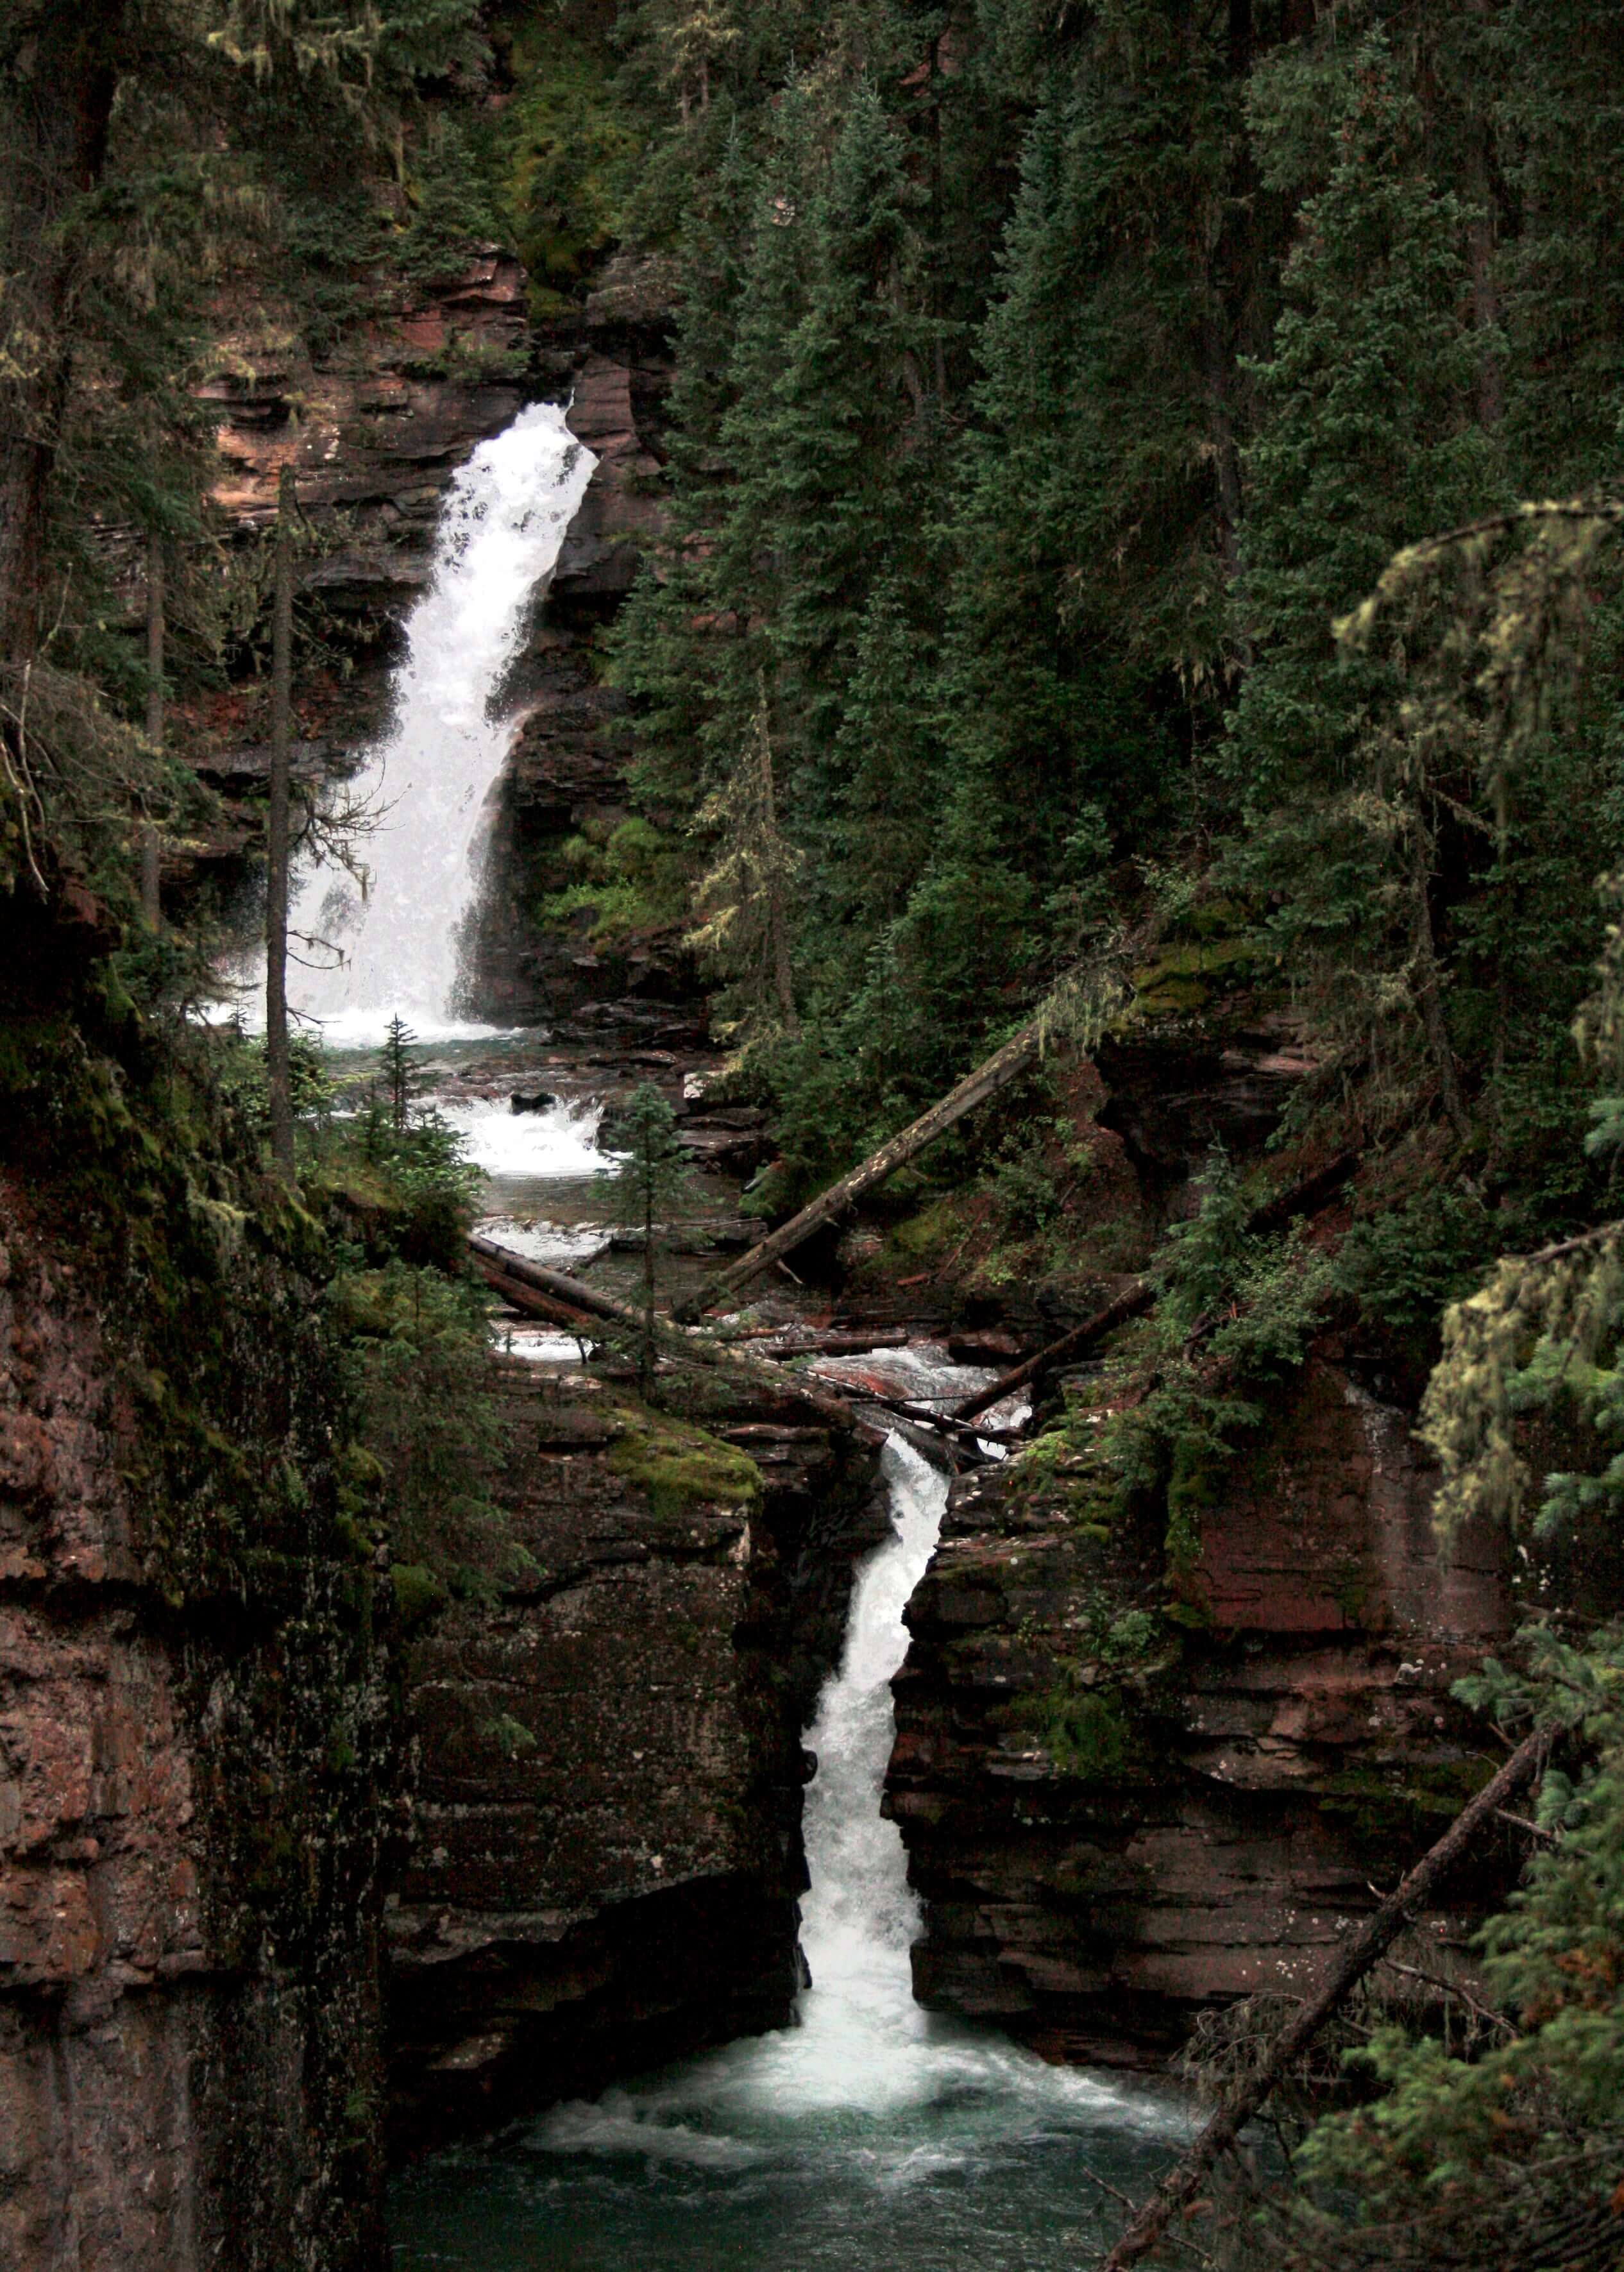
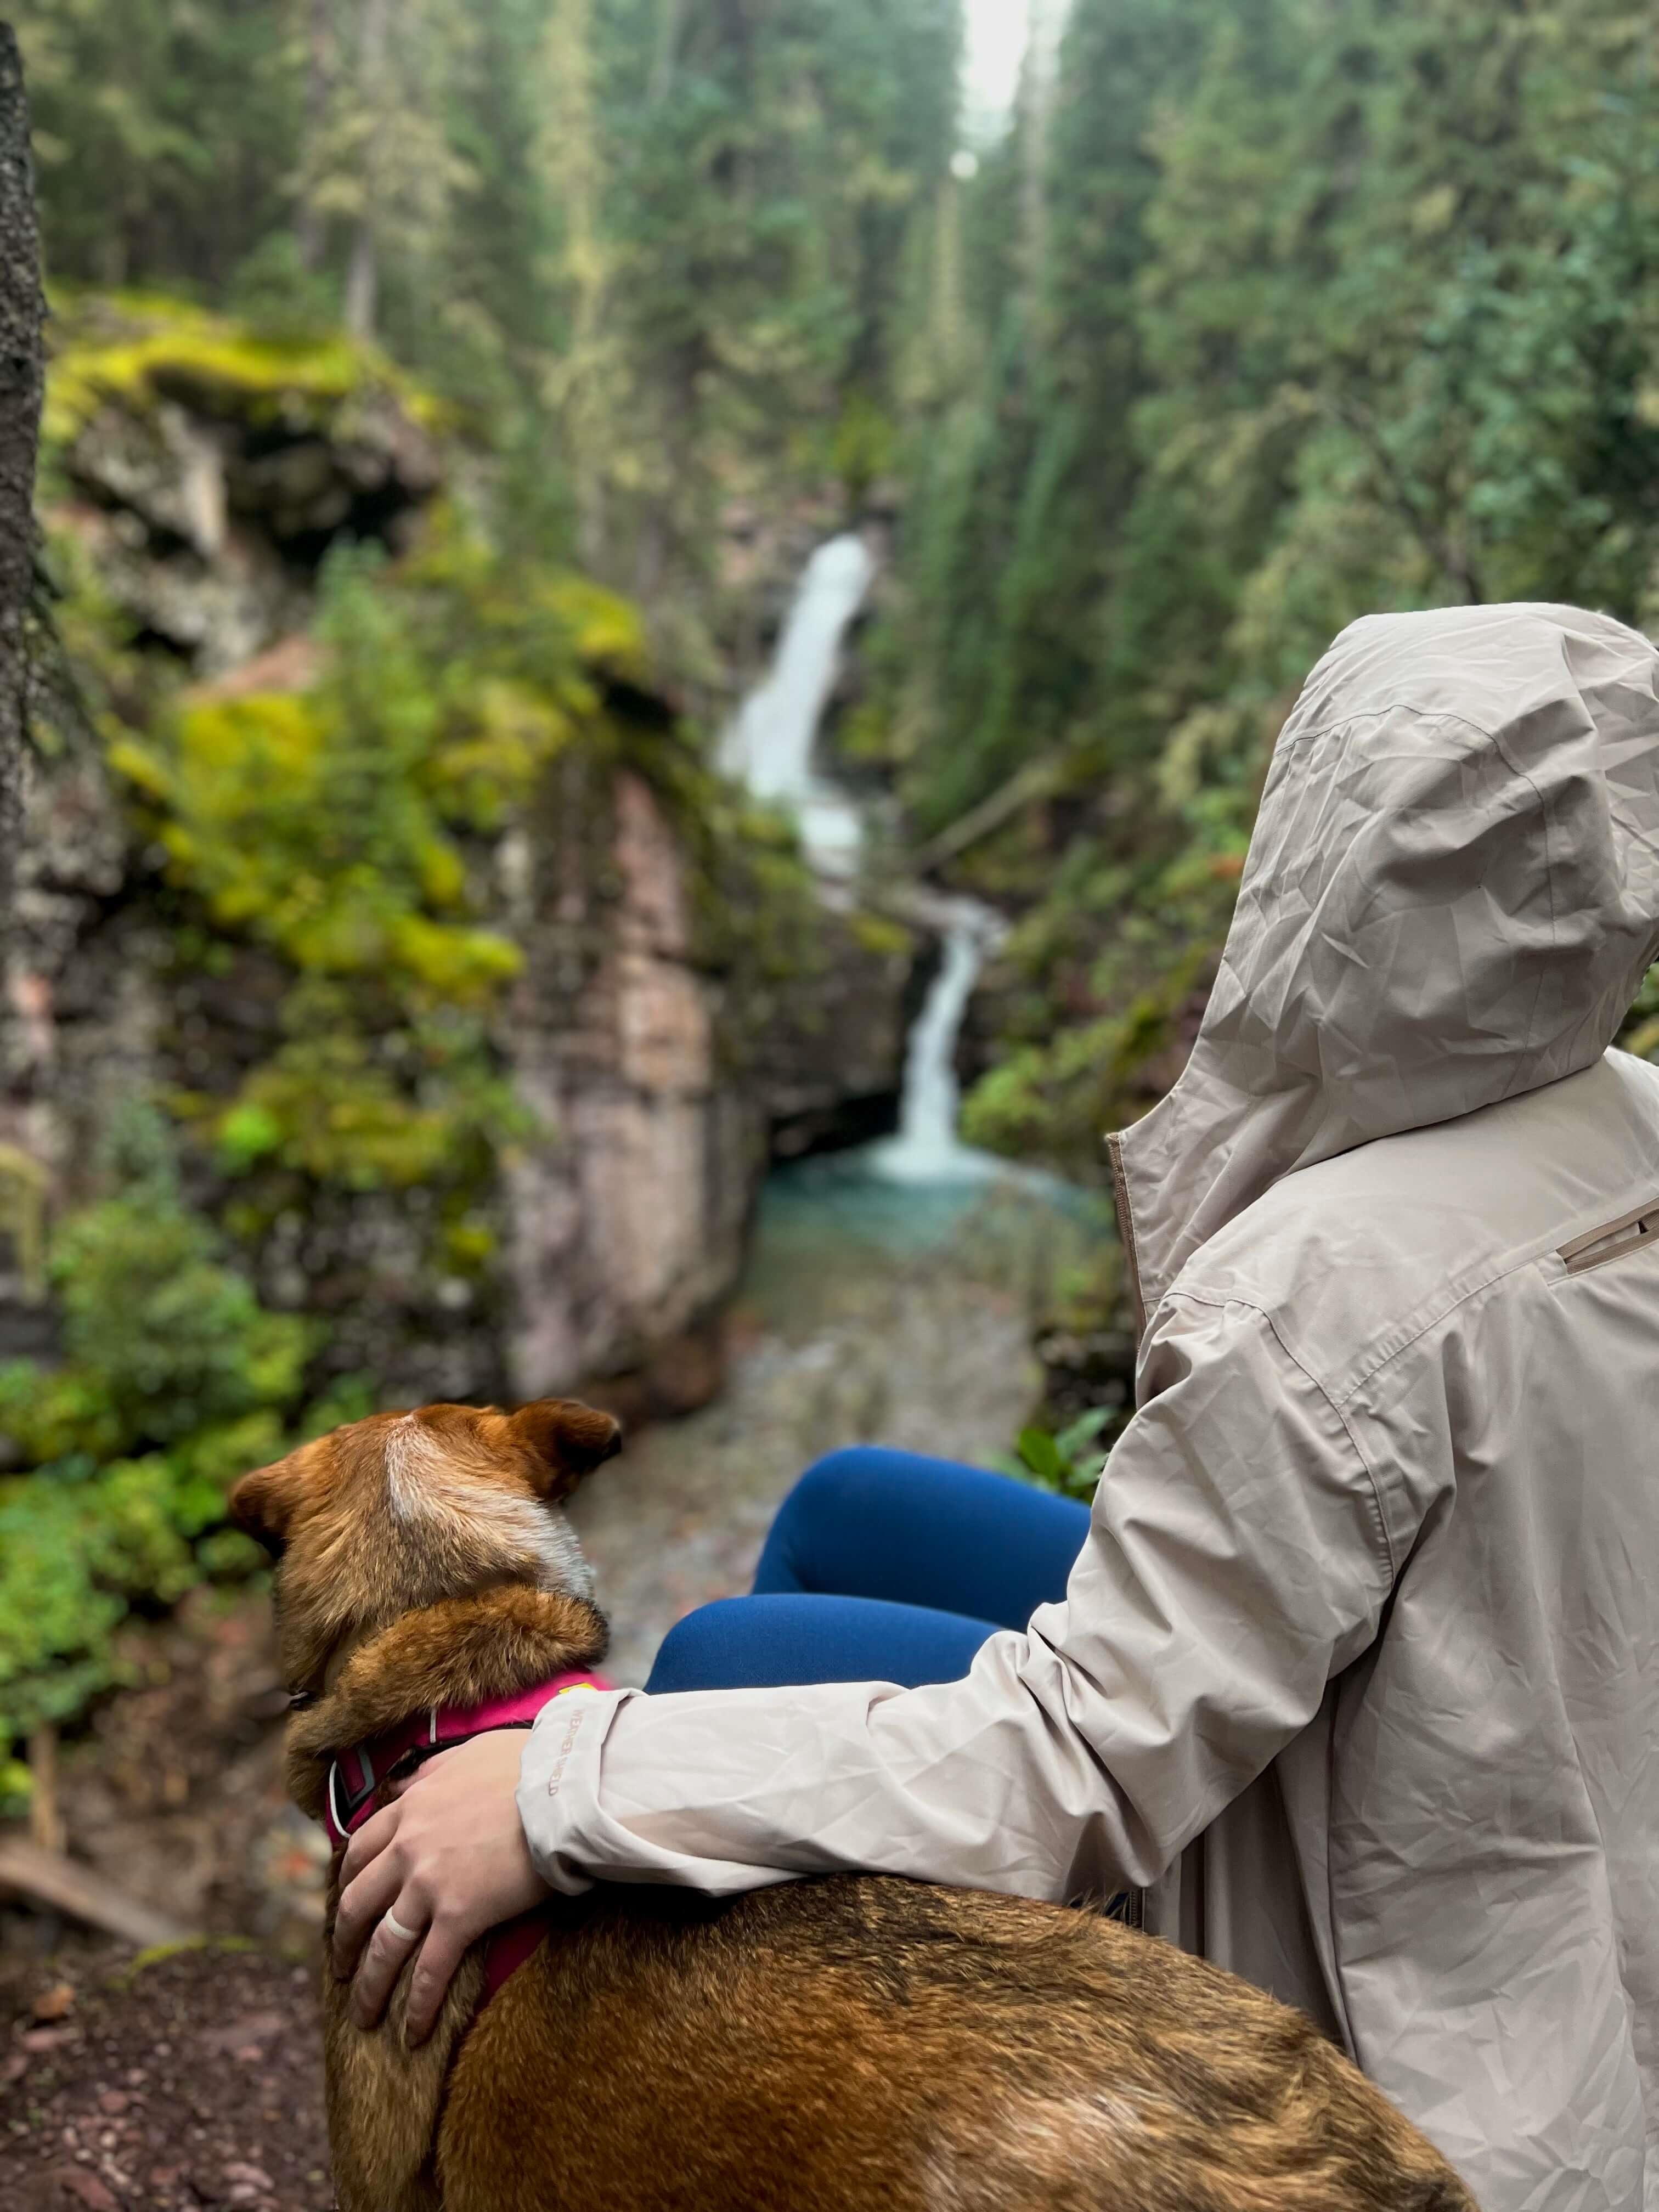
As I mentioned before, I had my heart set on seeing a waterfall. My first two plans didn’t work out, so I decided on seeing this beautiful waterfall close to where we wanted to camp. I also loved the simplicity of being in the same place for the second half of our day. Like the other waterfalls, it was hard for me to find clear directions online. I will be reviewing this in another post, but for the sake of this post, I’ll summarize it here.
When you leave Silverton, you drive 2.7 miles and turn left on FR585. If you drive to the end of FR585 by South Mineral Campground (4.4 miles/ 15 minutes on the dirt road- OK for 2WD cars), you’ll park at the Ice Lake Basin Trailhead. Walk straight on the 4×4 road (you can drive too, but we had a rental) for less than 0.25 miles, you will see a trail on the left that leads to the waterfall in less than 0.25 miles. You will soon see this beautiful, isolated two-tiered waterfall nestled within the forest. PLEASE NOTE- do not go through the campground to find the waterfall- the host told me people try to do this all the time.
CAMPING NIGHT 2- SAN JUAN MOUNTAINS
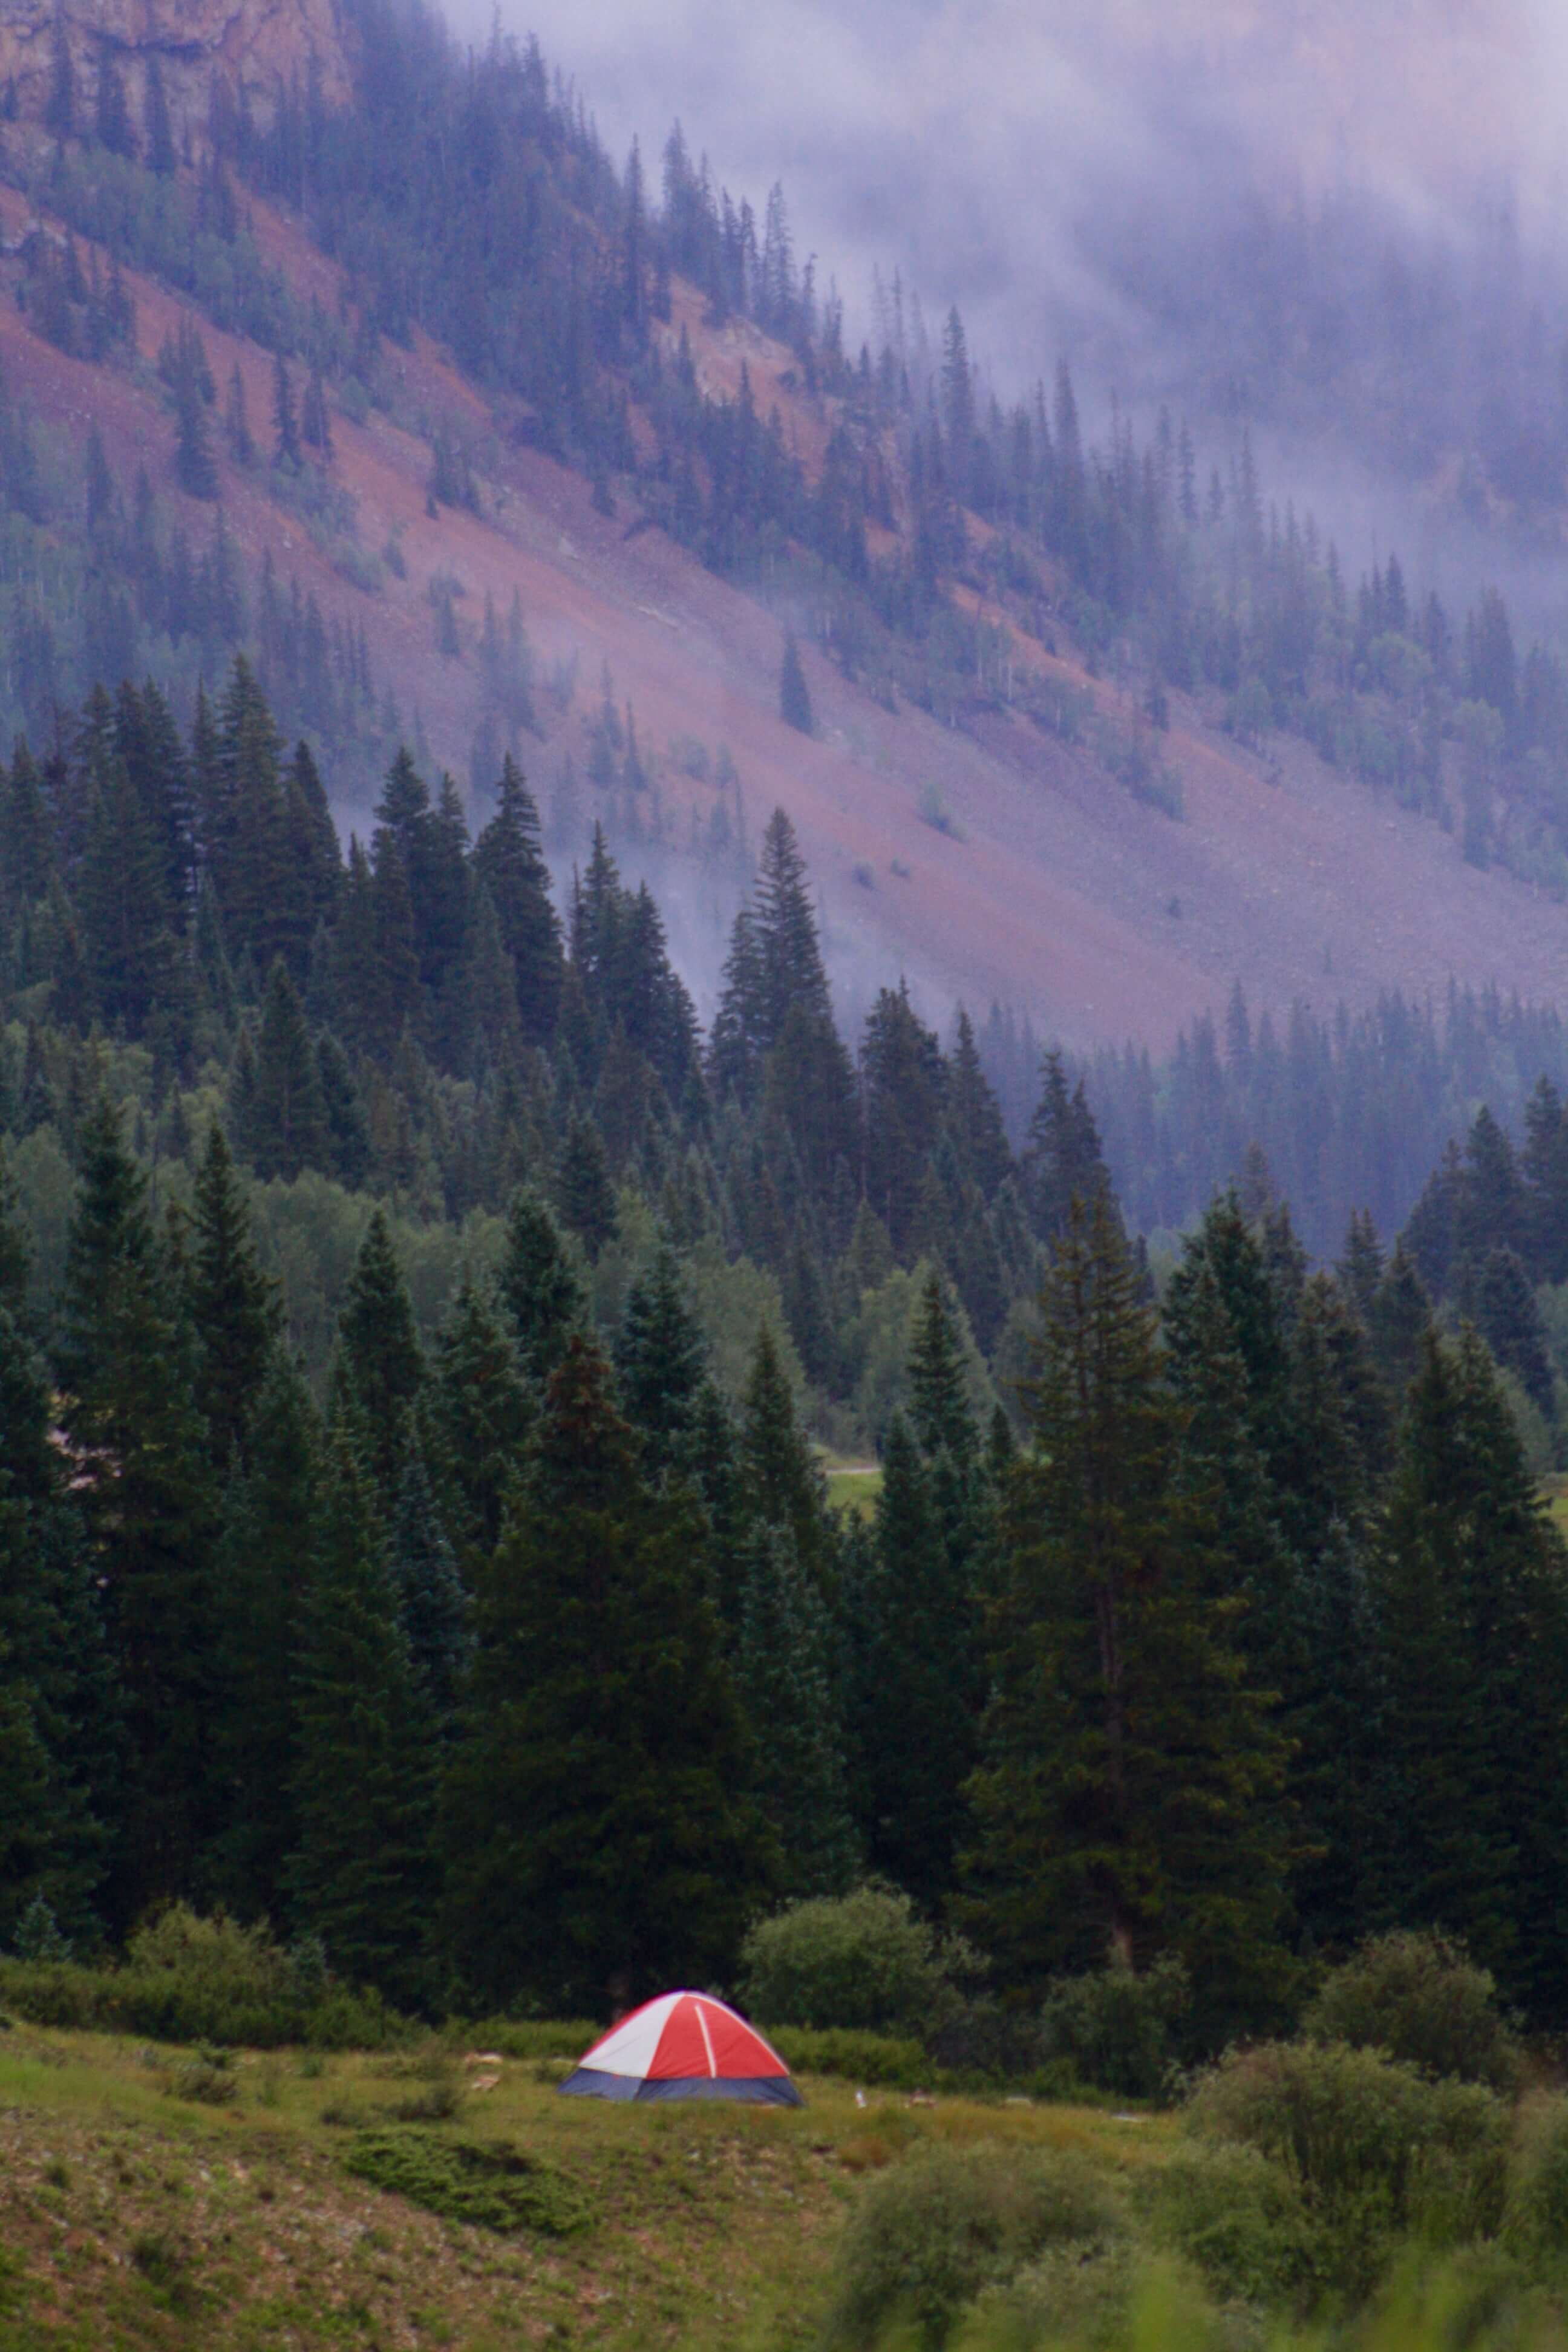
It was so nice to camp in the same area we saw the waterfall. It only took 10-20 minutes to find a spot after leaving Silverton. There are multiple campgrounds, both free and paid, on FR585. Some campgrounds include Anvil, Kendall, and South Mineral Campground. South Mineral Campground is $30. Anvil and Kendall are free, primitive, first-come, first-serve campgrounds. I personally like NOT having neighbors, so we found a free spot on the side of the road (there are designated spots with fire rings). We could hear the rushing sound of the neighboring river and even saw a moose near our campground. It was absolutely beautiful and very private.
After 2 days of hiking and traveling, saying we were stinky was a bit of an understatement. I love that the Boho Camper Vans have not only a shower, but a hot shower! I was able to hook up the head of the shower to the back door and rinse off. Not only that, but we can easily grab our cooking bucket, set up our camping chairs and table (all provided by Boho Camper Vans), and make a nice meal. Since it was cold outside, it was nice to hop in a warm van and go to sleep.
DAY 3: SILVERTON TO OURAY
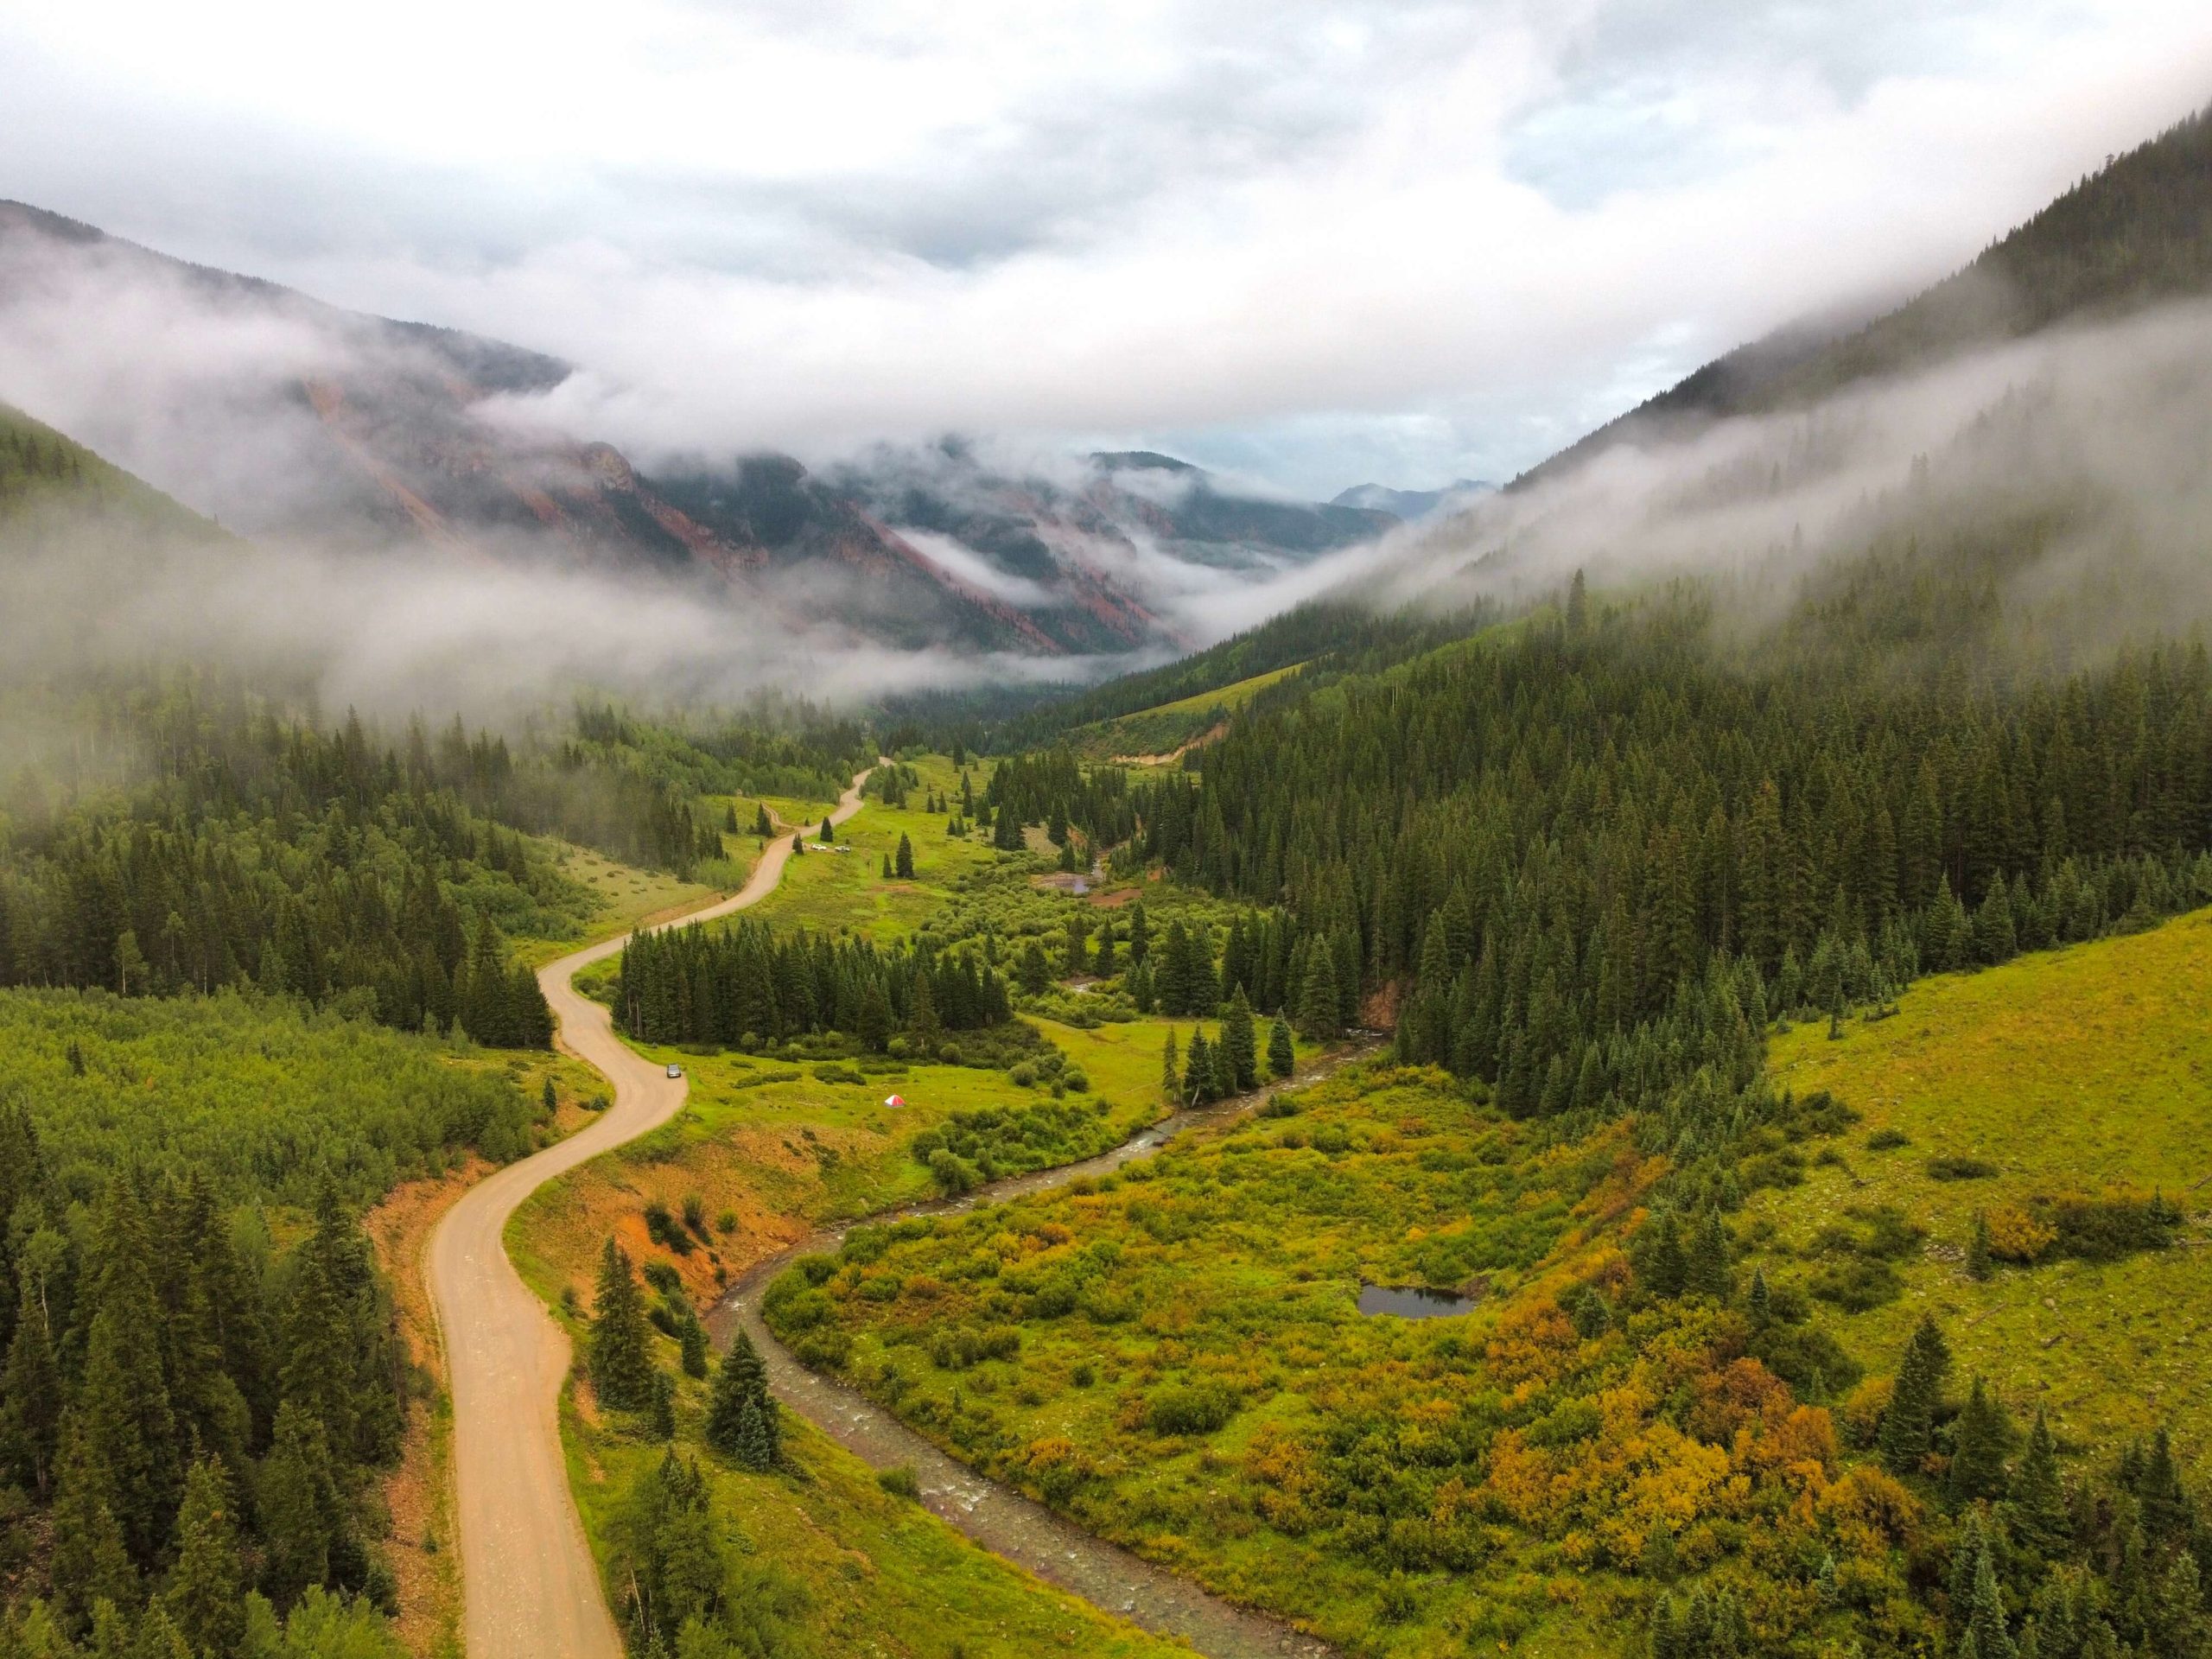
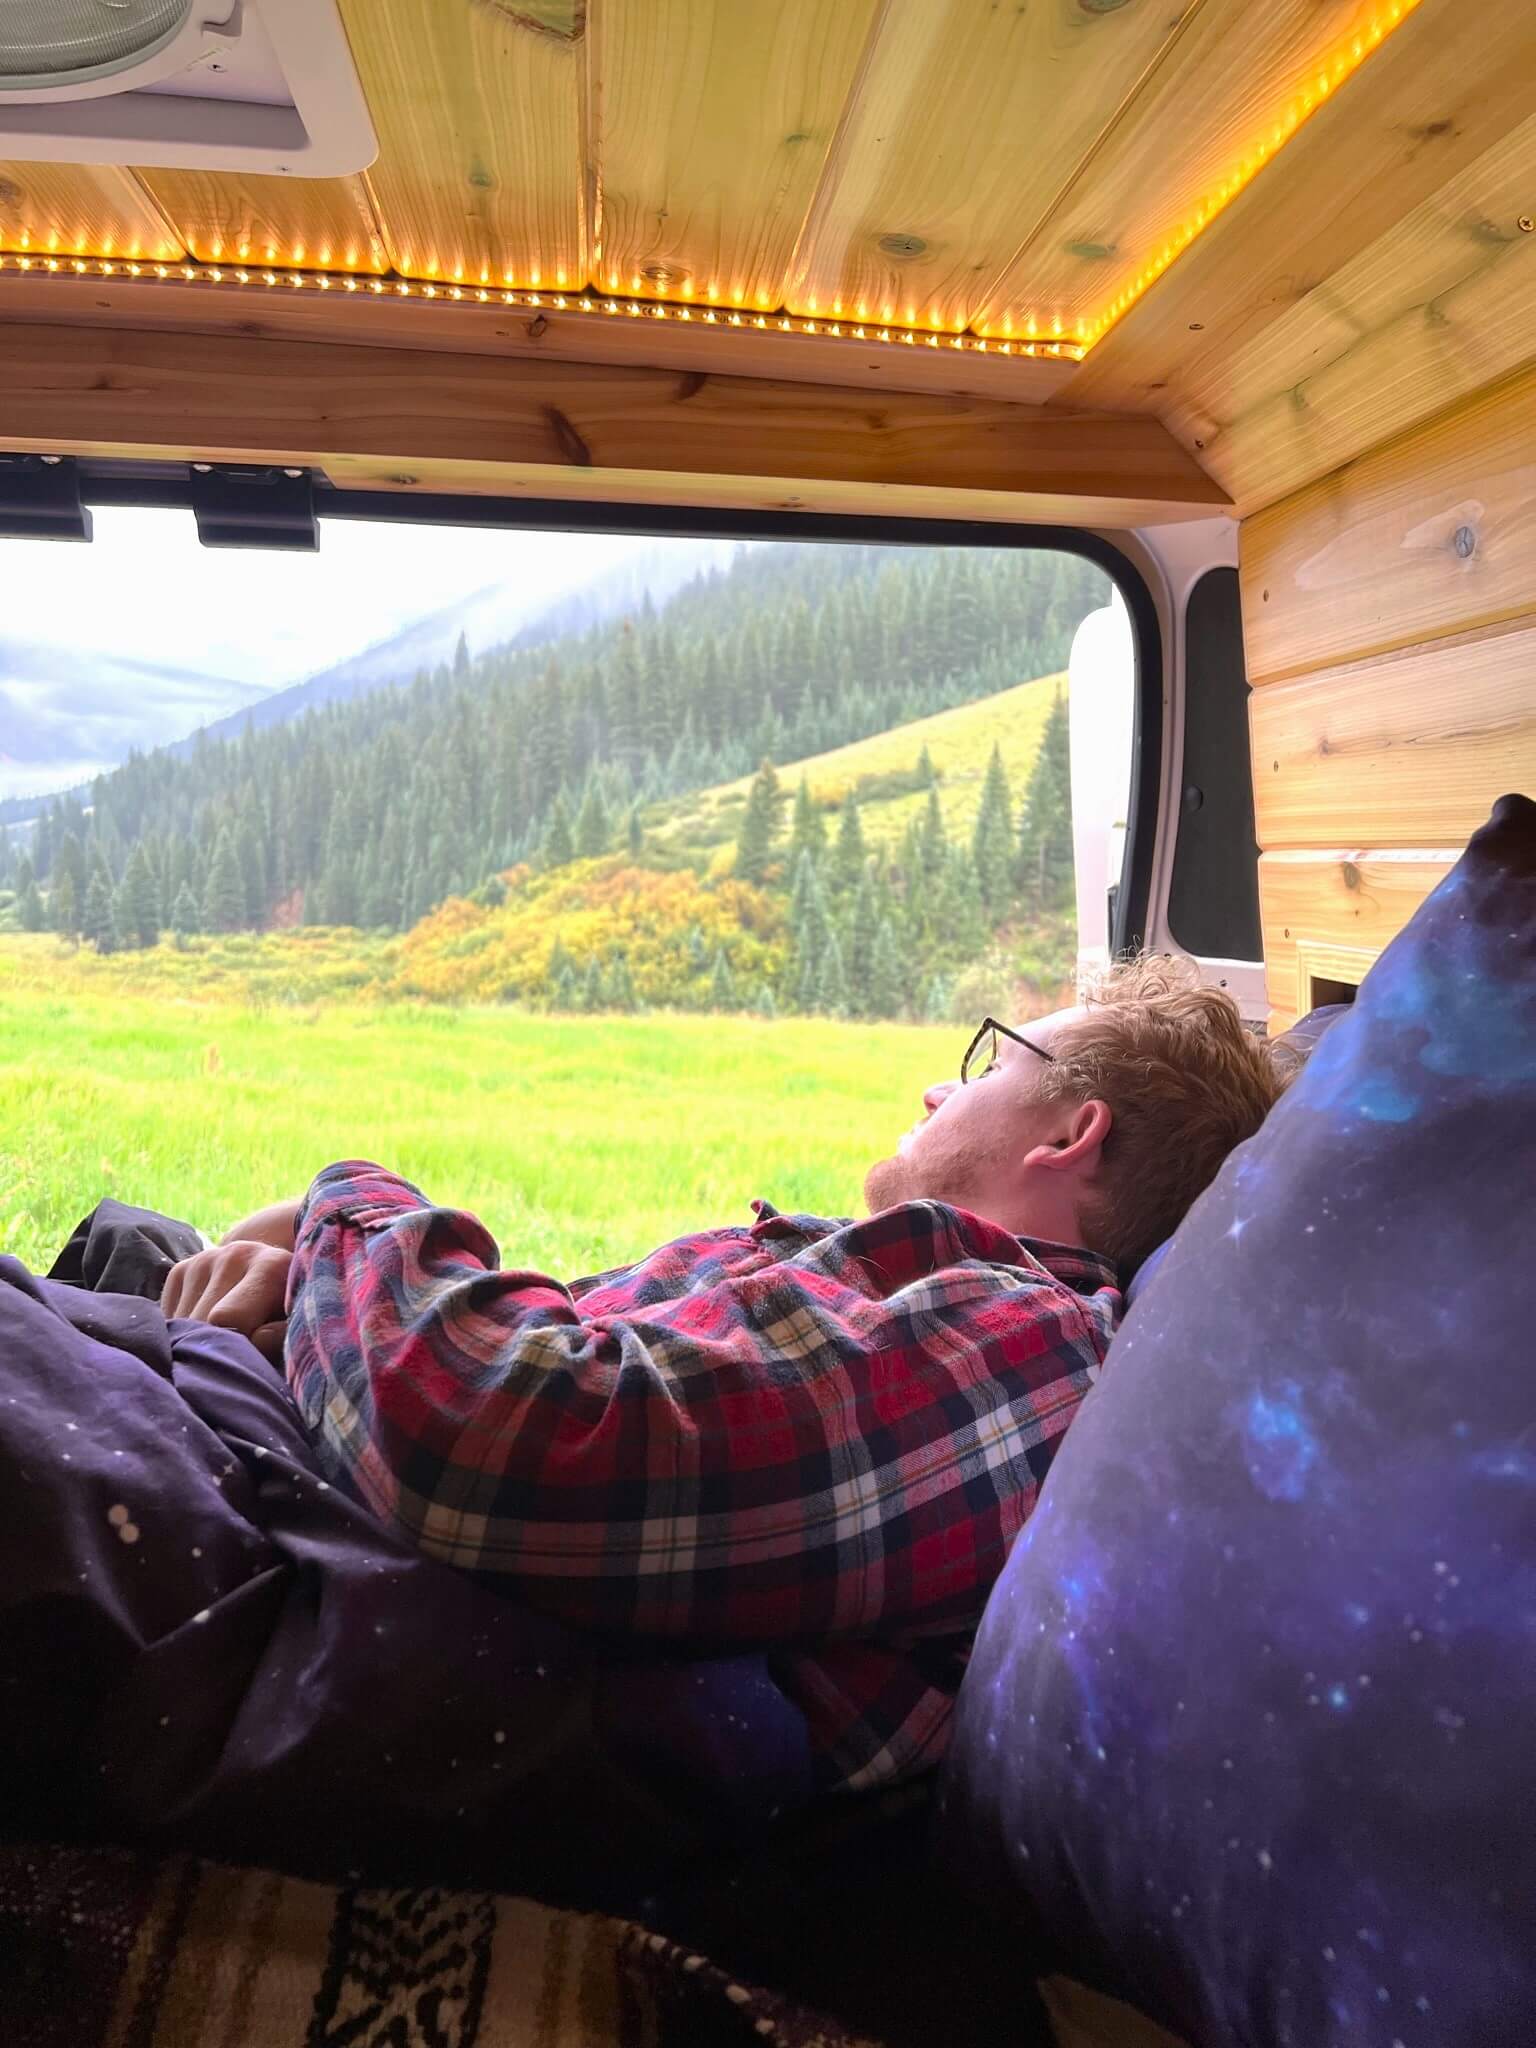
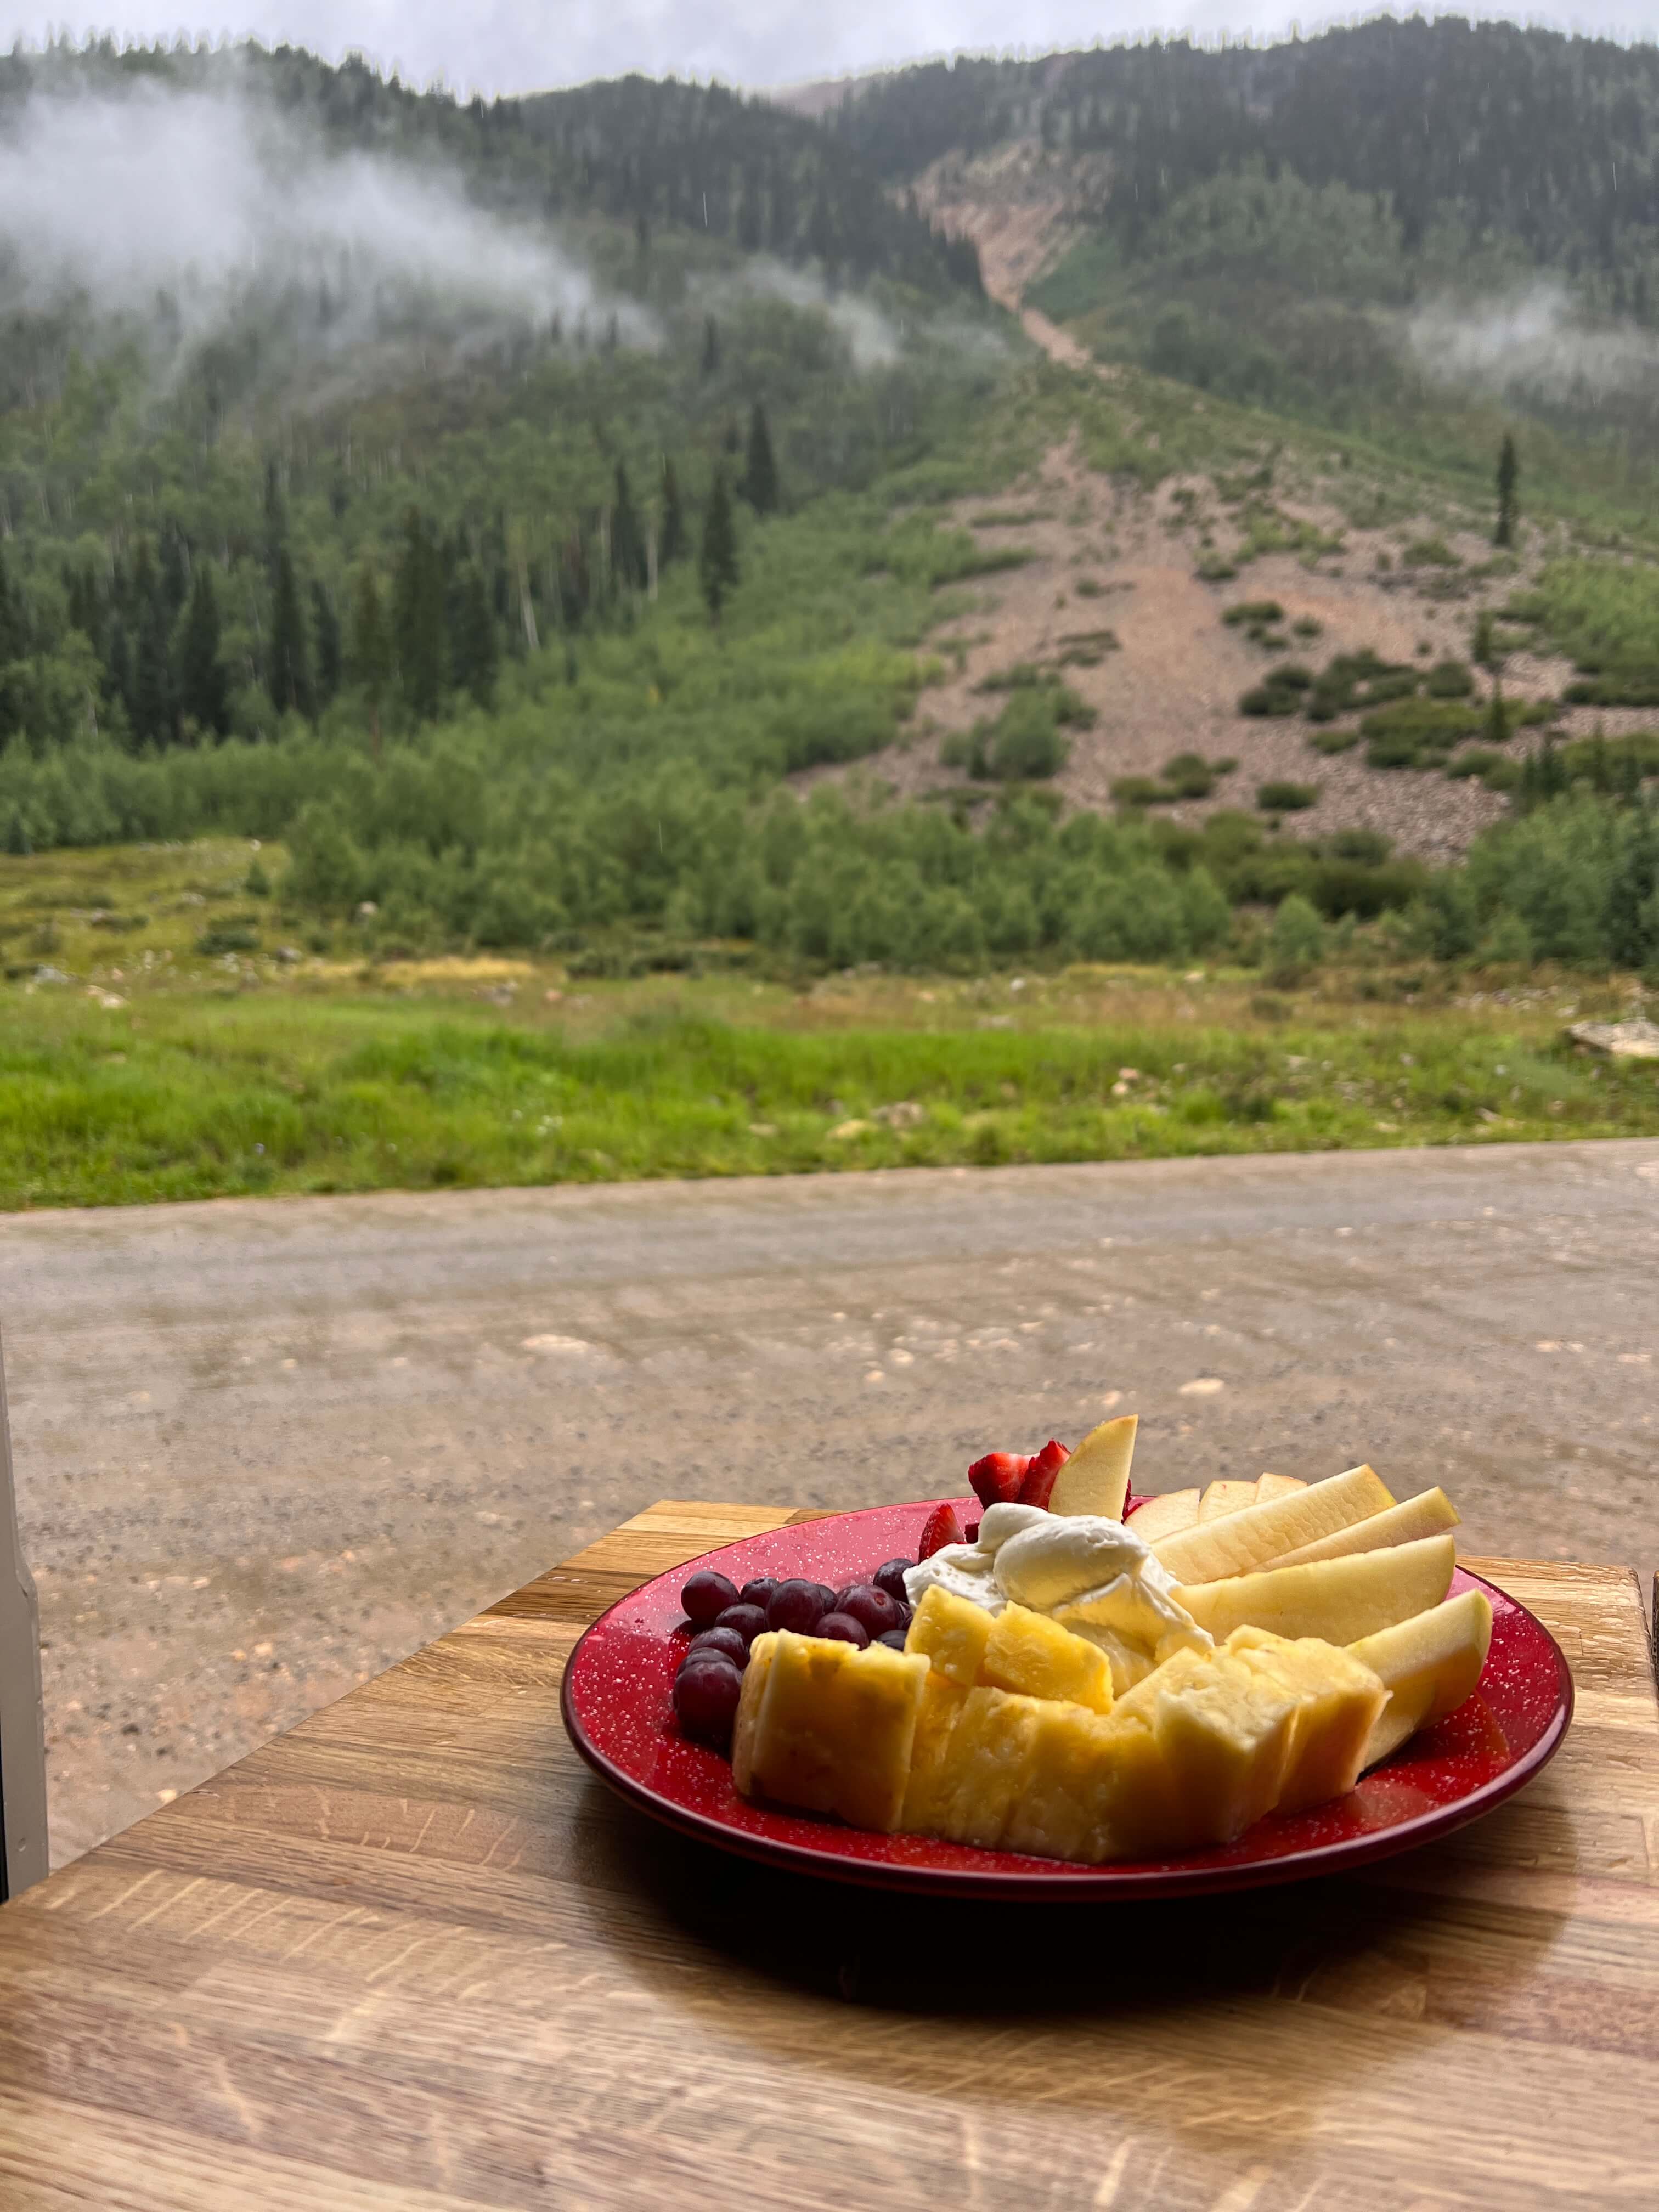
We woke up in the morning to the sound of a nice calming light drizzle and the sound of the rushing river next to us. When we stepped outside the van, we were graced by beautiful low-lying clouds in the pine trees. It was stunning. Being from the hot, dry state of Arizona, we didn’t mind it a bit. I prepared fruit and dip in our van kitchen and we sat and enjoyed the view cuddling in bed with our door open. It was a DREAM COME TRUE. This is why you need to rent a van from Boho Camper Vans for your Southwest Road Trip.
DRIVE THE MILLION DOLLAR HIGHWAY
After we changed and packed up the van, we drove to Ouray. The drive from Silverton to Ouray is termed “The Million Dollar Highway.” This was one of my favorite parts of our southwest road trip. There are multiple theories as to where the name came from, but regardless, IT’S BEAUTIFUL. Realize that the driver needs to be paying attention to the road, but there are a few fun stops to enjoy the views, and you can switch drivers on the way home.
⇒ Red Mountain Mining Overlook: From this viewpoint, you’ll see old historic mines nestled up against the mountain that is red in color, hence the name.
⇒ Bear Creek Falls: You can’t miss this stop. 2.9 miles before hitting the city of Ouray, you’ll see a beautiful large waterfall. When you go through a tunnel and then cross over a bridge, you’ll know you found it. There is also a visible walkway and some information signs that help point you in the right direction. It’s also right near the Ouray: Switzerland of America sign. You can’t see the waterfall from the road, but you can from the walkway. You can feel the beautiful mist from the waterfall. I loved it.
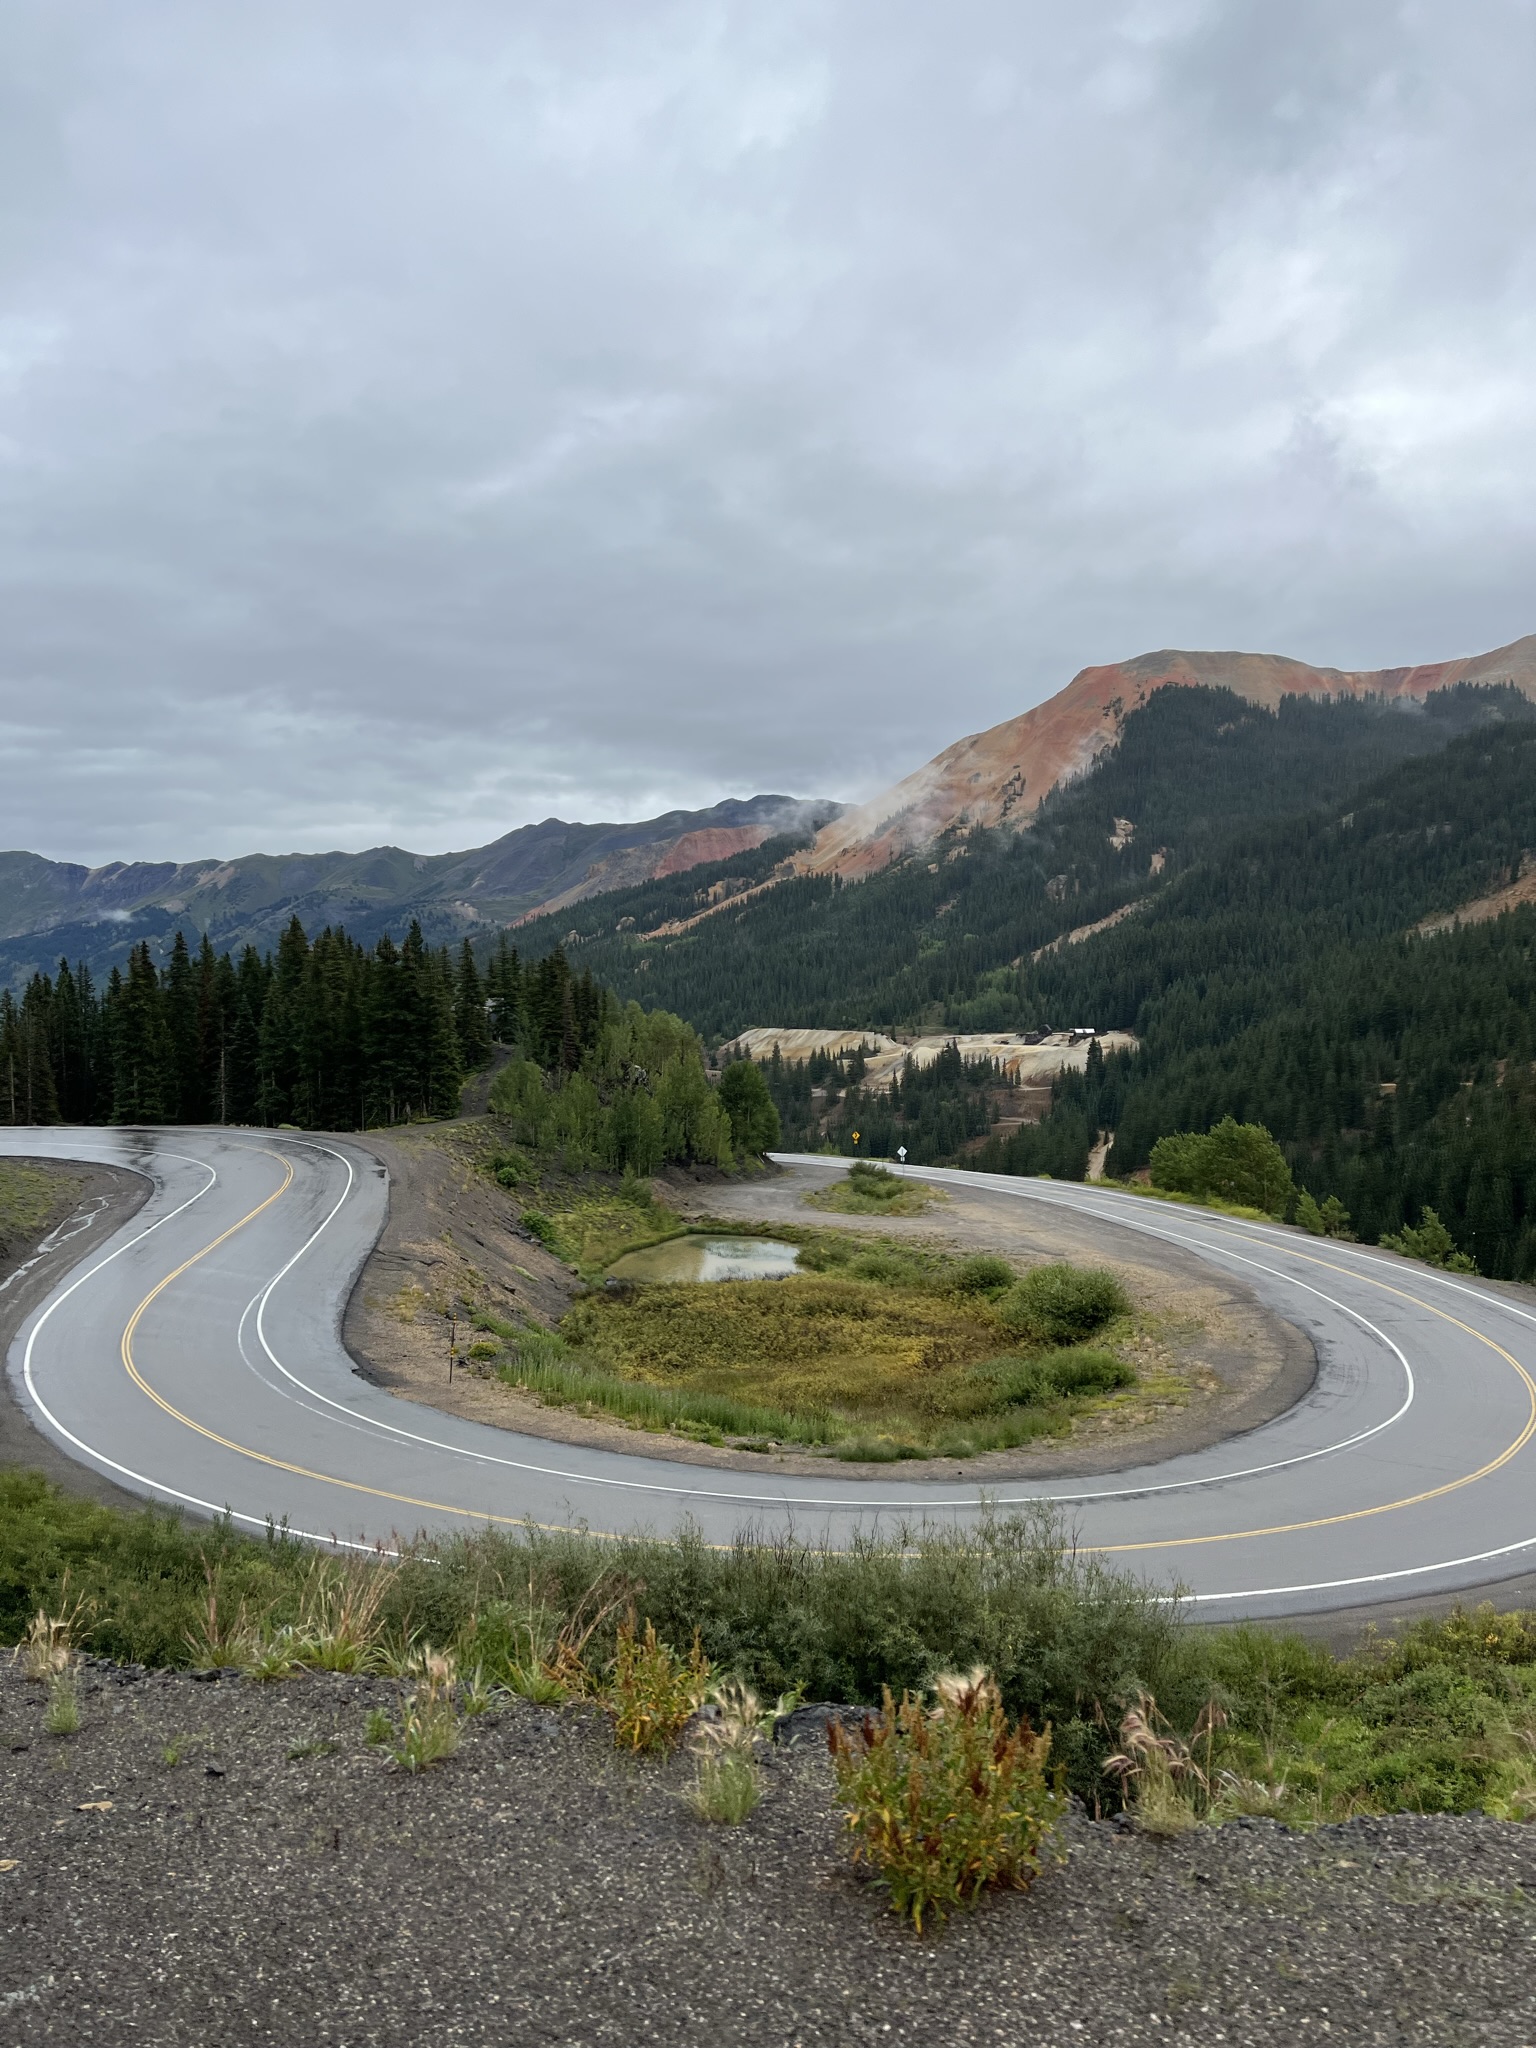
Millon Dollar Highway Near Red Mountain
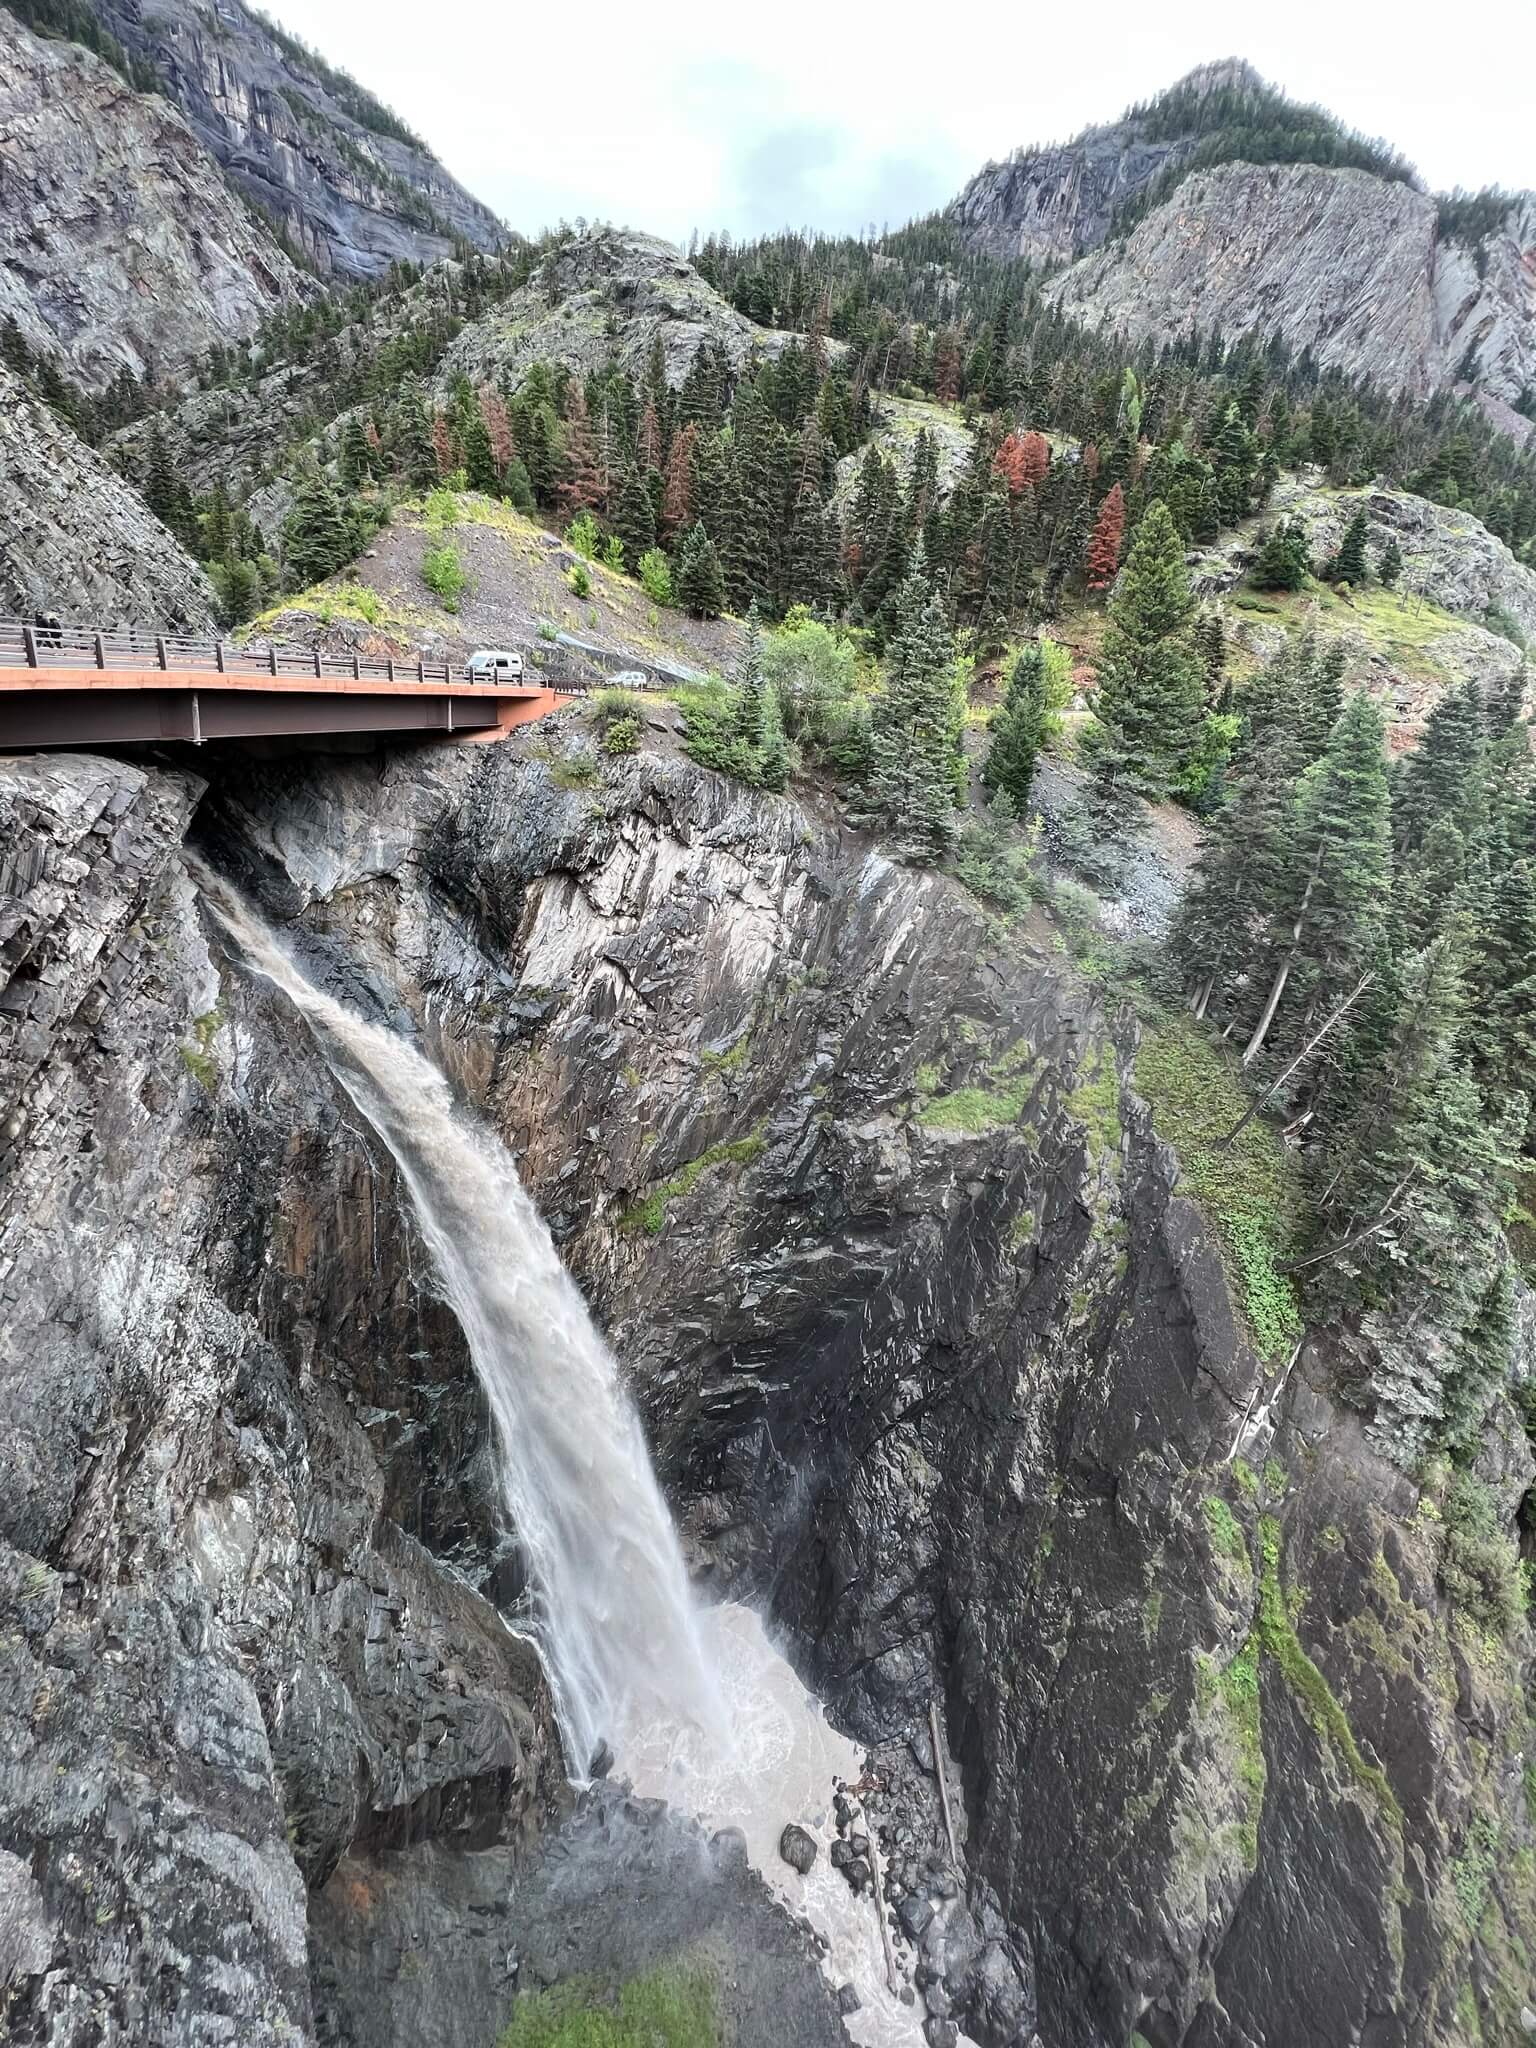
Bear Creek Falls near Ouray, CO
DOWNTOWN OURAY
I love stopping at small mountain town shops. My husband always wants to get a drink of coffee to start our day, so we stopped at Mouse’s Chocolates and Coffee, which he loved. He came back later to try their hot chocolate too. After our coffee, we got souvenirs from a local shop and hung out for a while. We chose a lunch location based on google reviews and landed on Maggie’s Kitchen. I’ll be honest, the burger I had was DELICIOUS. I could go for another one. The restaurant itself looks a little funky, but man the food is good.
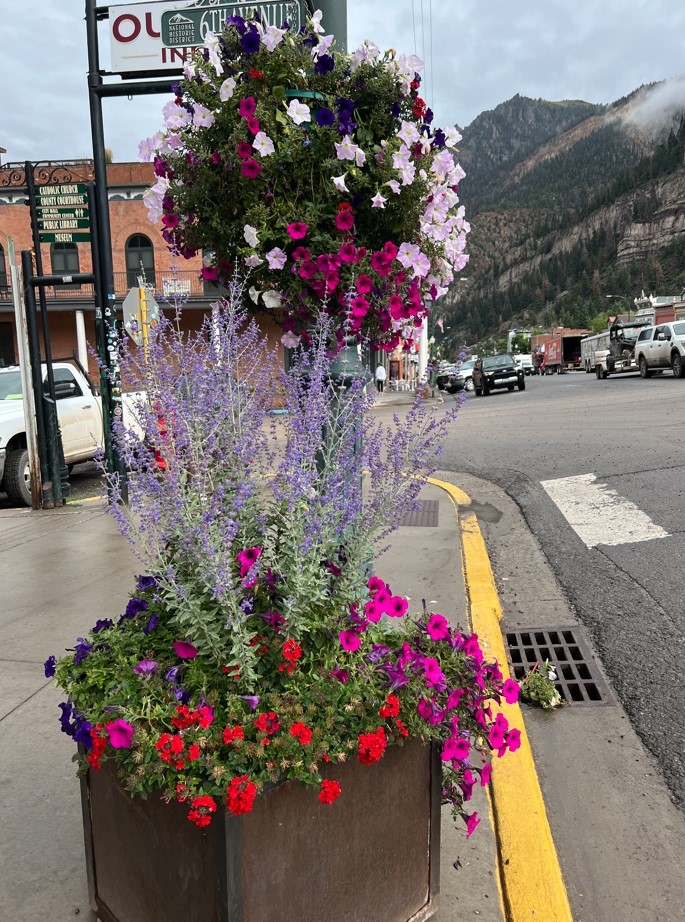
Millon Dollar Highway Near Red Mountain
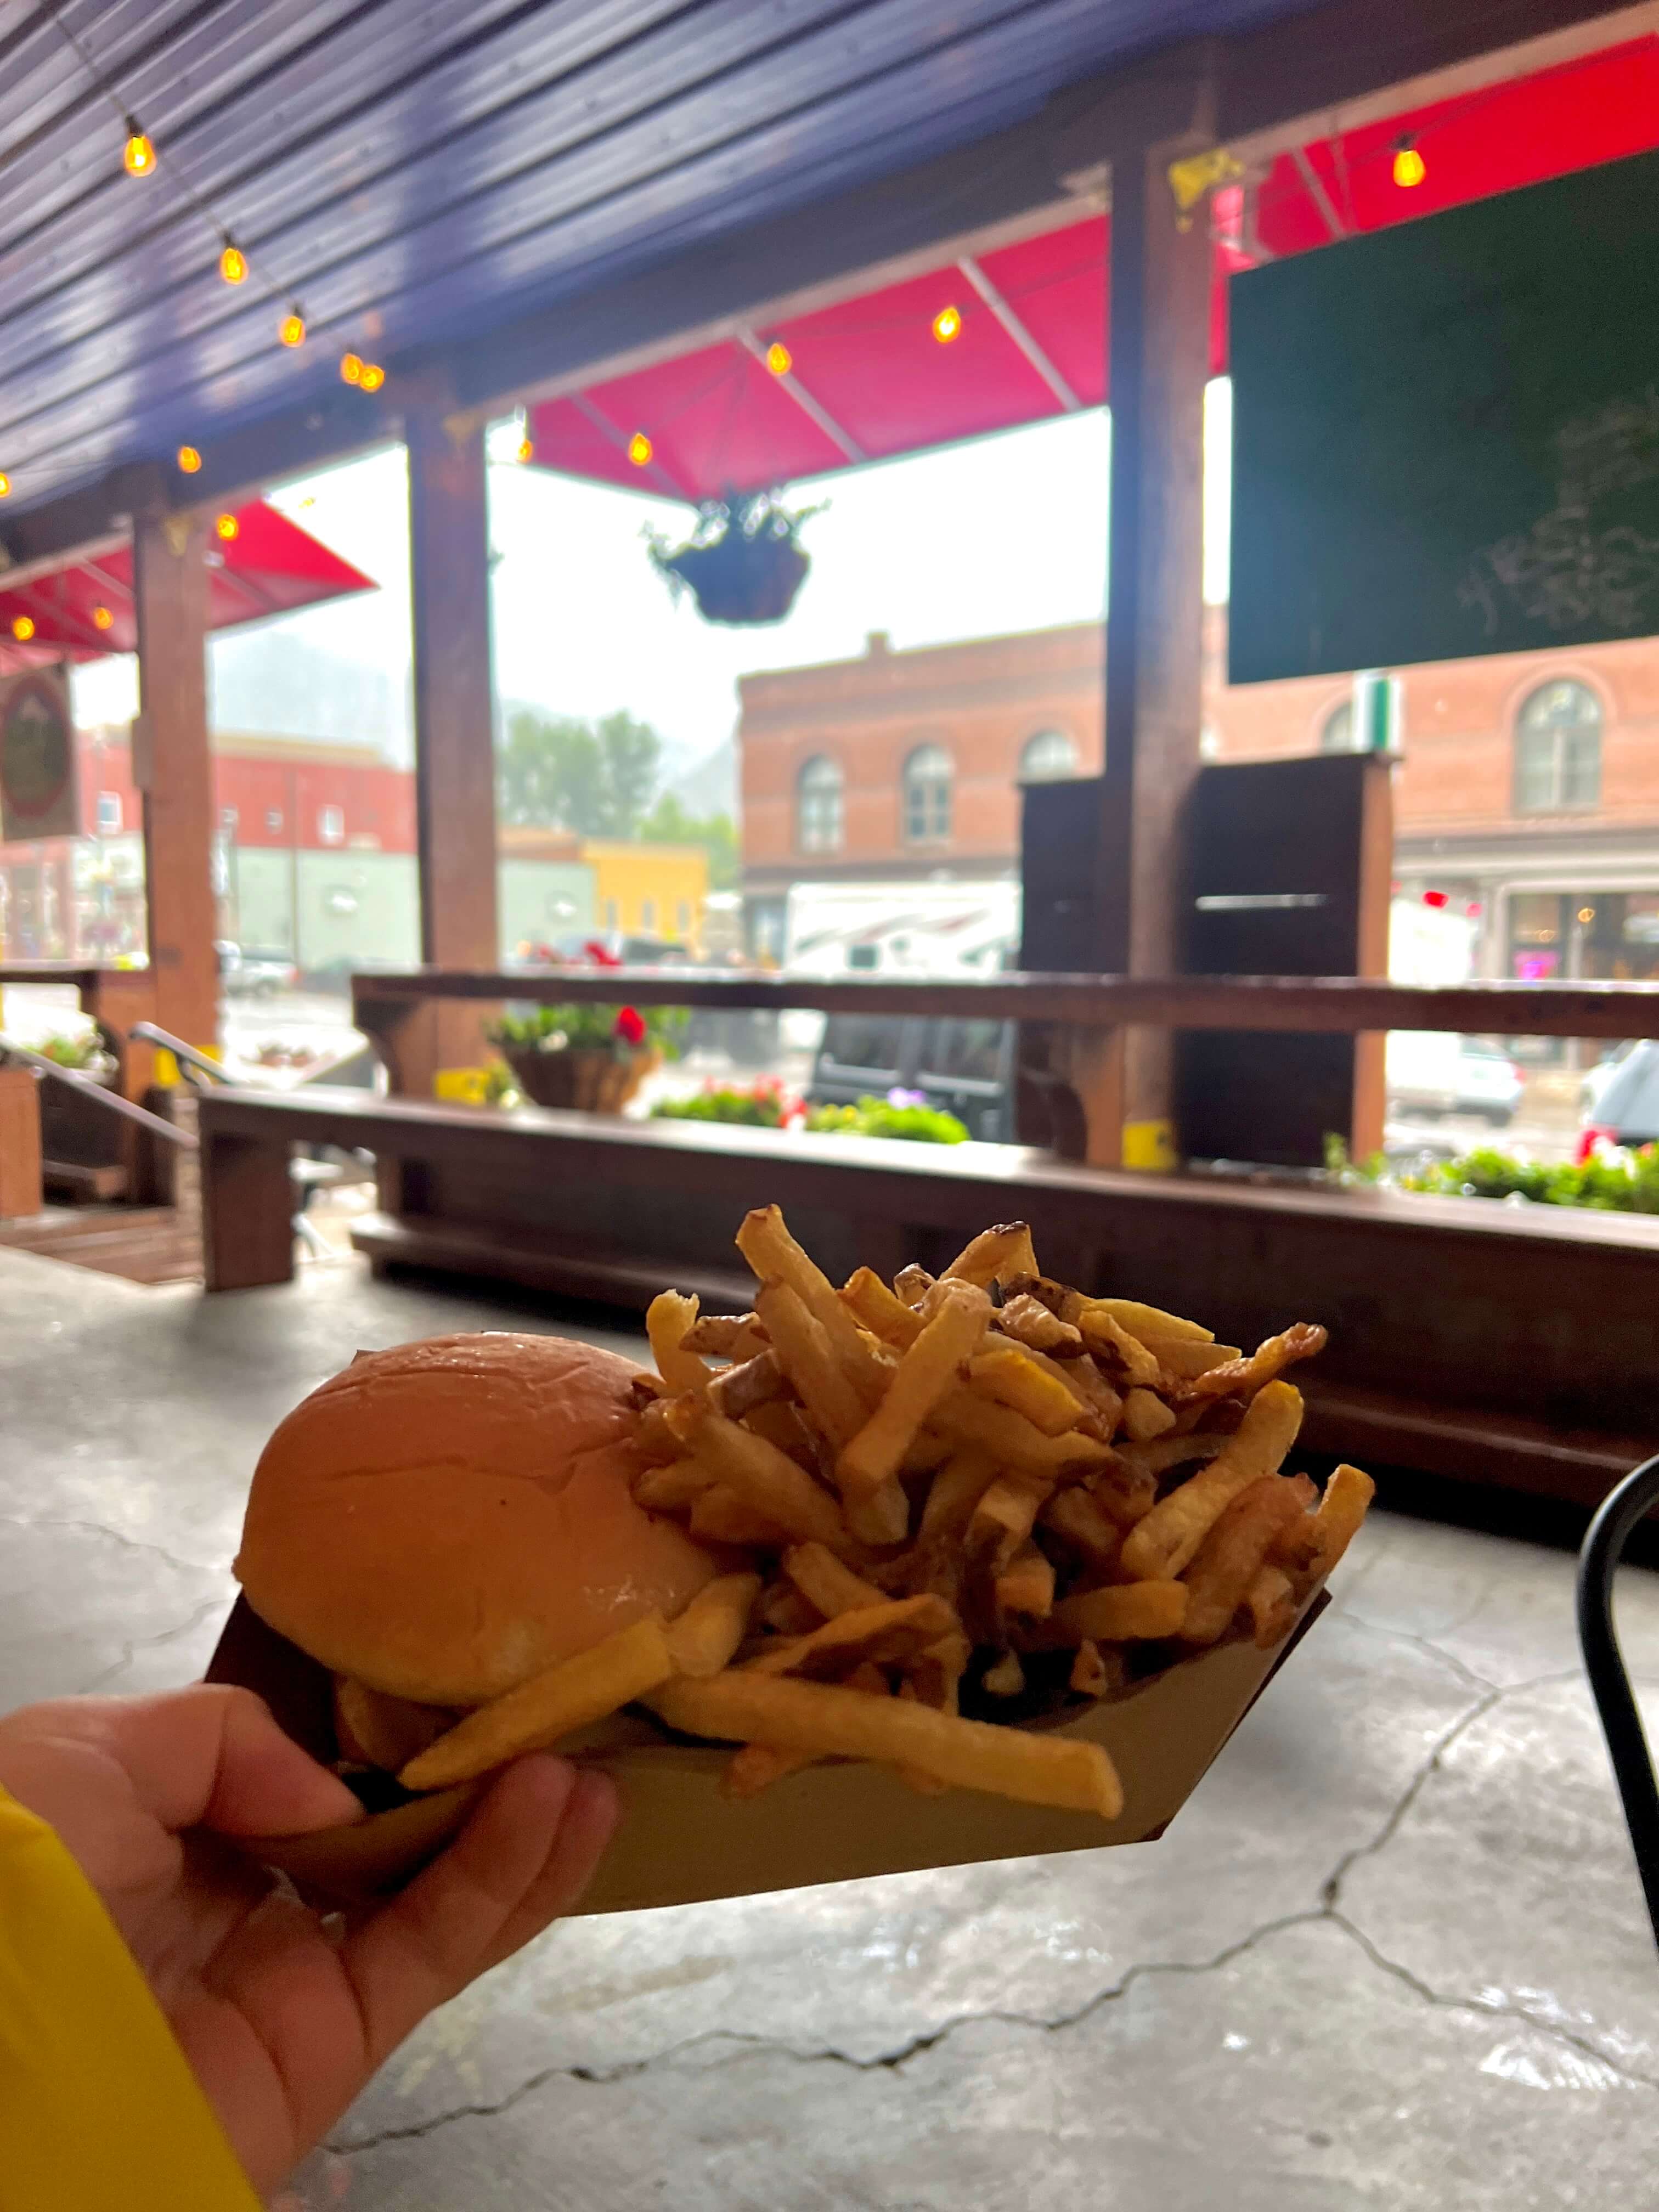
Bear Creek Falls near Ouray, CO
HIKE- OURAY PERIMETER TRAIL
Up next on our adventure in Ouray Adventure was the 6-mile hike called the Ouray perimeter trail. There are multiple entry points to this hike, the main one is across the street from the visitor center. I was told to go clockwise, and I did enjoy it! You’ll hit multiple beautiful features on this trail, including Cascade Falls, Box Canyon Falls, rivers, and multiple different terrains. I will review this hike in detail in another post, but this is a MUST-DO. It rained halfway through our hike (luckily we came prepared), and man it is so nice to be able to rinse off, change clothes, and clean our dog up in the van.
Here are some extra activities if you have more time in Ouray:
⇒ Walk all the trails at Box Canyon Falls. We could only see above it from the perimeter rail because dogs aren’t allowed down. If you don’t have a dog, you definitely should pay the $5 fee to walk around.
⇒ Soak in Ouray Hot Springs Pool. This is a very popular thing to do in the area. I like hot springs, but I prefer hiking so we skipped it this time. I also have a preference for hot springs in the middle of nature, but that’s just me.
⇒ Do a Tour. This area is popular for 4×4 and Jeep Tours. Definitely sounds like a fun day!
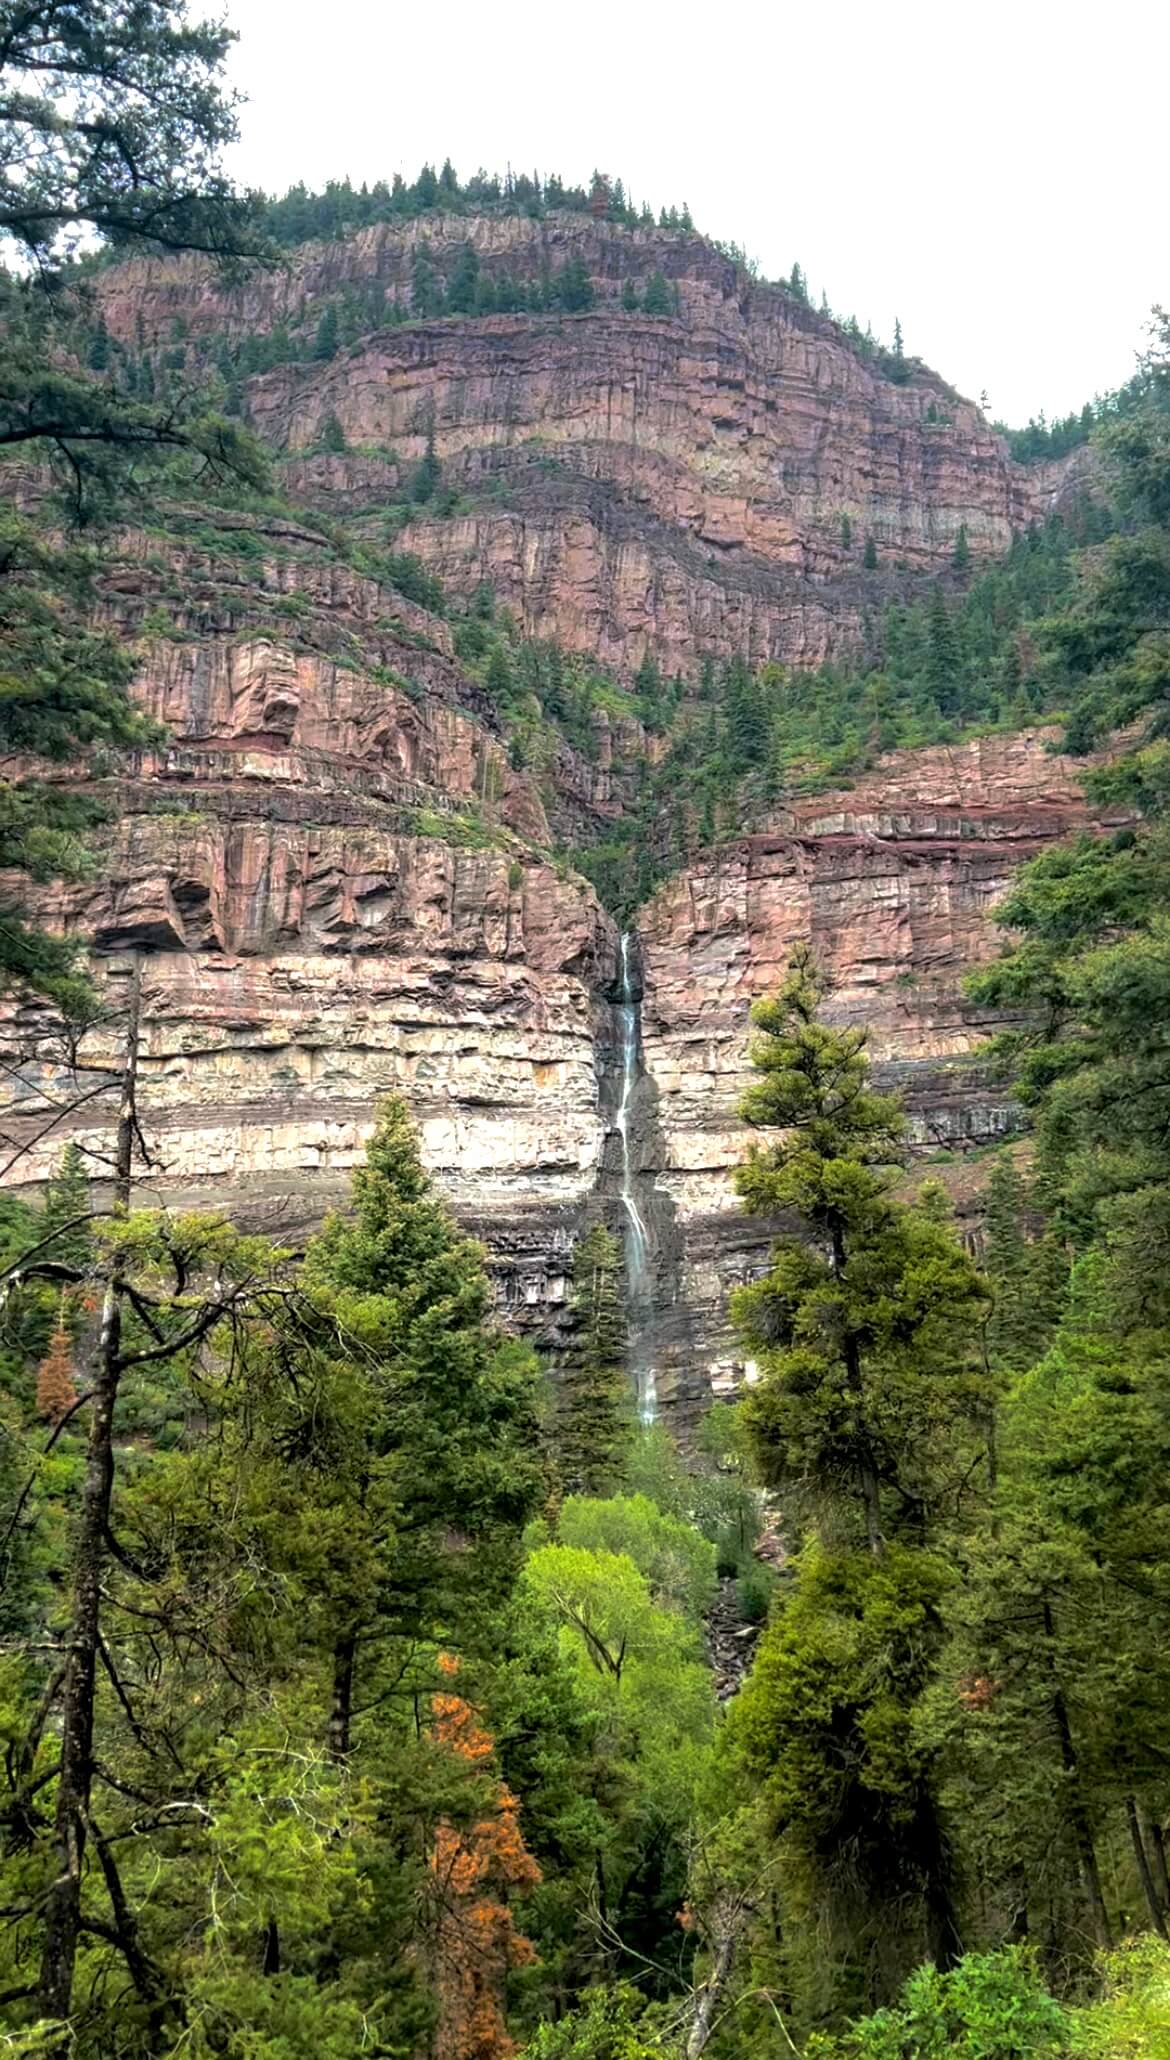
Cascade Falls
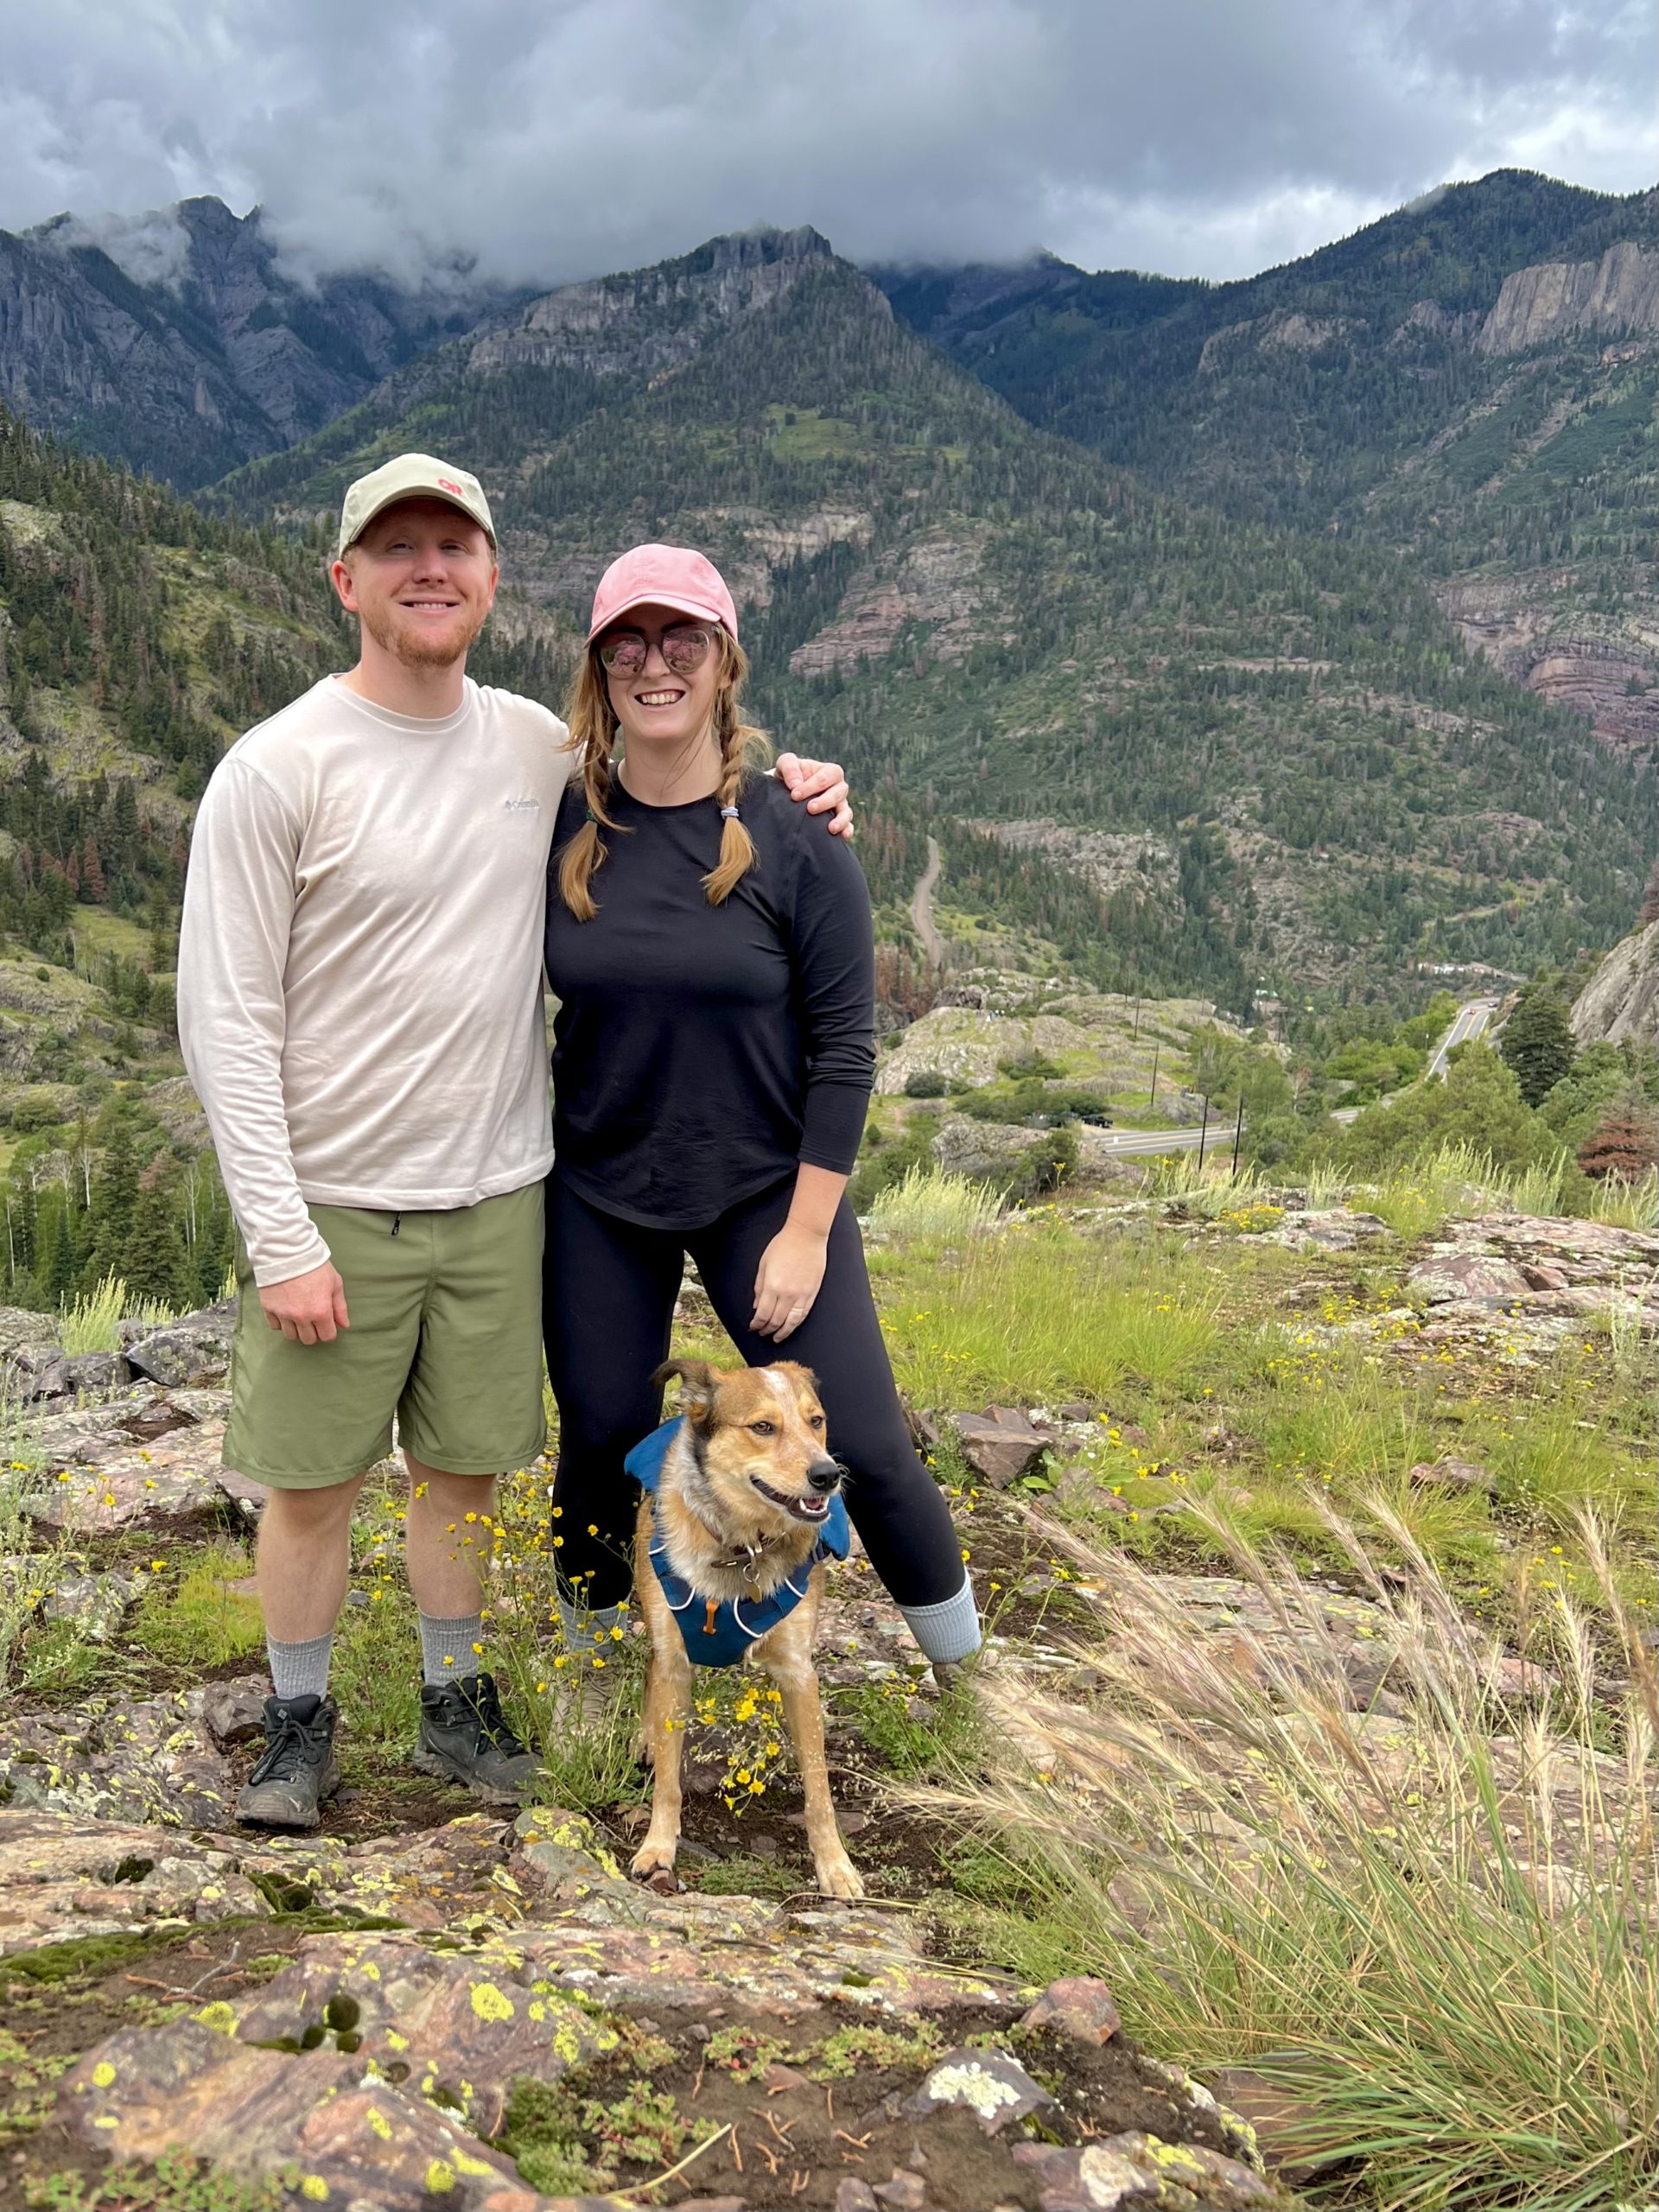
Midway on Ouray Perimeter Trail
NIGHT 3 CAMPING- BLUE LAKE TRAIL
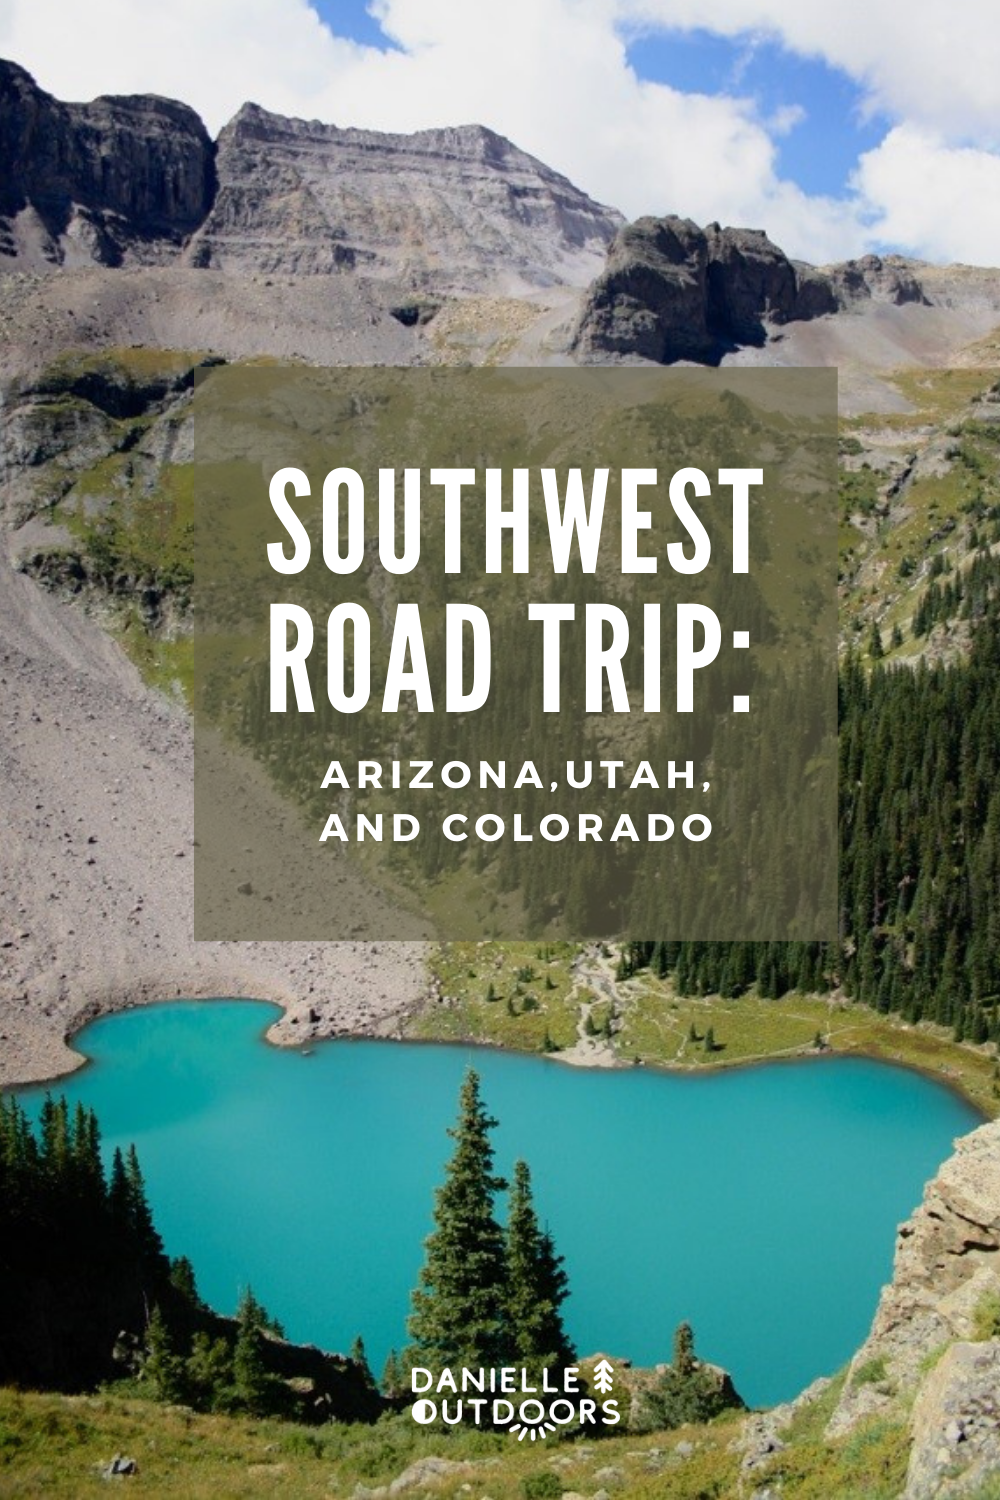
We had planned to wake up on Day 4 and hike the Blue Lakes Trail. To make it easier to do this, we drove from Ouray to the trailhead before dinner time and decided to hang out at our campsite. To get here, you drive up to Ridgeway, a bit west, then down a 9-mile dirt road. This is a 2WD road, but it can be a bit bumpy and you need to watch out for potholes. I saw mustangs and Tesla’s using this road (I wouldn’t drive these up personally). It was only 23 miles from Downtown Ouray, but took about 45 minutes due to the slow dirt road. Towards the end, you’ll reach a cattle gate signifying when camping is allowed (they make it obvious). There are multiple turn-offs for free dispersed spots and we didn’t have trouble finding a beautiful spot.
We opened the back doors to the van, hopped up into the van, and took an hour’s nap listening to the rushing river steps away from us. Then we had a delicious dinner by the fire (wood provided by Boho Vans!).
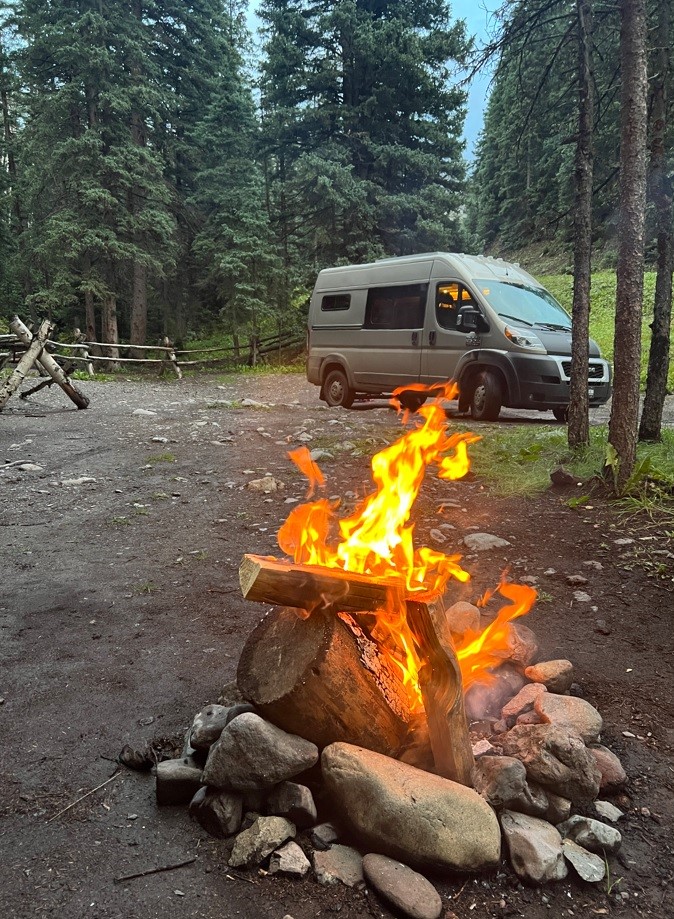

DAY 4: HIKE BLUE LAKES TRAIL
We woke up before the sun hit the horizon and headed to the trailhead, only 0.2 miles away. PRO TIP: HIKE EARLY! The trailhead parking was insane when we finished our hike, and there can be afternoon thunderstorms. Make sure you pack lots of food and water for this hike- it’s long and difficult. I also advise waterproof shoes as there are multiple water crossings (not deep- there are rocks to step across, but you don’t want to hike in wet socks).
BLUE LAKES TRAIL
Length: 8.7 miles
Elevation: 2,500 ft
Dog-Friendly: Yes
Difficulty: Hard
Features: 3 Blue Alpine Lakes
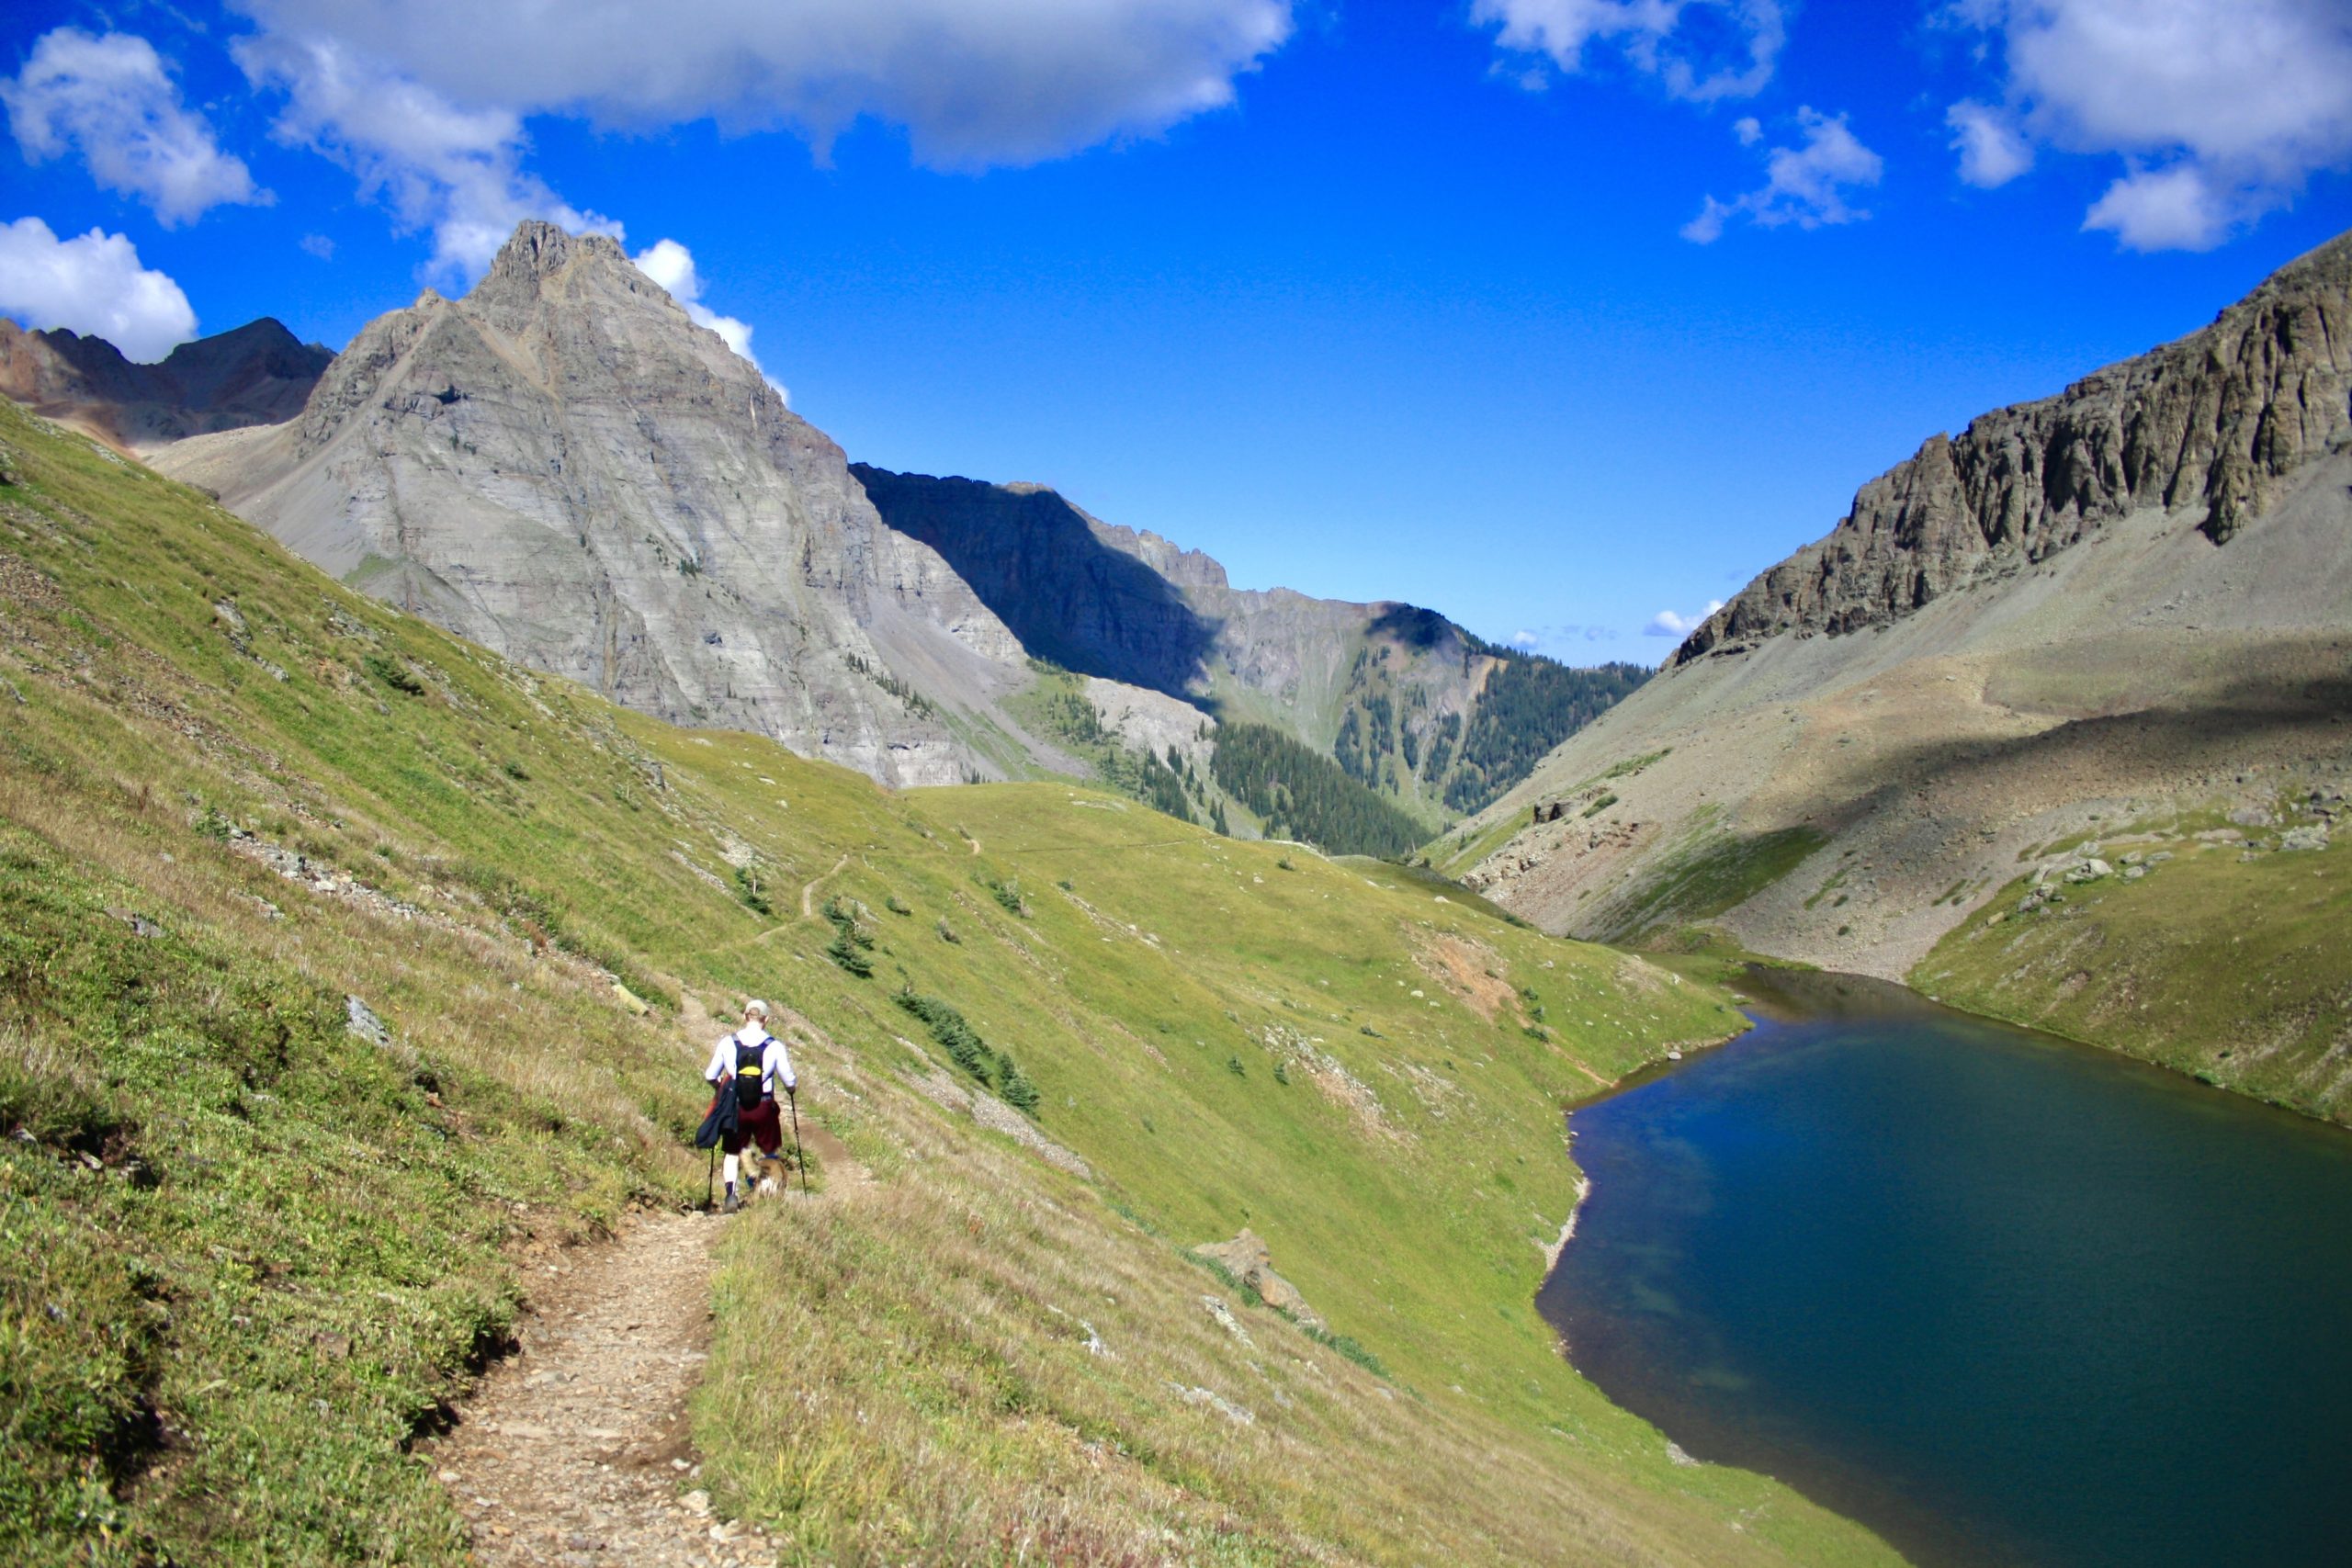
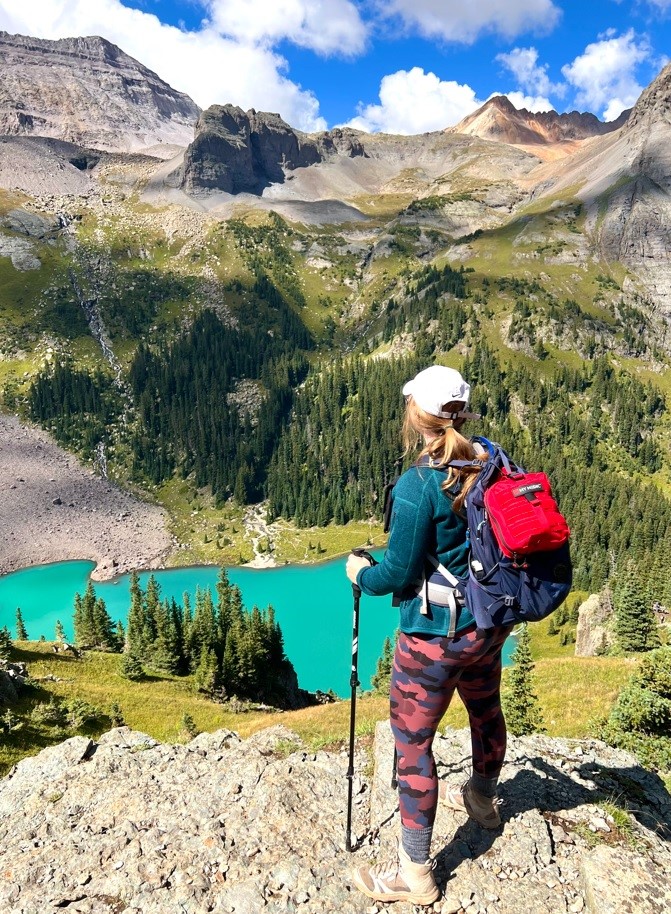
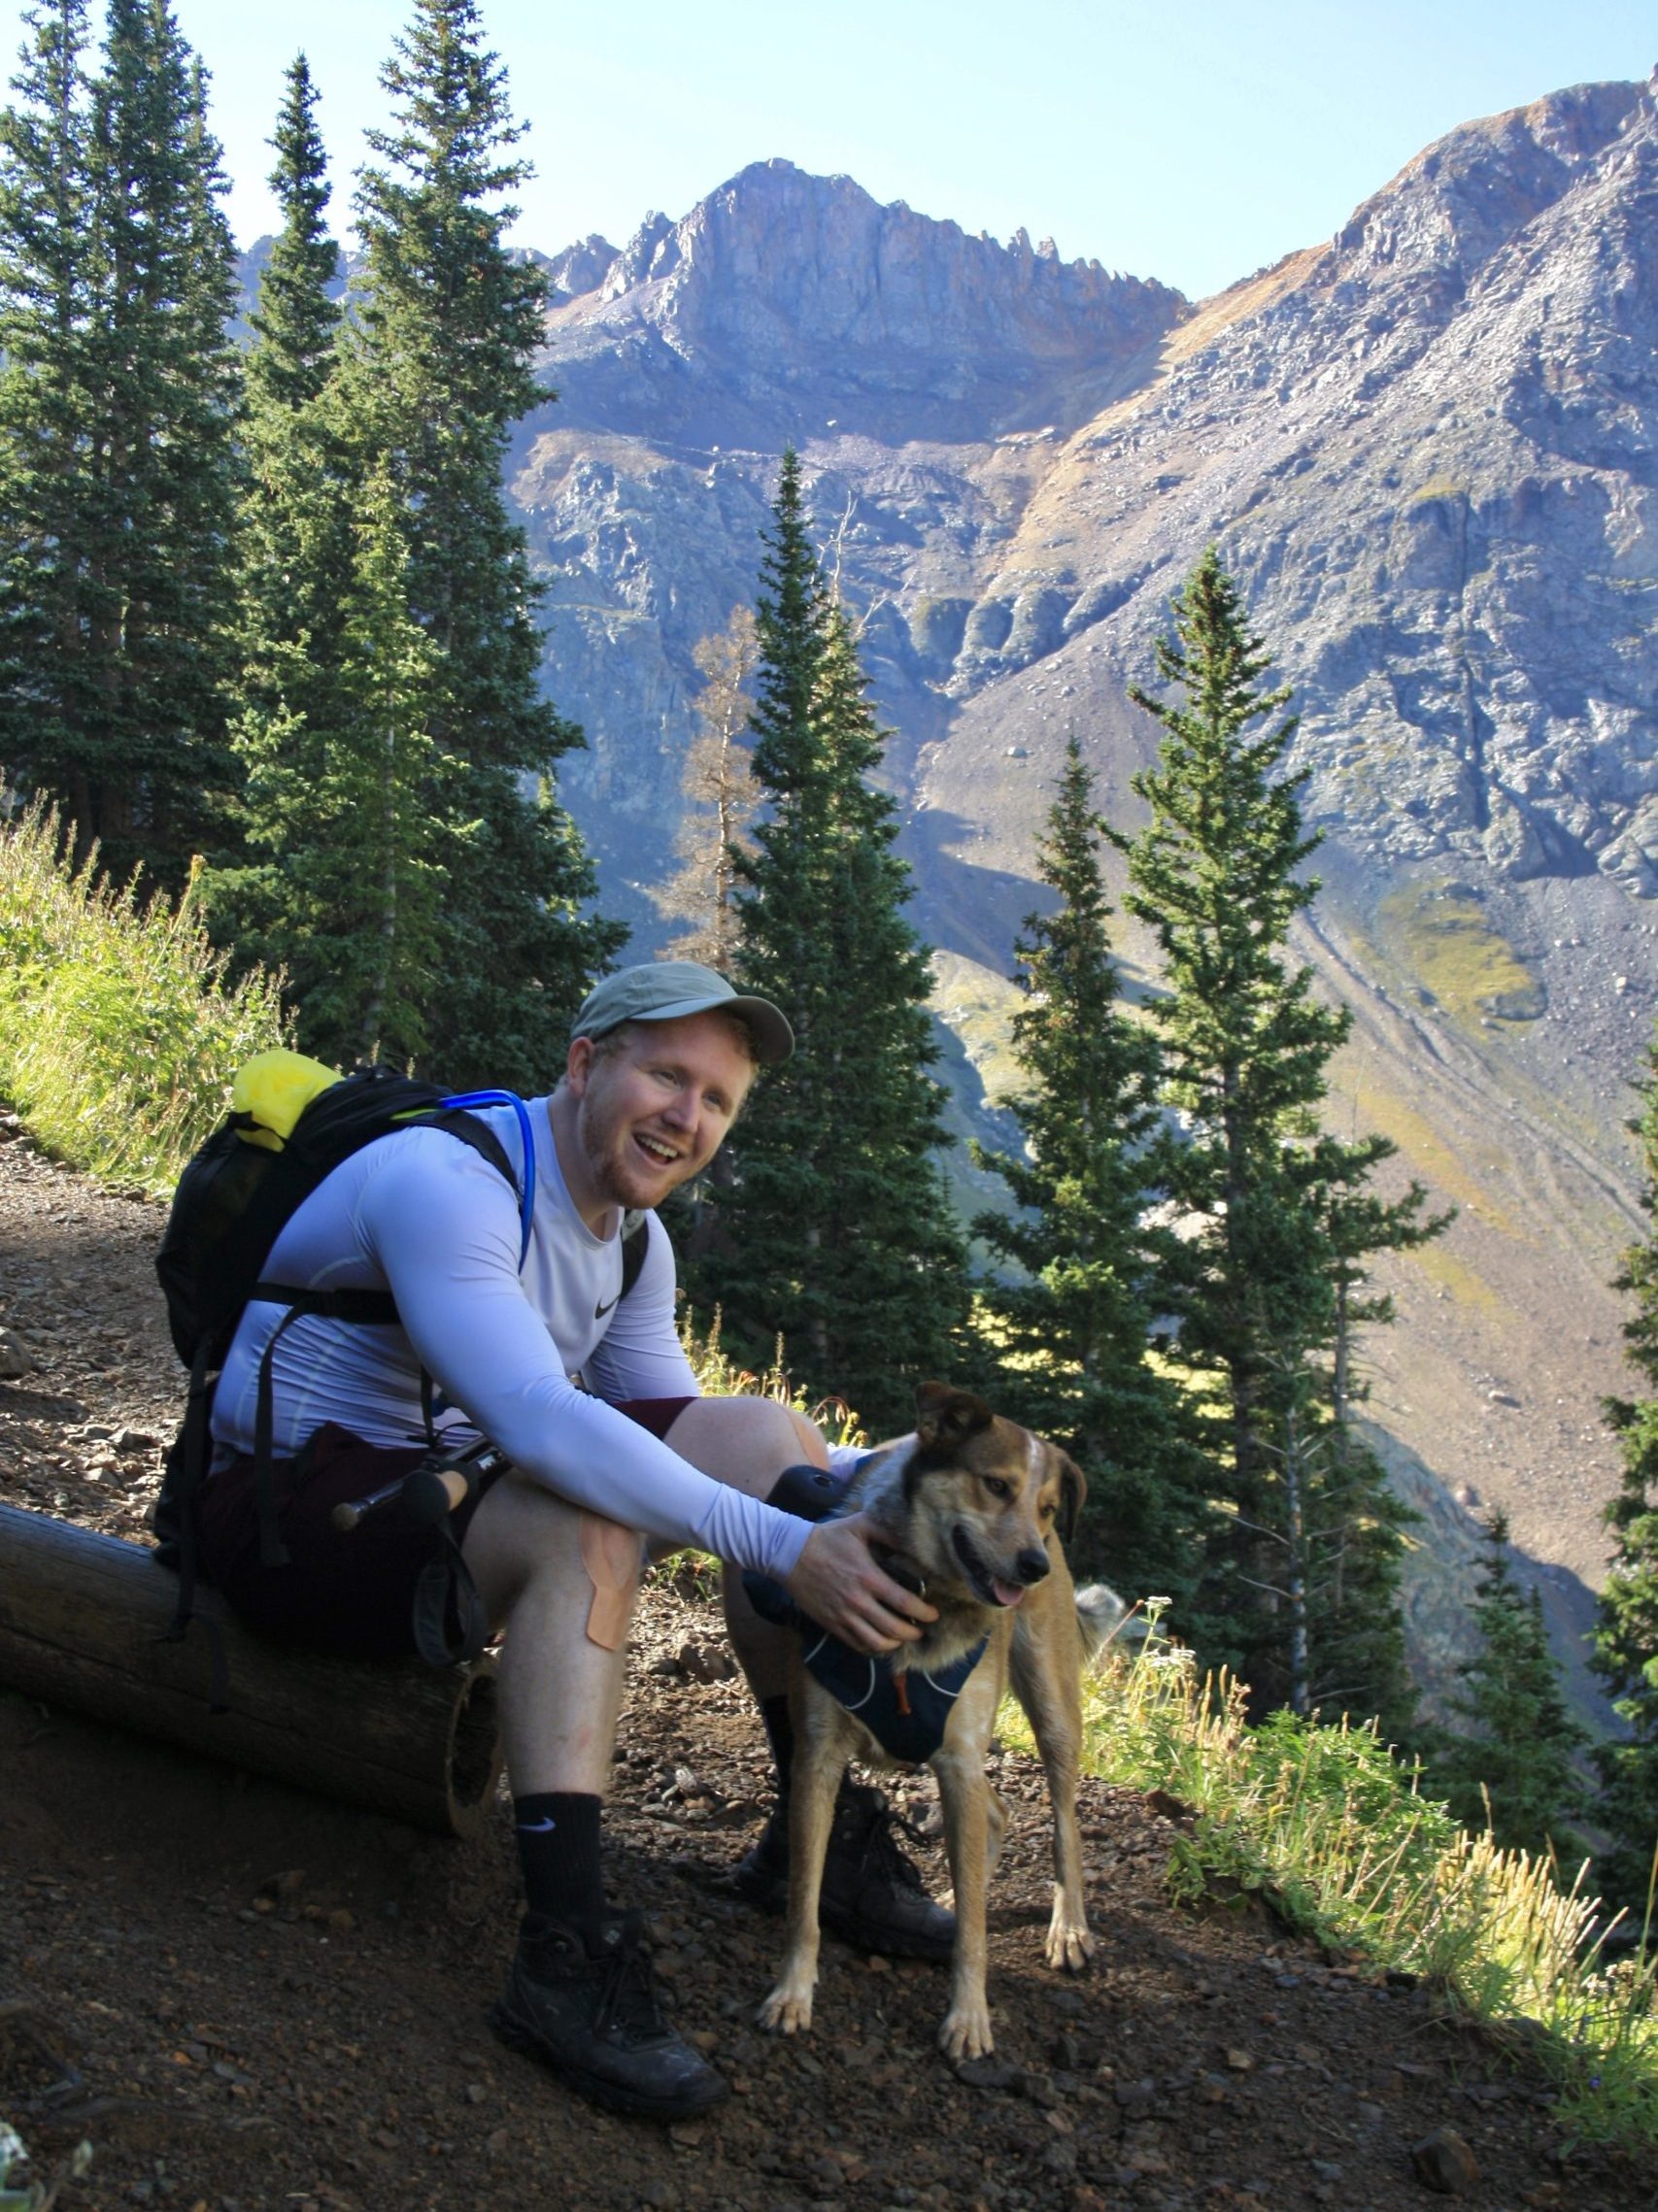
Our hike took about 6 hours, from 730am to 130pm. We took a while at the top to relax and lay down in the grass. And why rush?? Enjoy the views! Also, I was huffing and huffing the whole time haha. After we got to our van, we left and found a remote area in the trees off the main road to shower. We backed the van up facing the wilderness so no one could see us shower nude (no shame haha). While one showered, the other prepared our lunch. So nice preparing fresh food even on the 4th day of the trip due to our fridge in our van.
We had to be back at a decent time on Sunday (day 5) to drop off the van, so after our hike and lunch, we had to head home. We stopped in Durango to get dinner and enjoy the sunset downtown. After, we kept driving until we felt tired. I found a good stopping point in Greer, Arizona in a dispersed camping site. We didn’t care about views, we just cared about being done driving and getting some sleep, haha.
If you’re looking to add some extra time to your road trip, consider seeing this beautiful old mill in Western Colorado (one of the most photographed locations in the US), or driving to Denver and Rocky Mountain National Park .
DAY 5: DRIVE HOME
When we woke up, I made one last yummy breakfast before cleaning and packing up all of our supplies. I like to pack up and gather trash BEFORE heading home so that you have less to do when you pull up to your destination and you’re cranky, haha.
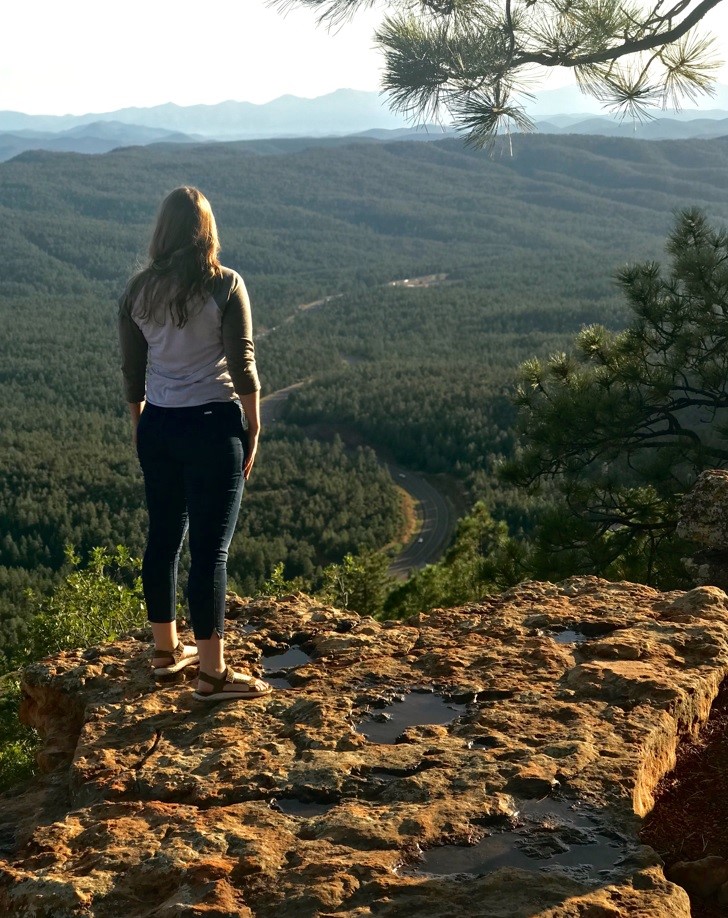
We made a quick stop at the Mogollon Rim, about an hour and a half out of Phoenix. If you haven’t been before, you need to stop. It’s beautiful. We just stopped to get a breath of fresh air on our way home. I LOVE this area of Arizona. This was our last stop on our 5-day Southwest Road Trip.
SUMMARY OF MY SOUTHWEST ROAD TRIP
DAY 1: Phoenix to Monument Valley
DAY 2: Monument Valley to Durango to Silverton
DAY 3: Silverton to Ouray to Blue Lakes
DAY 4: Blue Lakes to Greer, Arizona
DAY 5: Greer to Phoenix
There are multiple options to modify this trip, from different starting/ending locations to adding on extra days in between. Remember, you CAN NOT see everything on one trip. Life is short and you should take advantage of the time you have, but you also need to give yourself time to enjoy nature and realize you CAN come back if you need to. DONT RUSH- it just leads to arguments!
I HIGHLY, HIGHLY recommend renting a Boho Camper Van for your trip. It made our trip 1000x more enjoyable than tent camping. I love camping, but on a trip where you’re in different locations every day, a van is perfect.
In the map below, I tagged the locations I mentioned above. Enjoy and please comment and leave me any questions you have. Happy Hiking!
