Everything You Need to Know about Hiking Manoa Falls
You ABSOLUTELY need to make time to hike Manoa Falls on your Oahu trip. Out of my 8 days there, my single favorite moment was swimming under this natural beauty. Manoa Falls is 150ft tall and the surrounding area has been featured in Jurassic Park, Lost, and Hawaii Five-0. In this post, I will lay out everything you need to know before going!
Disclaimer: This post does include affiliate links, at no extra cost to you.
WHERE IS MANOA FALLS?
Manoa Falls is on the East Side of Oahu in Manoa Valley. Most people that visit Oahu stay in Waikiki, which cuts the drive down to about 20 minutes to the trailhead. The drive here was beautiful, winding through tree-lined cute neighborhoods. The closer you get, the more green it gets!
WHAT SHOULD I BRING?
- Swimsuit & towel if you plan on taking a dip in the falls
- Tripod w/ Bluetooth Button for couple photos
- Waterproof Phone Pouch for close up waterfall photos
- Hiking Sticks (this hike does have a good incline)
- Hiking Boots (I don’t recommend sandals due to the mud)
- Water shoes if you plan on getting in
- Water & Snacks
- Bug Spray (moisture + forest cover is a recipe for lots of bugs)
- Sunscreen
- Your camera!!
MANOA FALLS HIKE
Distance: 1.7 mi roundtrip
Elevation Change: 633 ft
Difficulty: Easy-Moderate
Duration: 1-2 hrs
Location: Na Ala Hele, Honolulu, HI 96822
Dog Friendly: Yes
Hours: Sunrise to Sunset
Parking Fee: $7, $4 if Resident or Military. An attendant takes your fee and shows you where to park.
Extra: Food Trucks at Entrance! (depending on time of day)
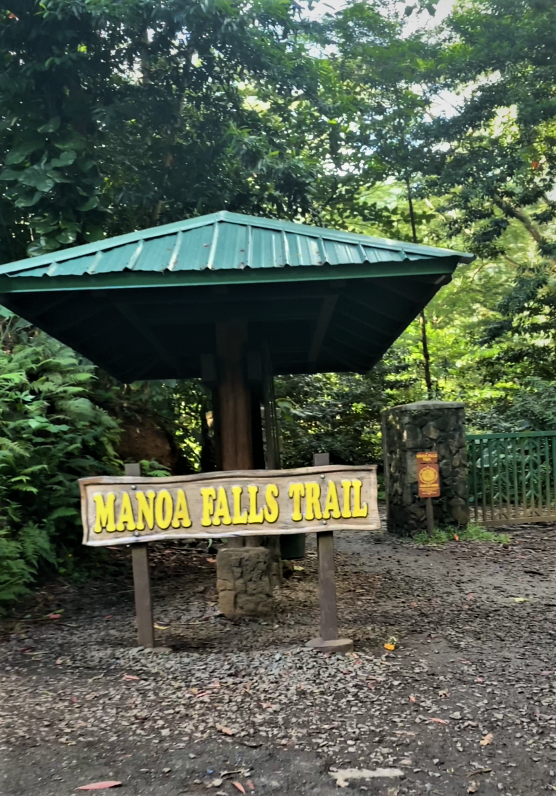
Finding the beginning of the trailhead is very easy. As long as you type the address into apple/google maps and find the parking attendant, you’re good to go. You will continue to walk up the road until you pass Lyon Arboretum on the left and you will soon see the ‘Manoa Falls Trail’ sign.
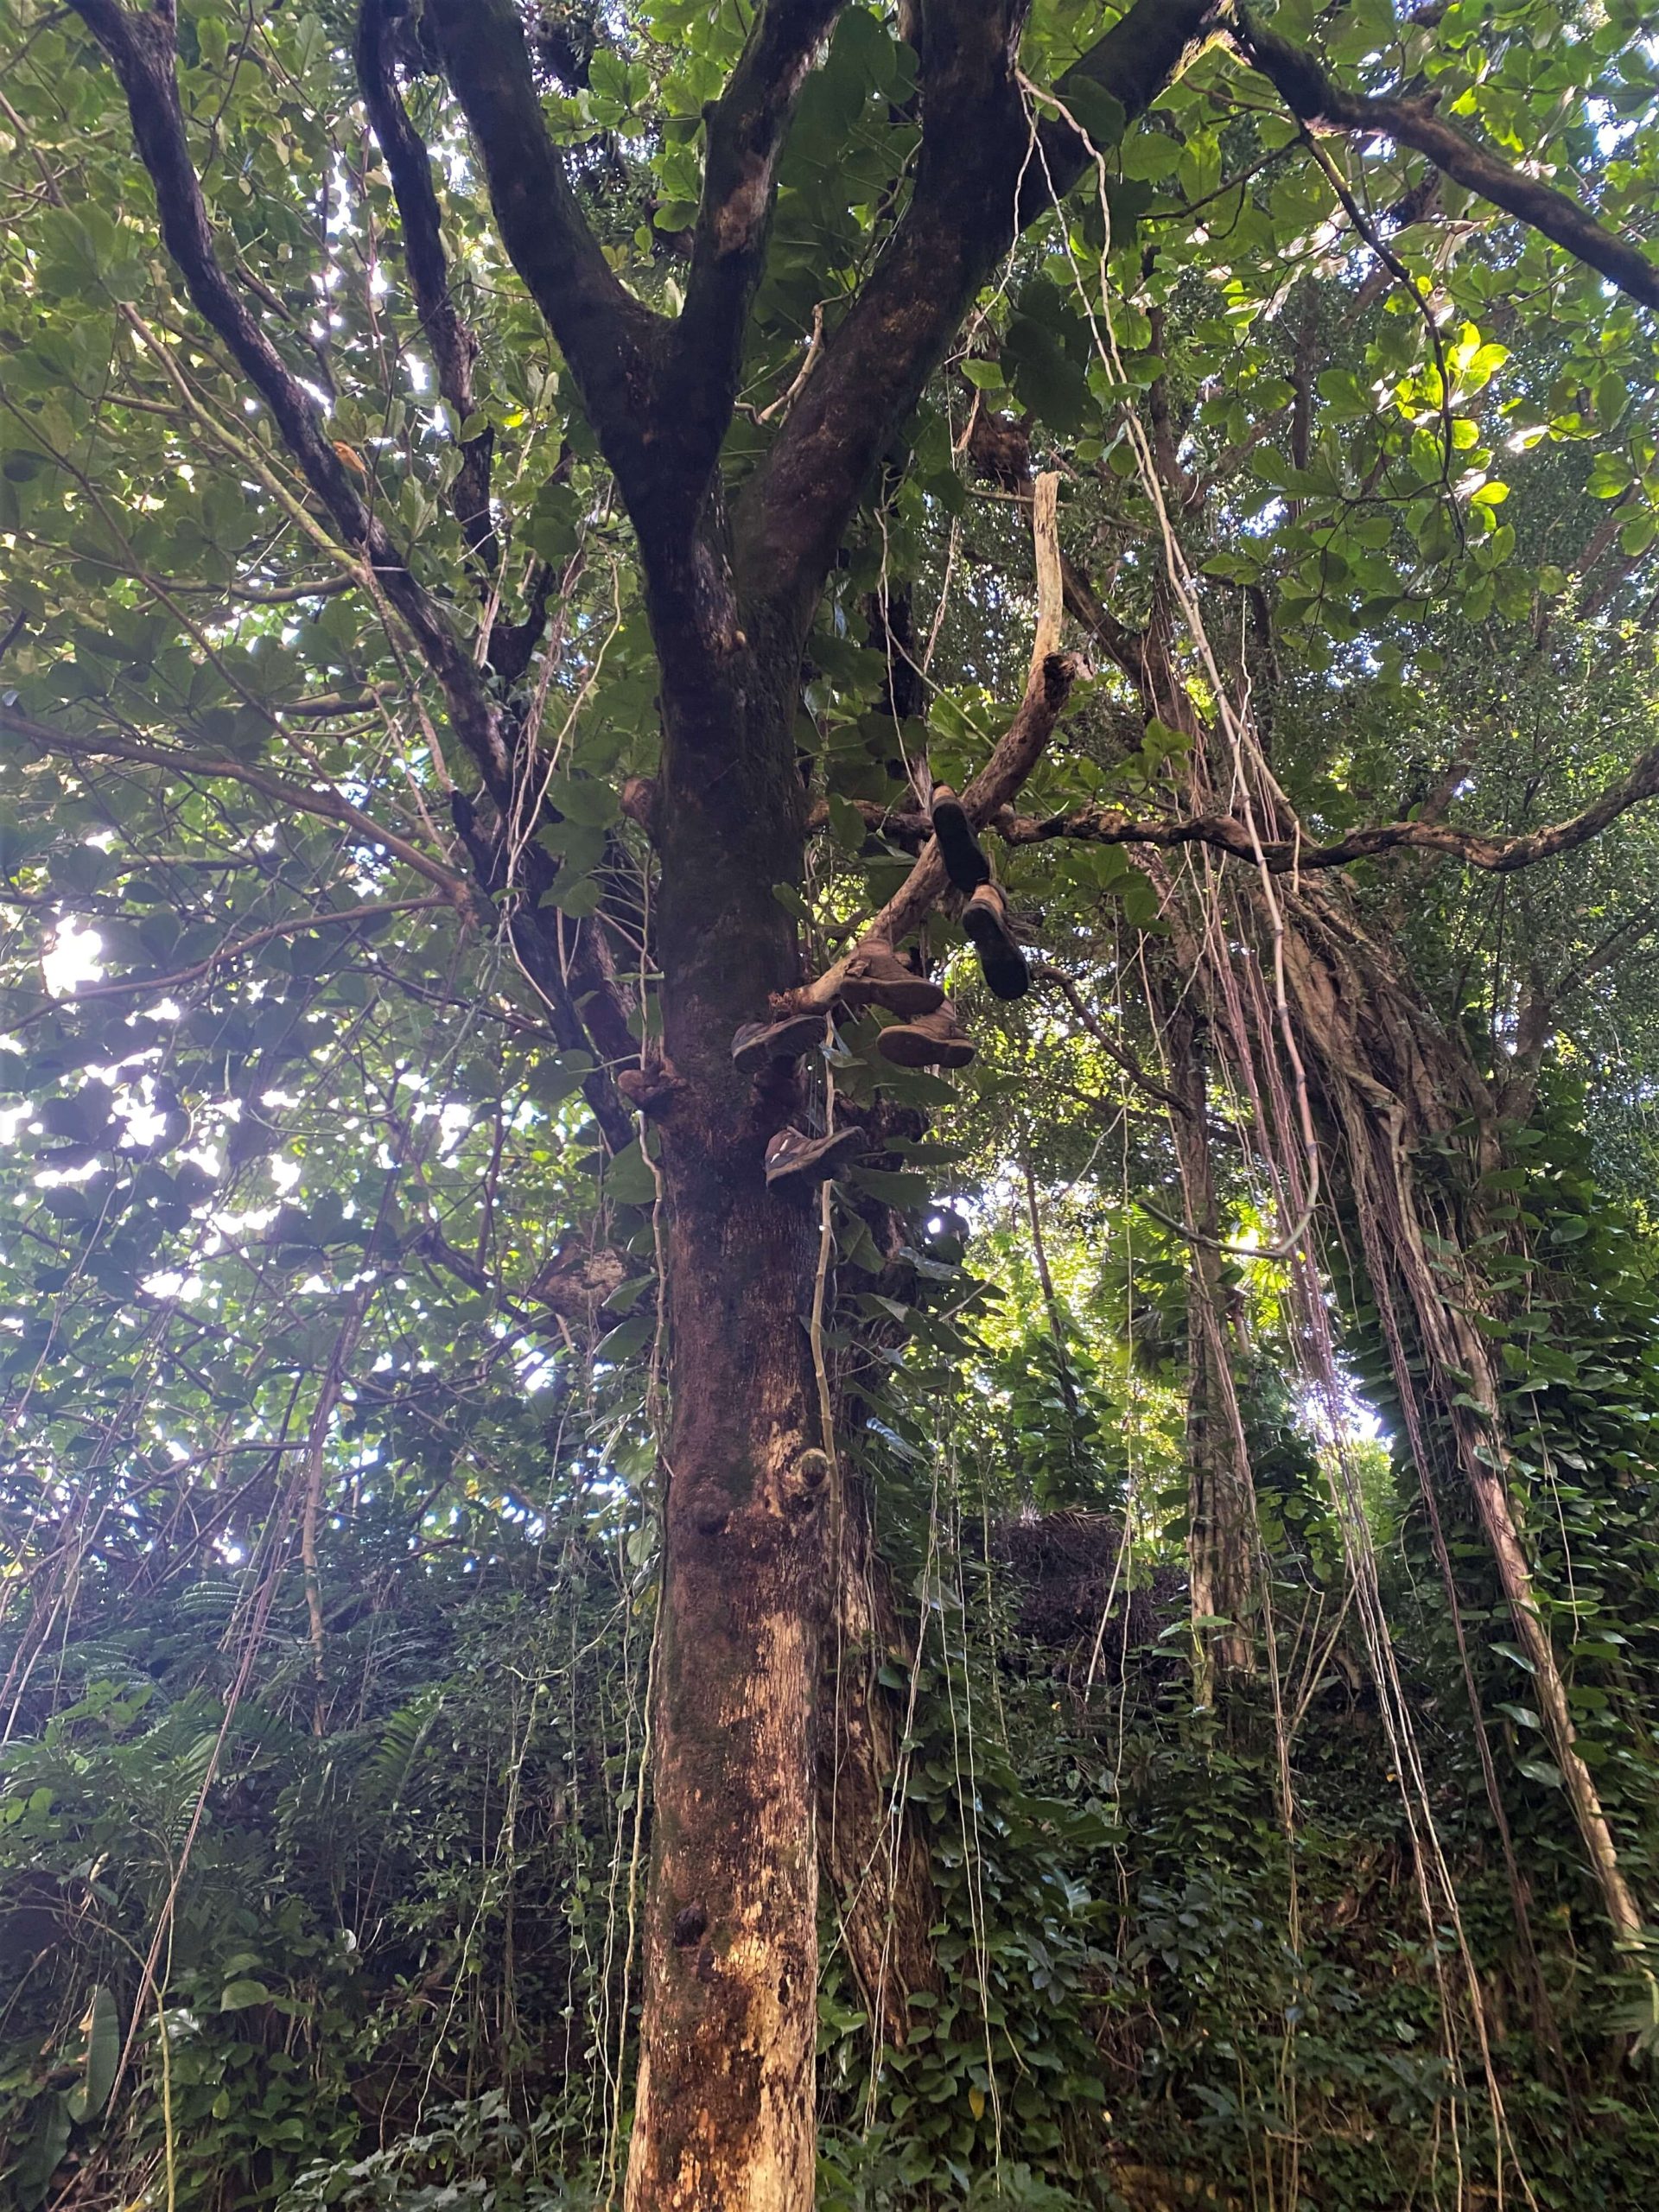
You’ll start off on a nice flat surface covered by a beautiful forest. If you look up, you’ll see a bunch of shoes hanging from a tree!
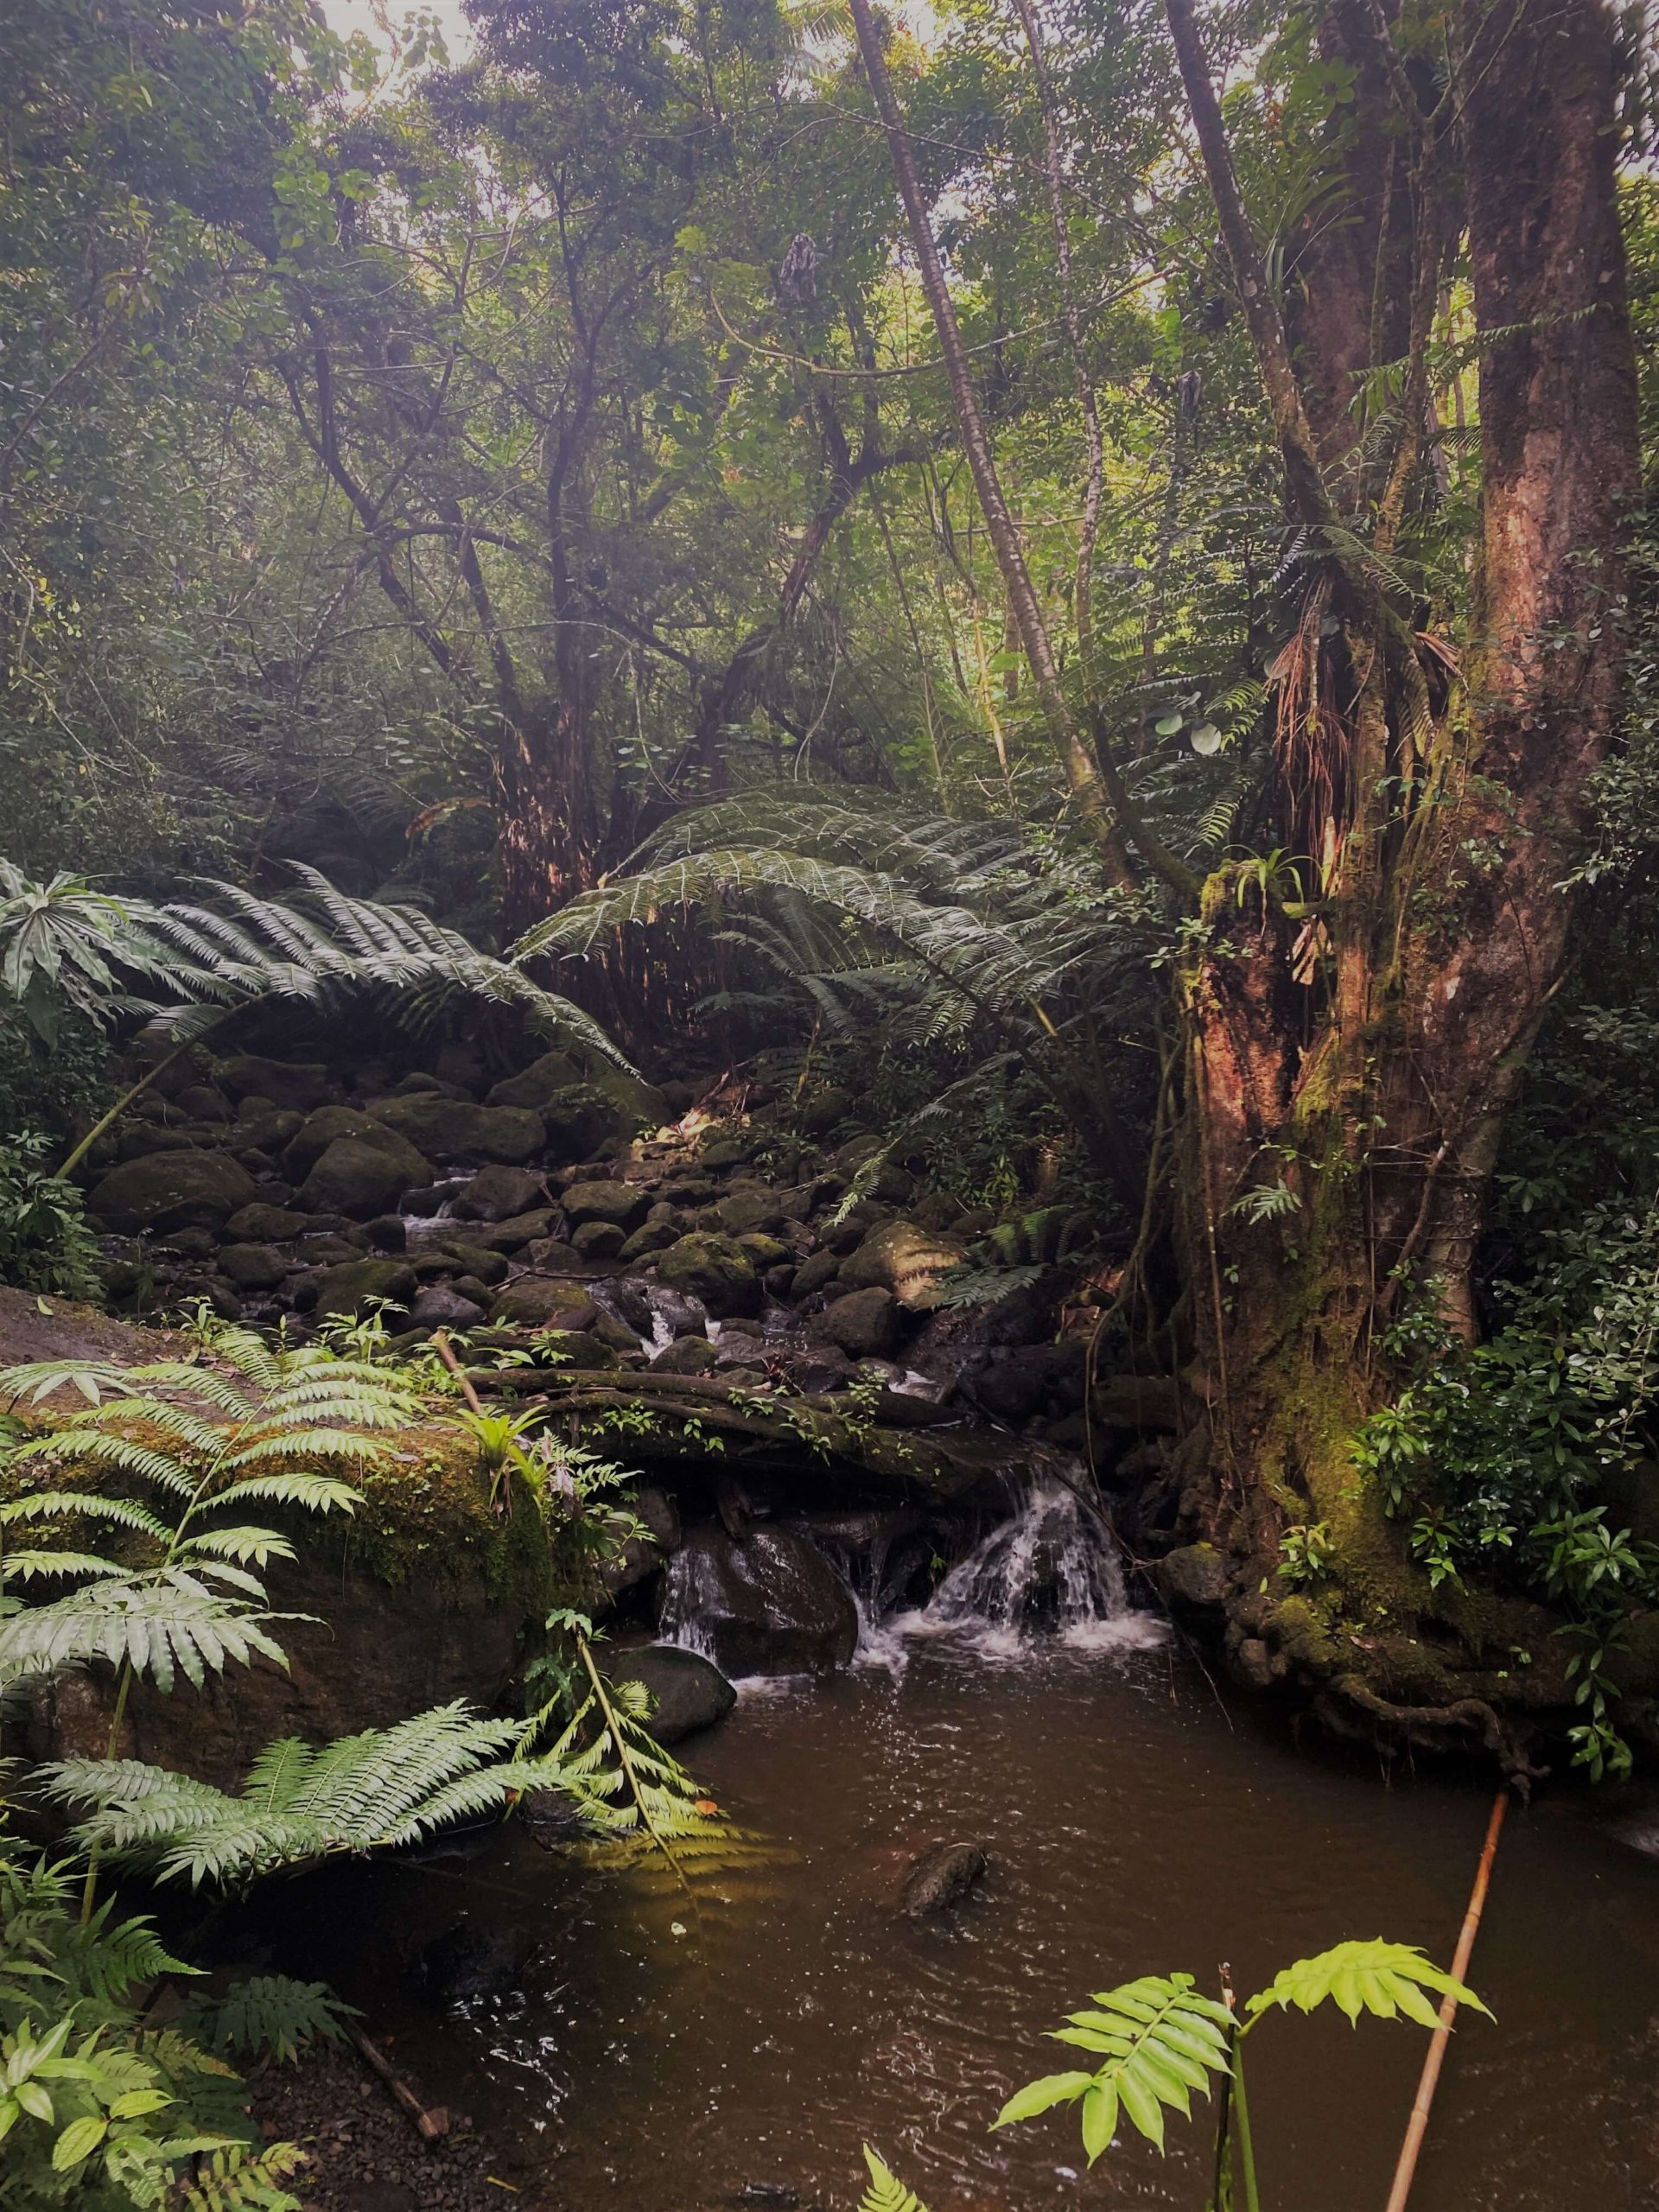
After crossing the shipping container bridge, your incline will begin. If you don’t have time to do the whole hike, I at least suggest making it to this point to back in all of the Jurassic Park vibes. At this point, you’ll also be able to hear and see the stream that will follow you up to the falls.
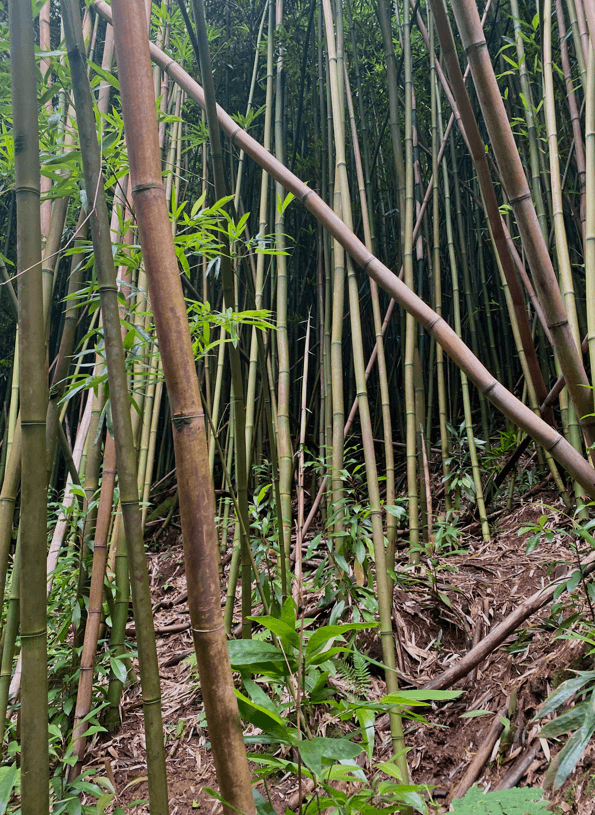
You will continue to be rewarded by beautiful views on both sides, from a bamboo forest to layers of green trees (coming from the desert, this is very exciting). As you continue to climb, the trail can get muddy, so be prepared!
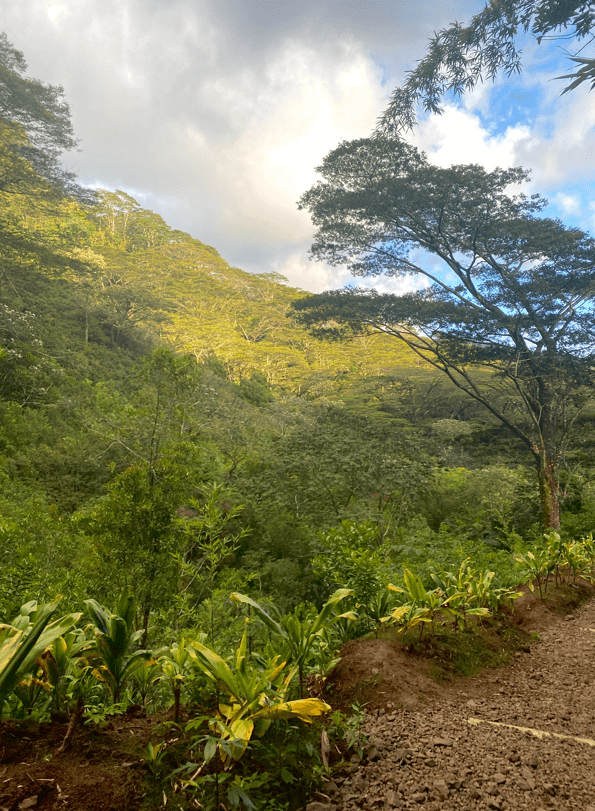
Soon enough, you’ll round the corner and be rewarded with waterfall views!
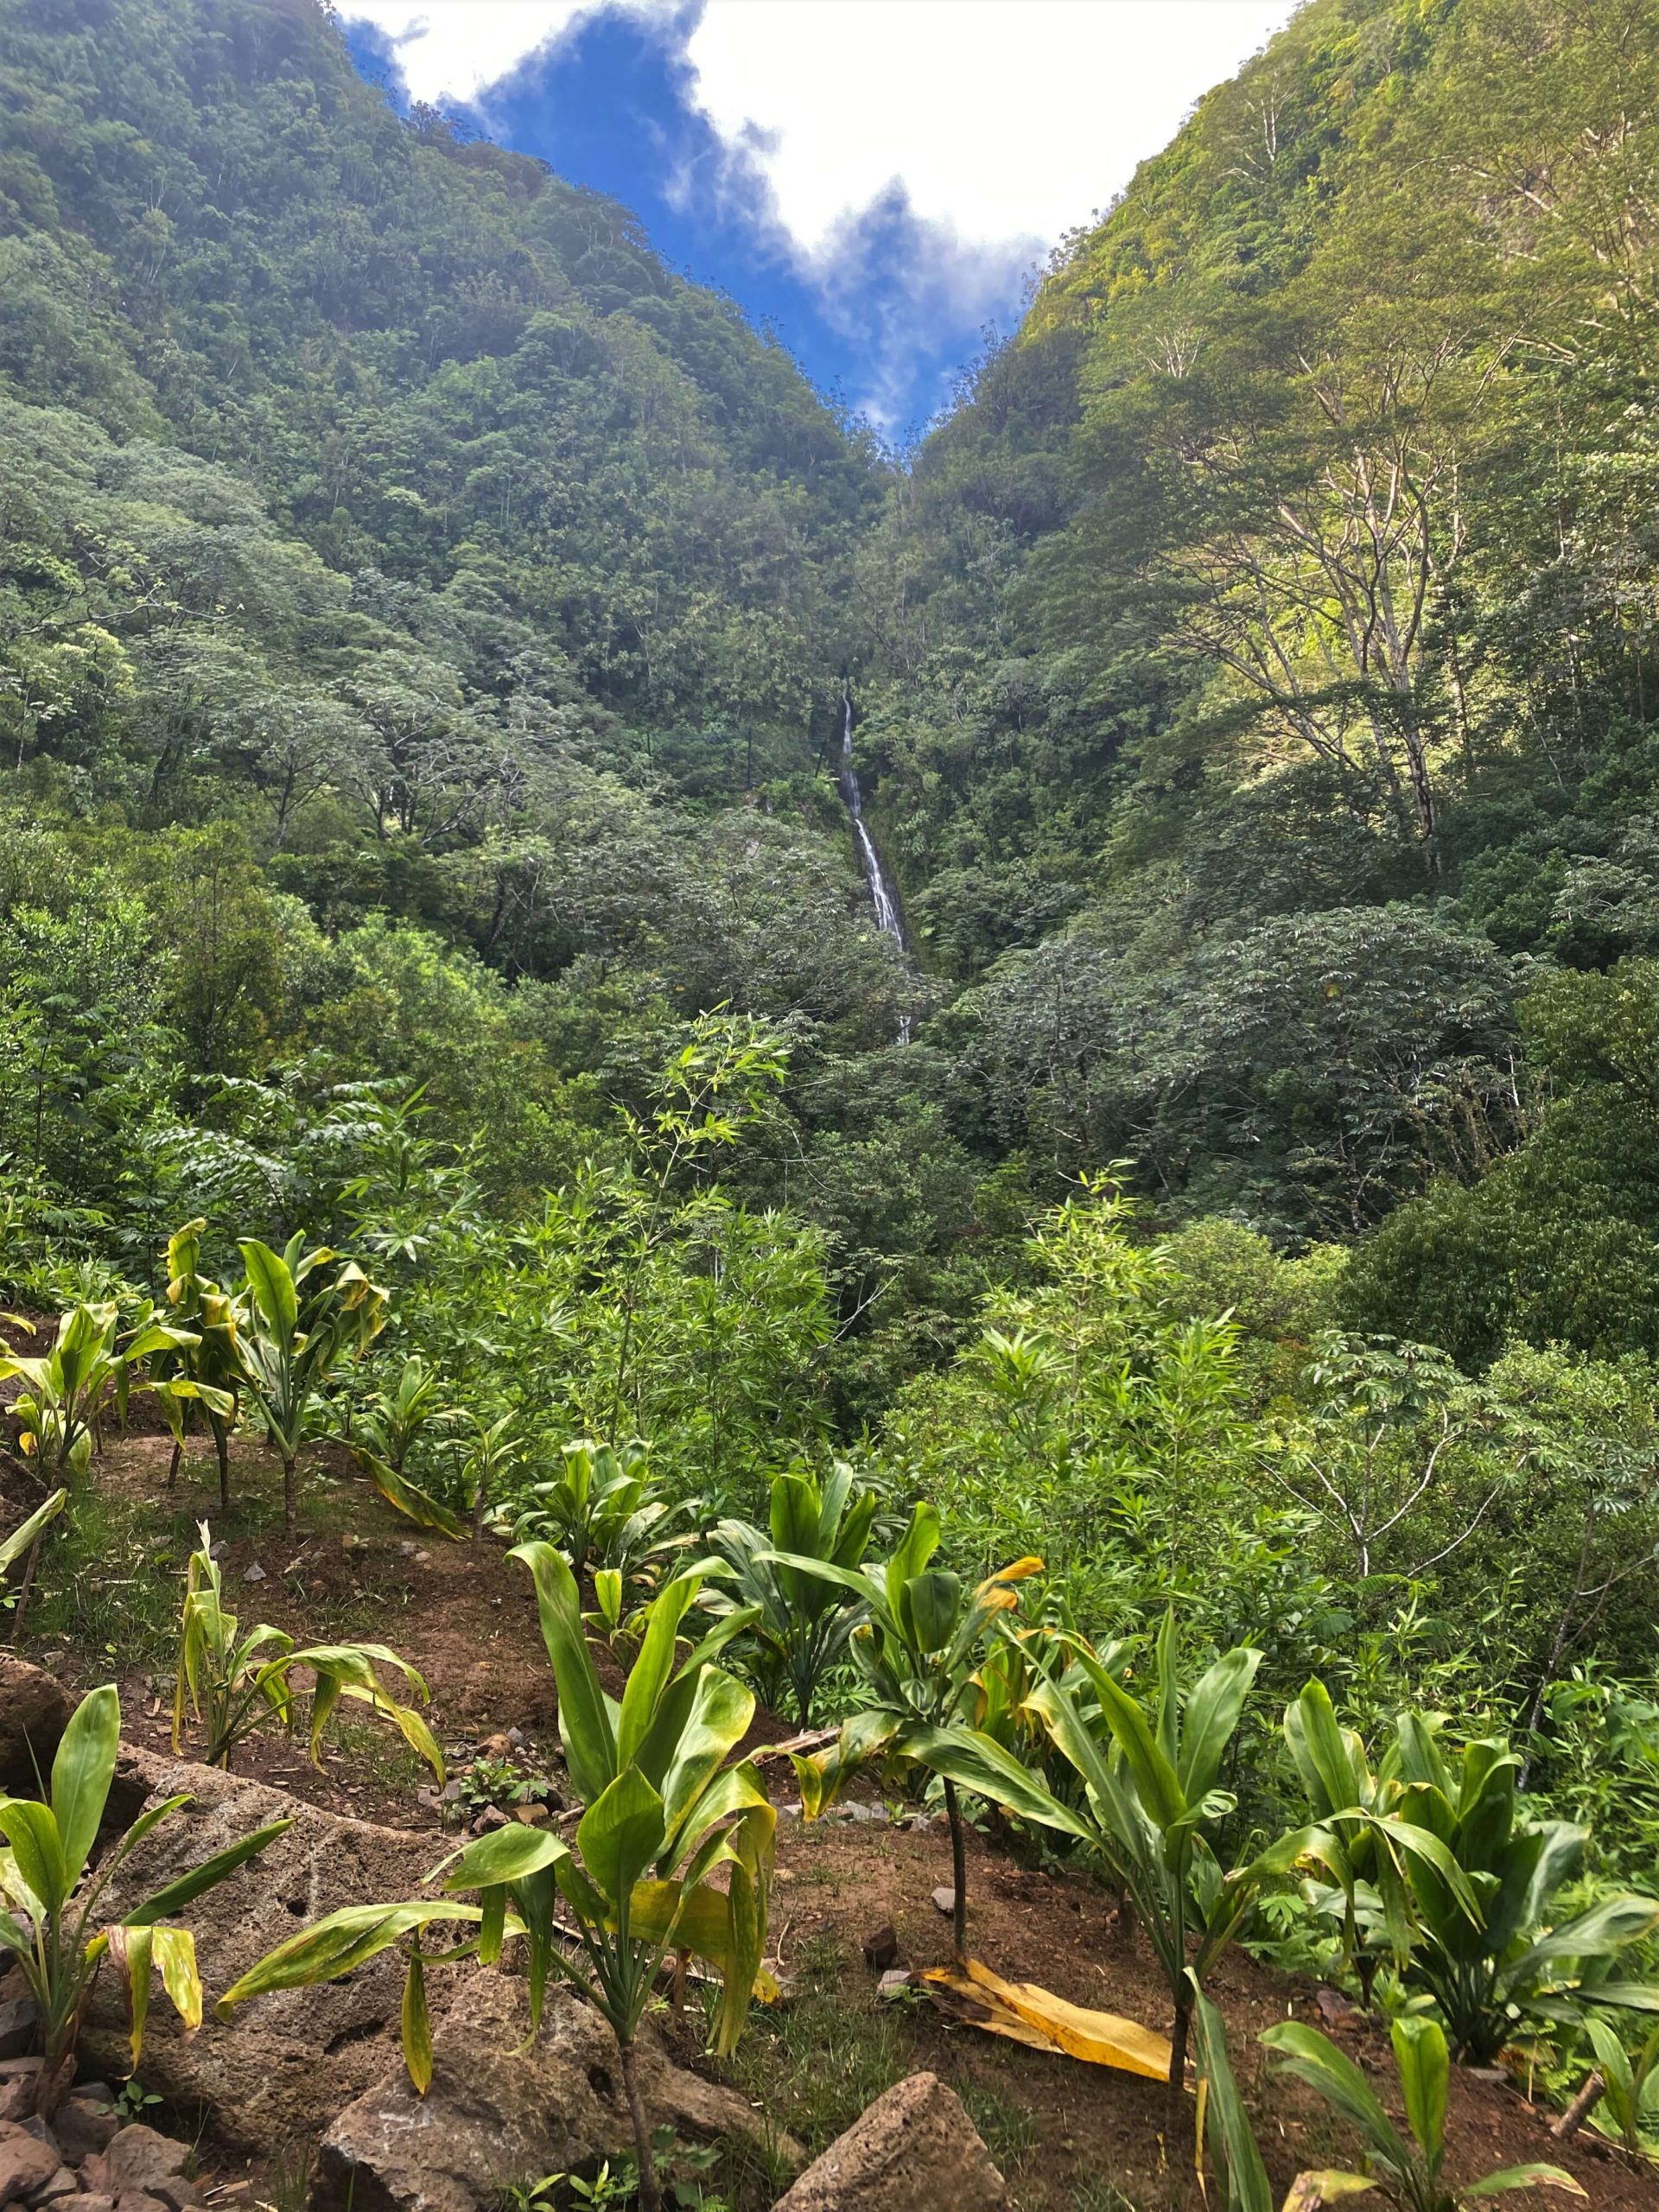
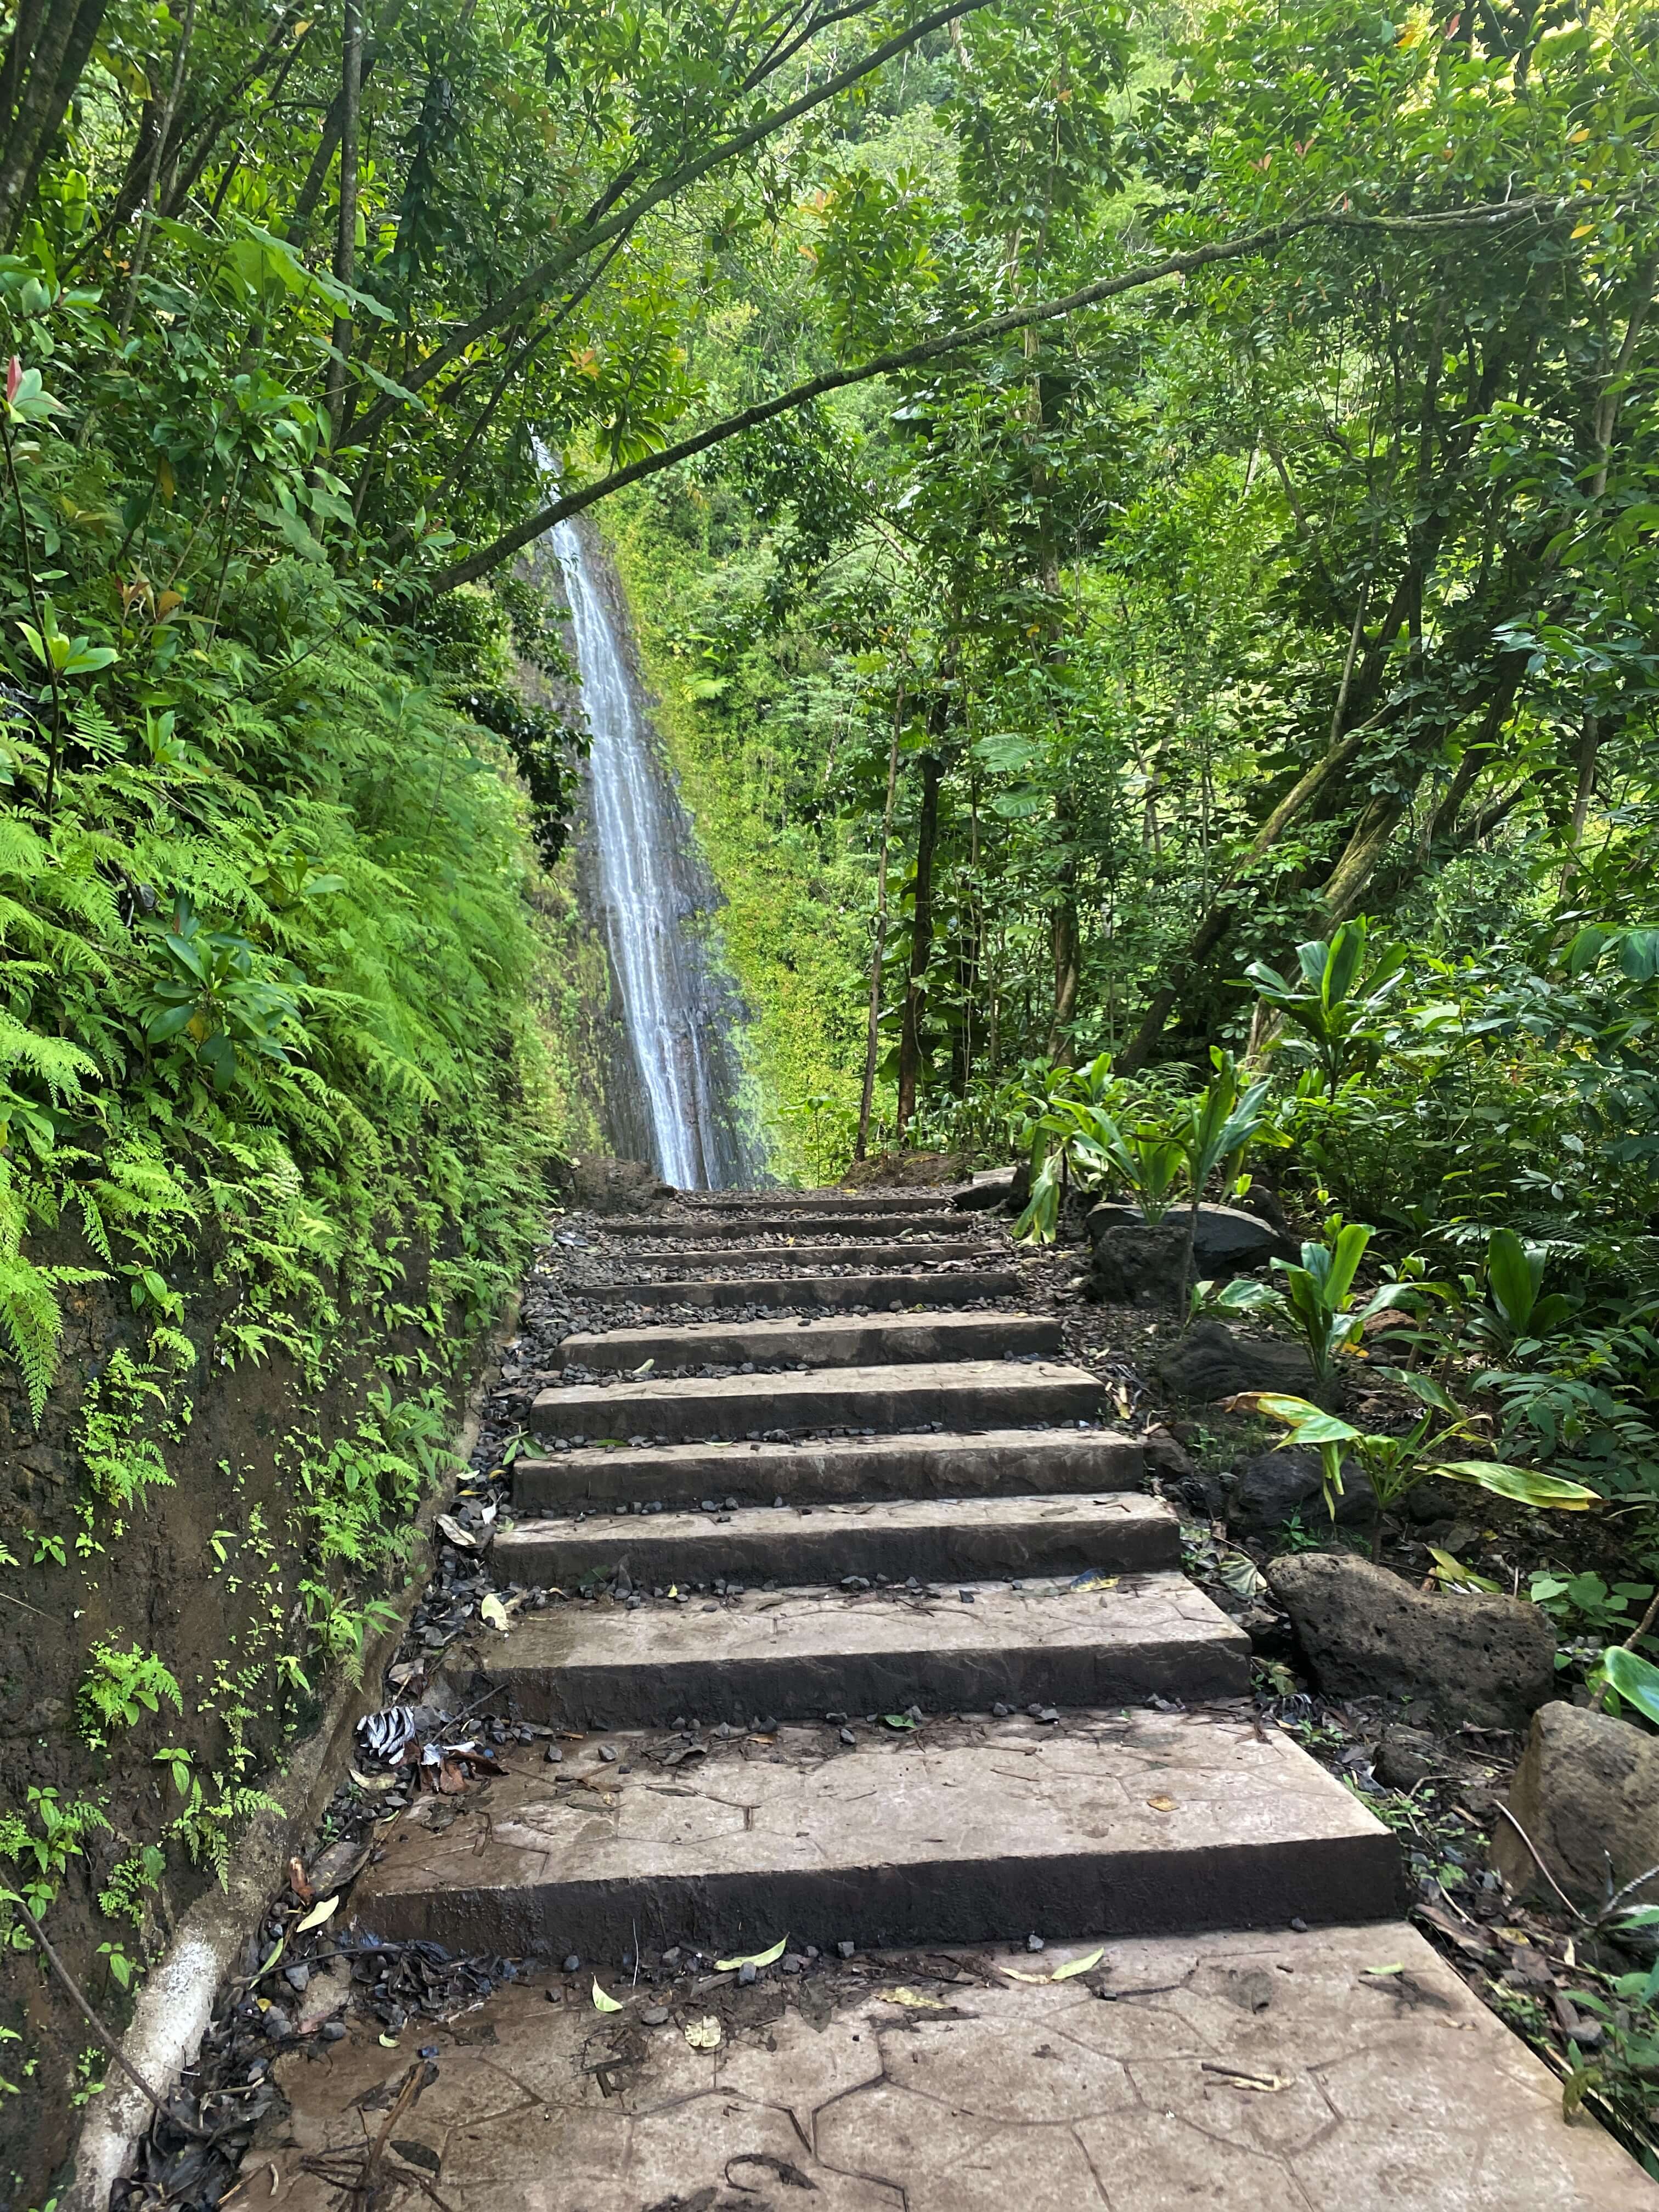
PHOTO OP SPOTS
When you reach the stairs, you know you are nearing the end of the incline and of the hike. There are multiple beautiful areas to snap a few shots for your memories.
LEDGE
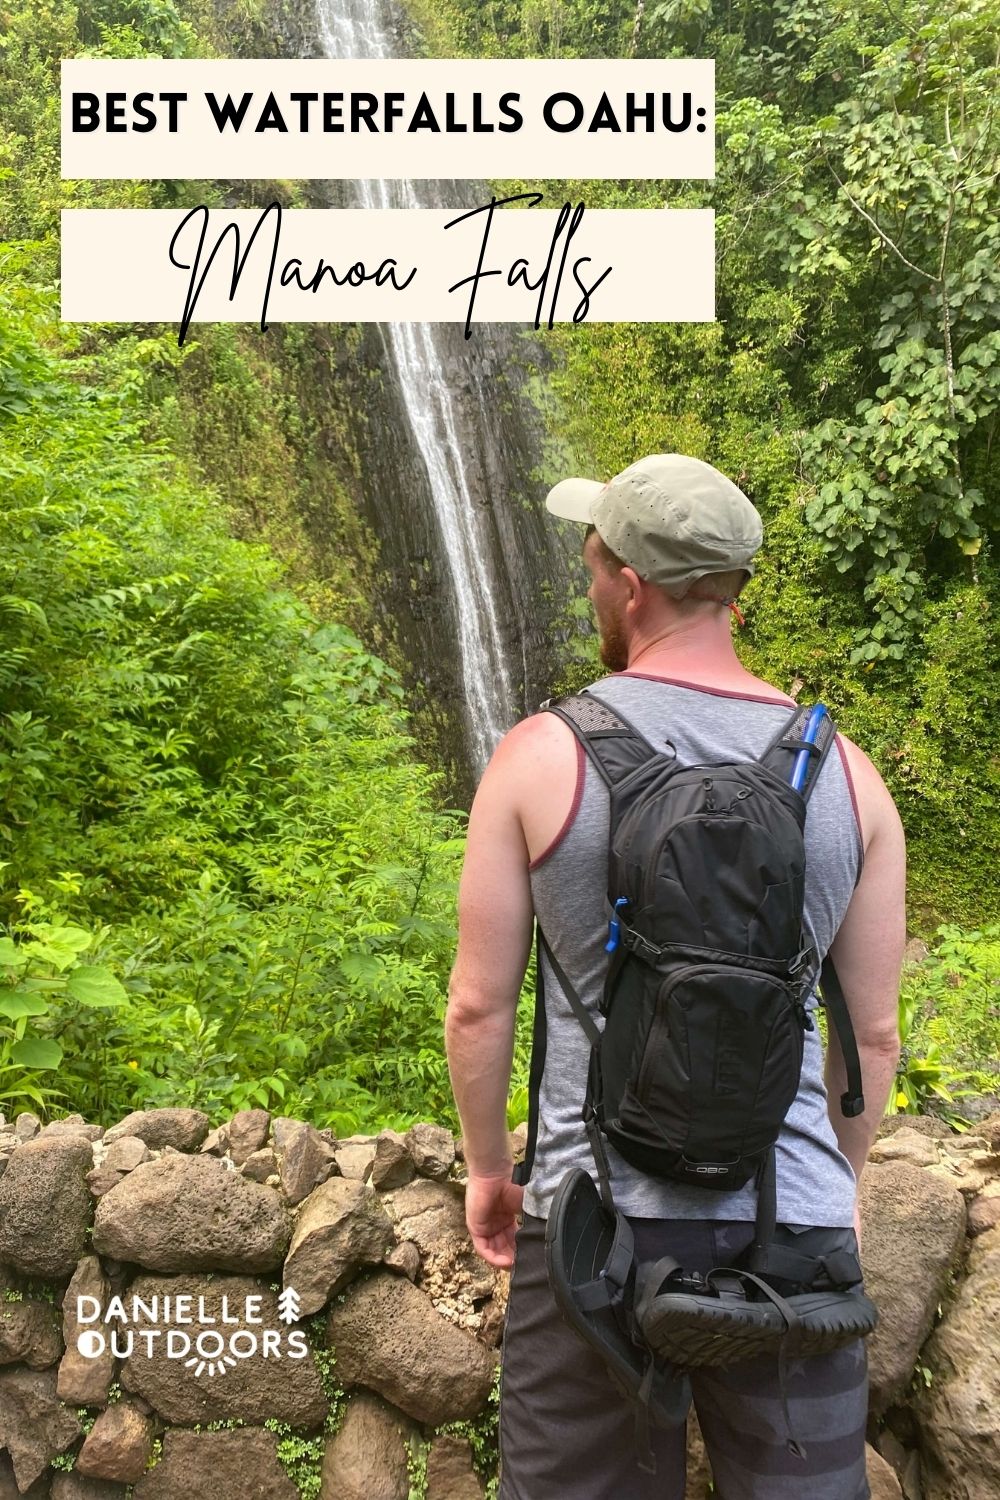
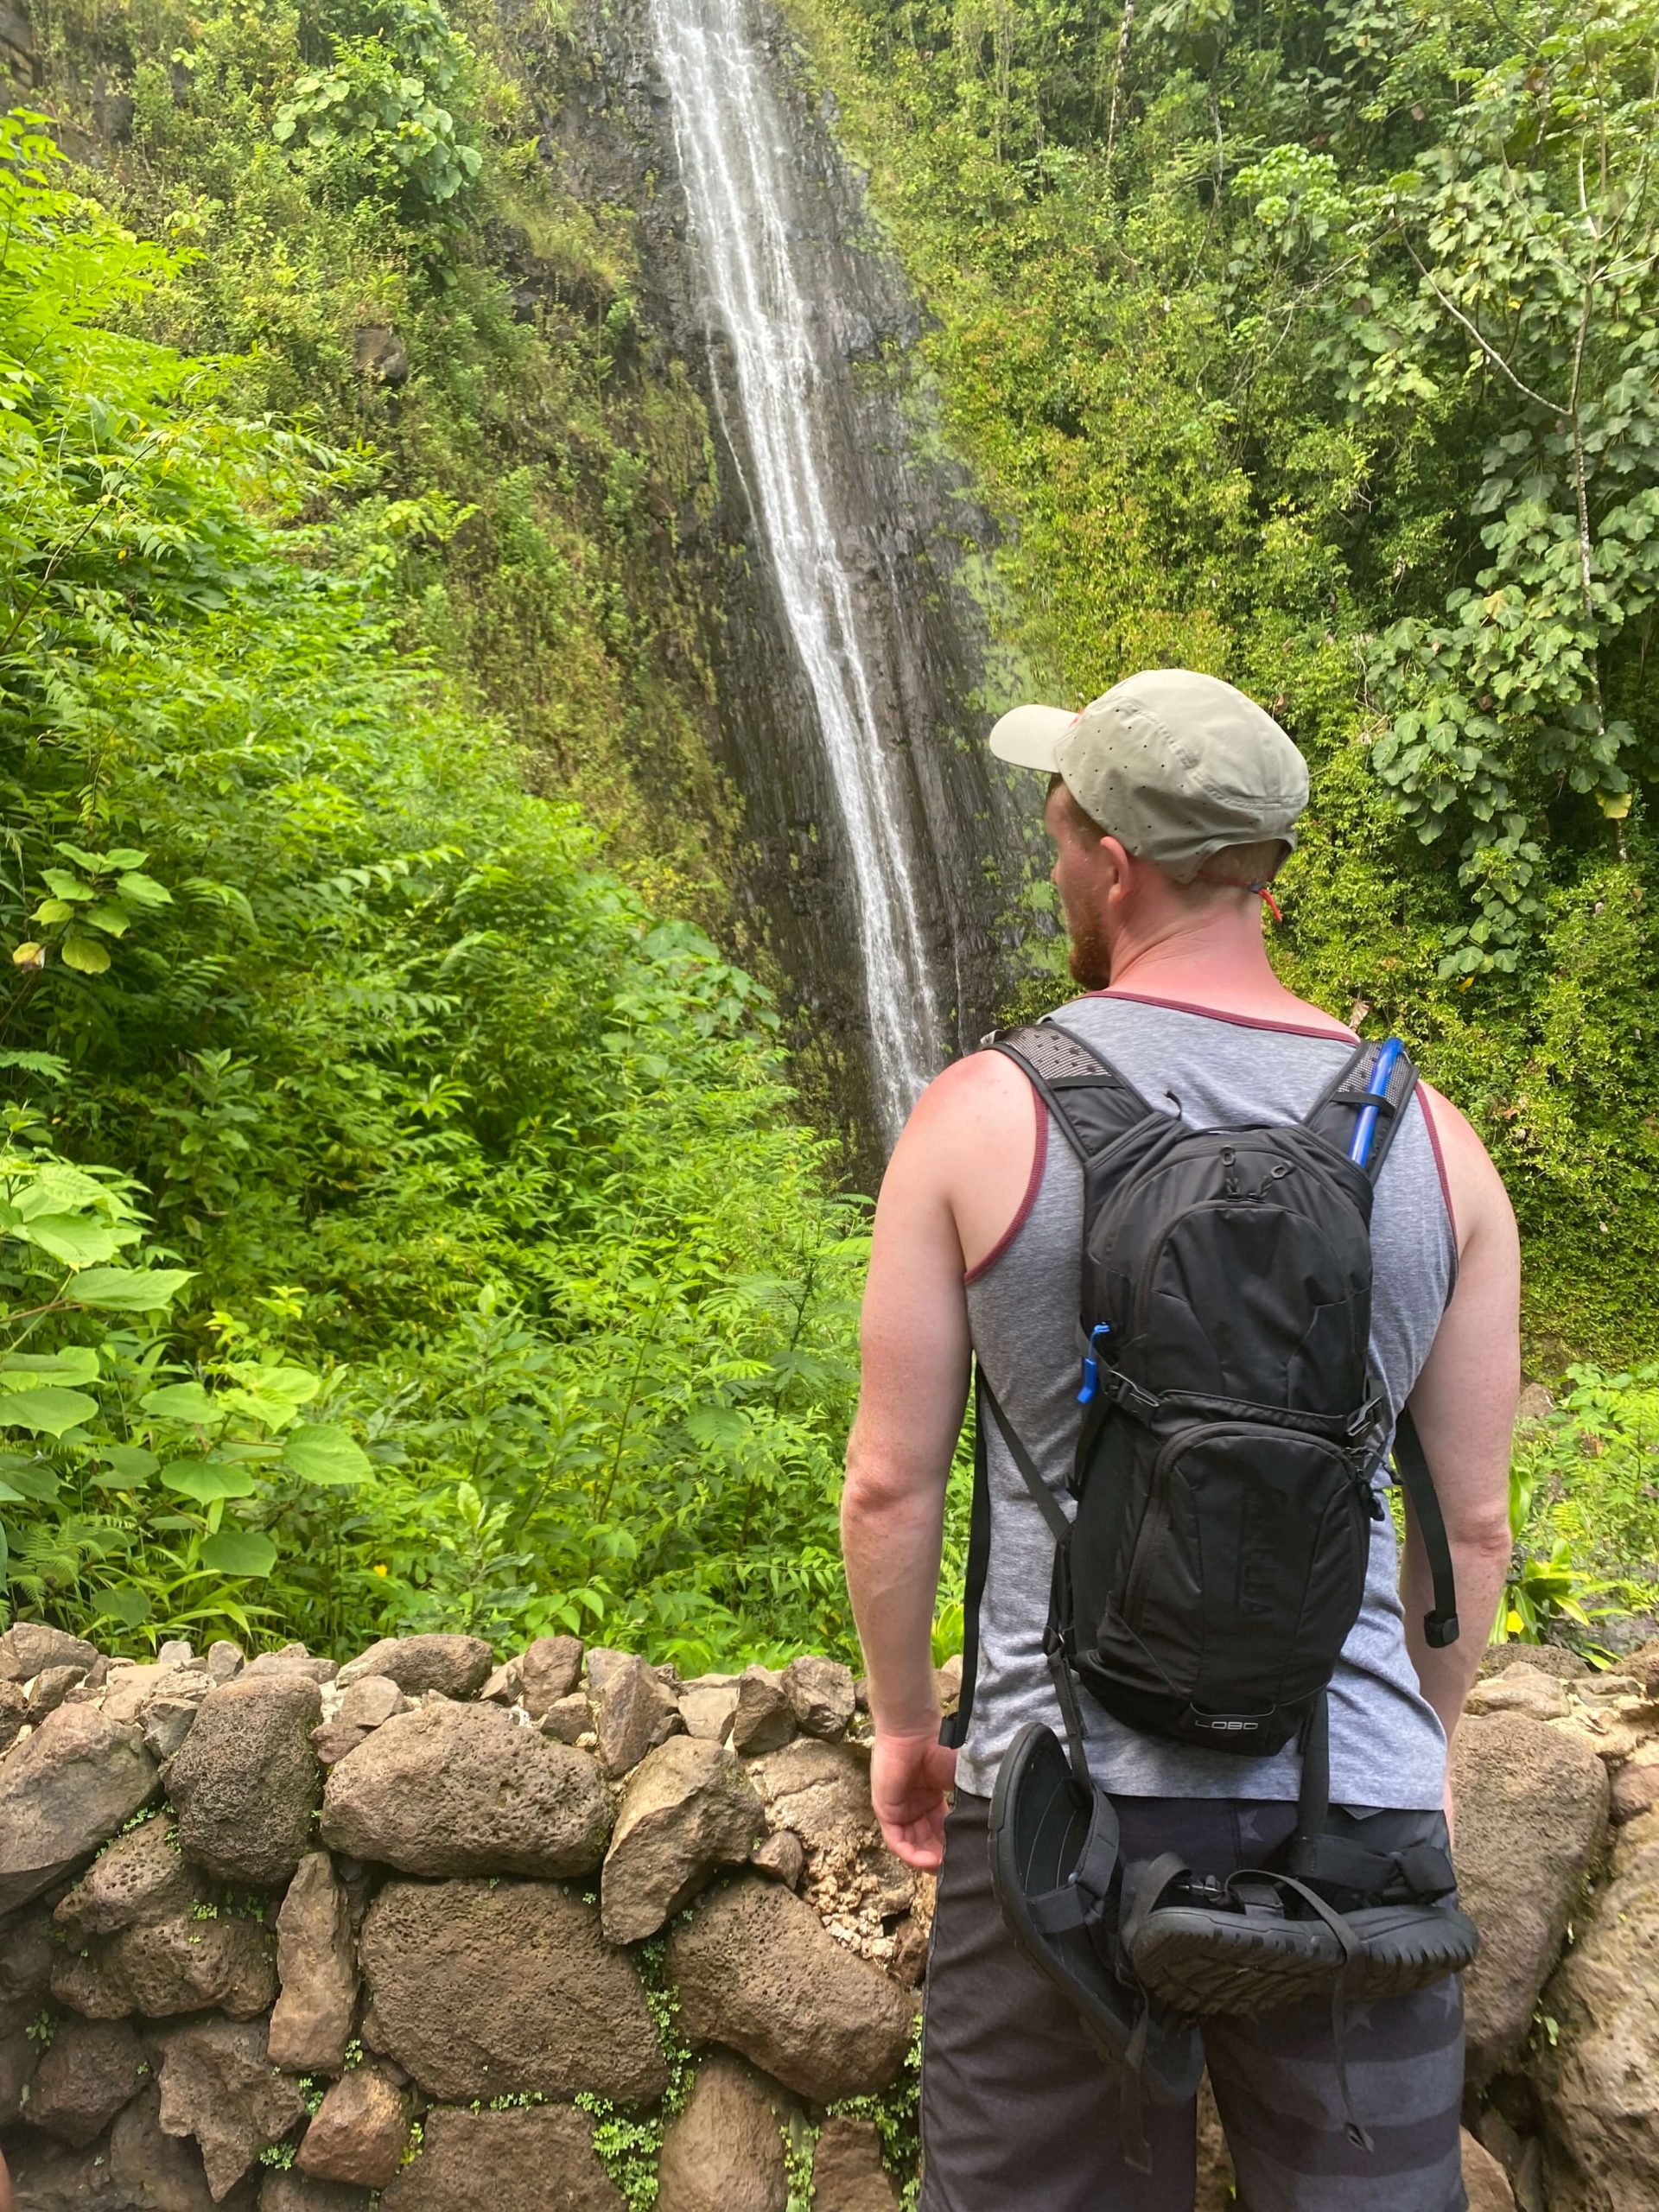
If you keep following the trail, it will end at an overlook edge. You can get some beautiful photos standing near or sitting on top of this ledge, looking towards the waterfall.
TRAIL LEADING TO THE WATER
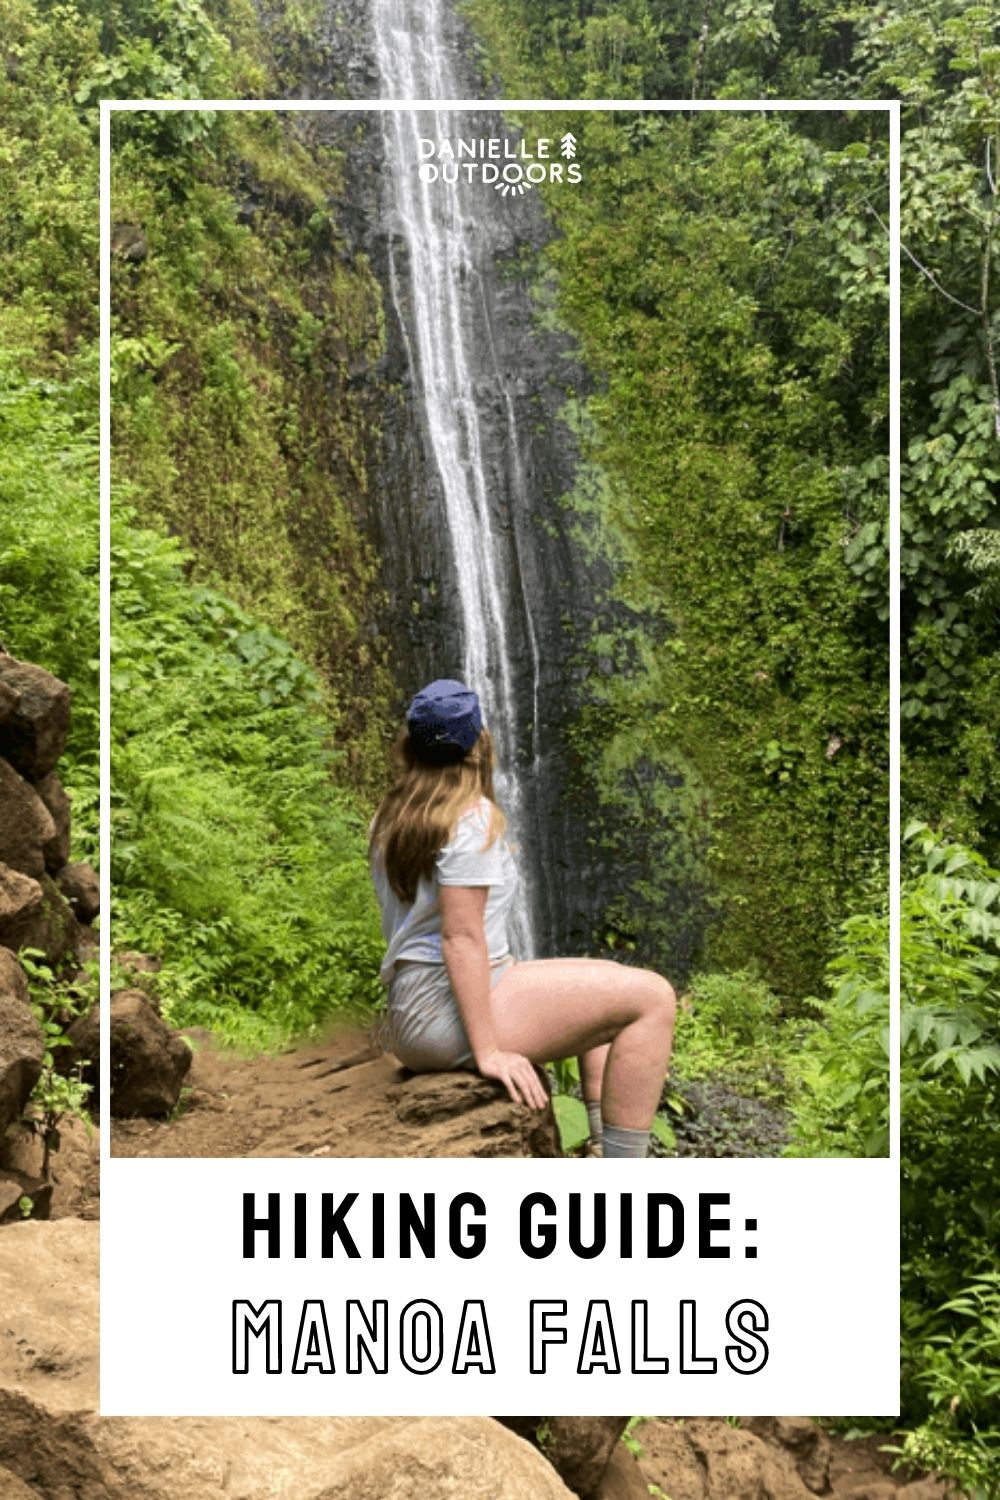
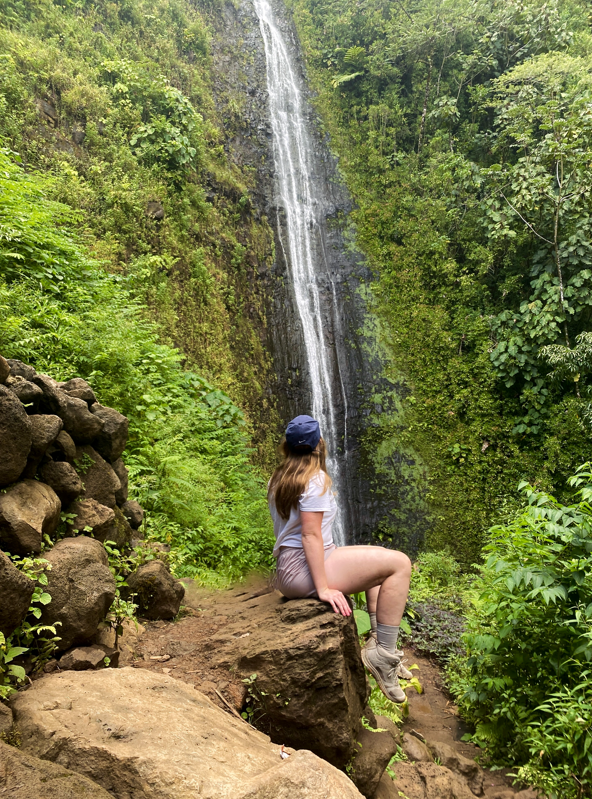
To the right of the ledge, you’ll see a sign that says ‘No Swimming’ and a trail leading down to the water. Please be careful walking down here as it is very slippery- use the 3-point rule when making your way down. As you’re walking down, hop up on one of the rocks for a picture like this (see below).

UNDER THE FALLS, OF COURSE!
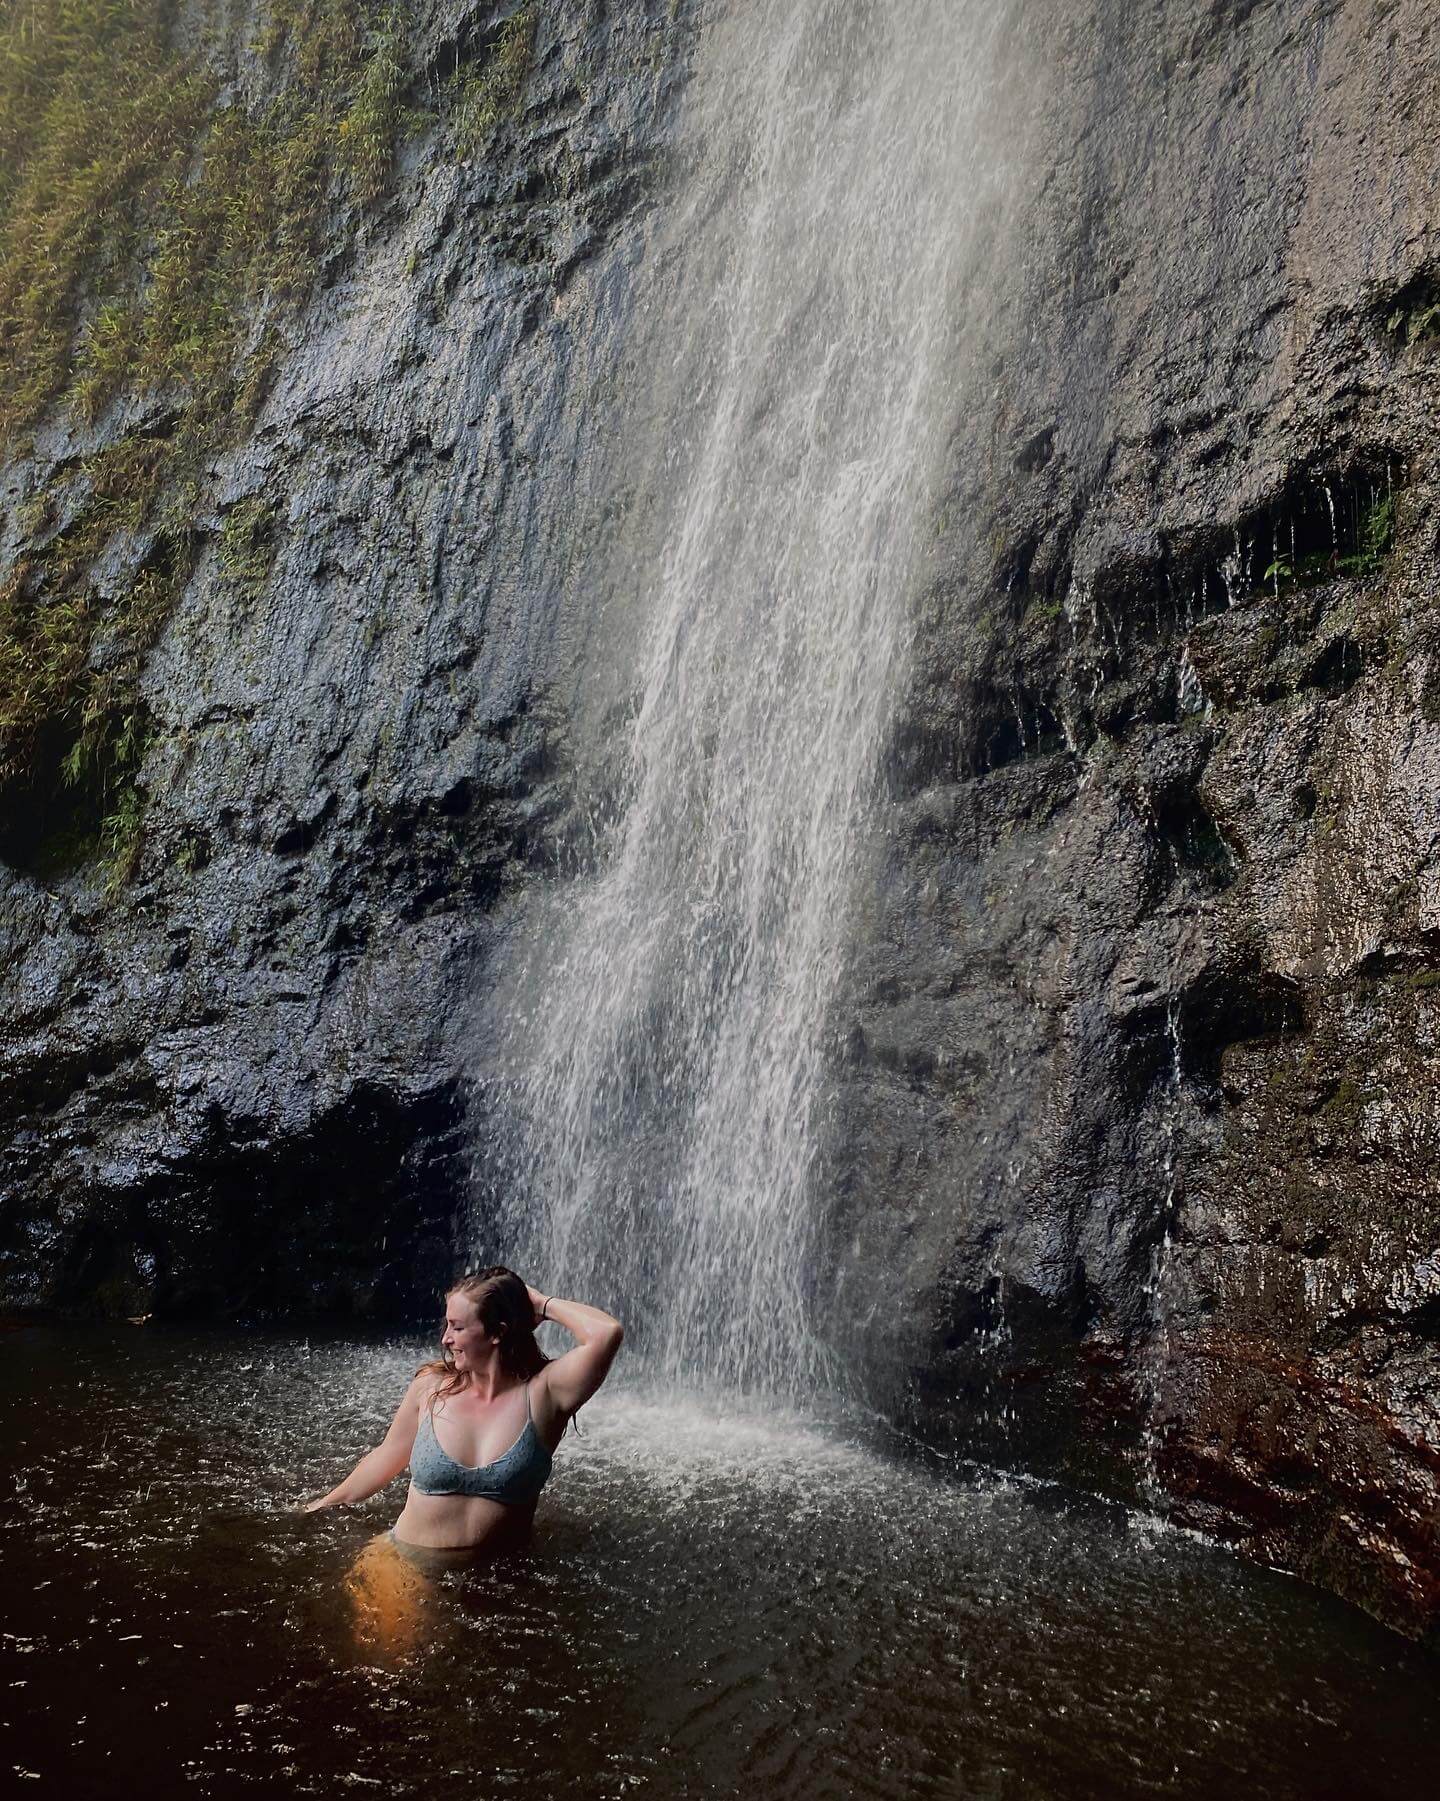
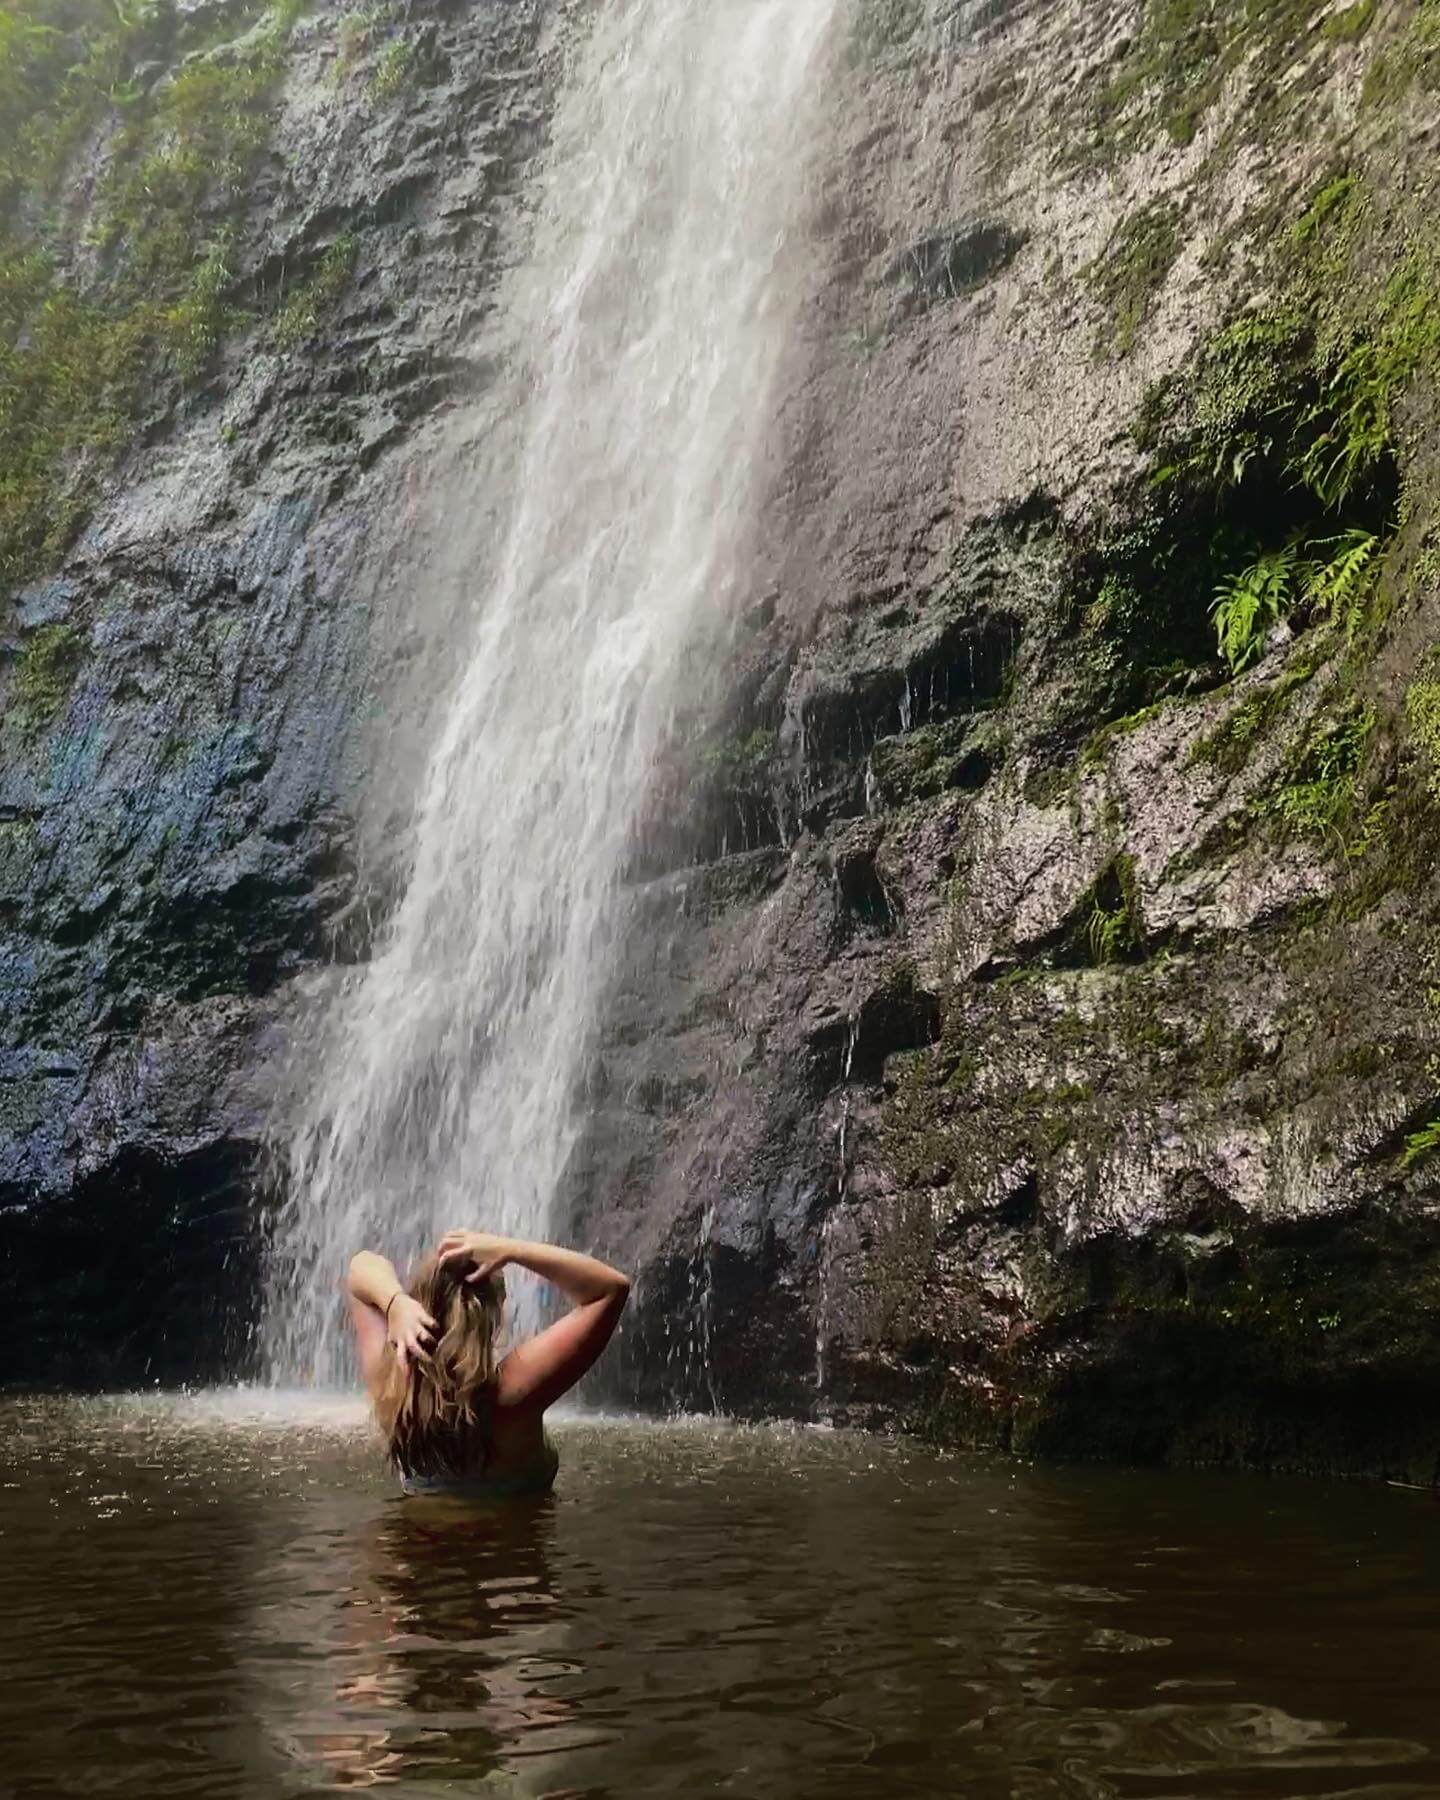
Now yes you heard that right, there is a ‘No Swimming’ sign. It is highly discouraged due to stagnant water and the risk of Leptospirosis bacterial illness. Proceed at your own risk. If you do enter, this is where your tripod and waterproof phone case come in handy.
SUMMARY
Out of all my time in Oahu, I had two distinctive favorite moments. One was spotting a sea turtle while snorkeling in Hanauma Bay (& capturing it on camera), the other was feeling the fresh waterfall mist roll over my face. Sitting near Manoa Falls was very peaceful. I highly recommend hiking in the afternoon close to dinner time, there was very few other people on the trail when we went. If you have any questions, please feel free to DM me on Instagram. Happy hiking!
More Hawaii Blogs
