Why You Need to Visit Zion National Park in Winter
Did you know Zion National Park is the 3rd Most-Visited National Park, topping off at 3.6 million visitors per year?? Everyone understands how insanely beautiful this park is. What you don’t always see beyond people’s photos is HOW BUSY it is. If you want to beat the crowds and still get the views, I recommend visiting in Winter. Your trip will be more relaxed AND you’ll get to see these beautiful canyon walls covered in snow-caps.
Disclaimer: This blog does include affiliate links, with no extra cost to you.
WHAT IS THE WEATHER IN ZION LIKE?
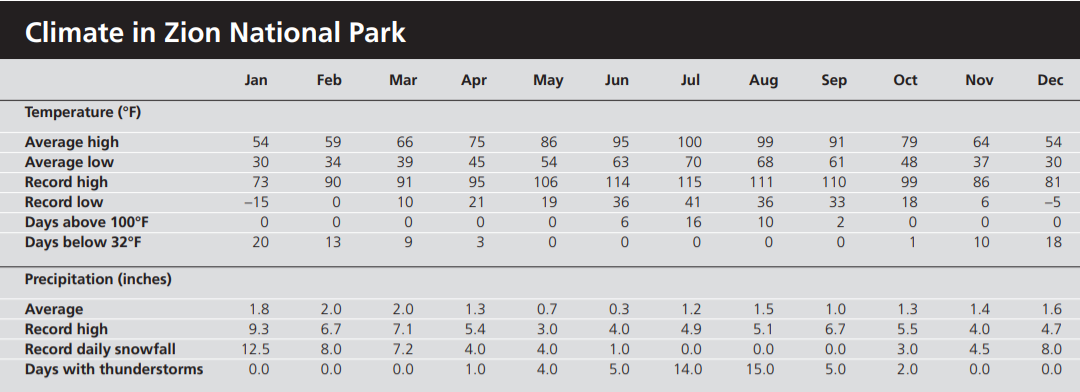
I would consider the Winter season to be from November-March. As you can see from the chart below, Zion temperatures are pretty mild in Winter. I did feel cold at first, but once you get out hiking, you’ll quickly shed layers! We decided to visit in March based on my husband’s break from school that year. Visit the Official Zion Page for more details. You need to visit Zion National Park in Winter.
PACKING LIST
- Coleman Portable Bottle Top Burner Stove: I’ve had this for YEARS + it never fails me.
- Camelbak Hydration Pack: My favorite water reservoir
- Winter Hat & Gloves
- Keen Terradora Hiking Shoes
- These highly rated Hiking Sticks– helpful especially on your way back up.
- Hiking Snacks (my favorites are Uncrustables, fruit snacks, and some chips!)
ABSOLUTE MUST-HAVES
- Bluetooth iPhone Tripod for couple photos!
- Crampons for hiking up Angel’s Landing in winter
HOW TO SPEND A DAY IN ZION NATIONAL PARK IN WINTER
My husband and I live in Phoenix, so we drove north the night prior and stayed overnight in Kanab, UT. Kanab is about 30 minutes outside the East Entrance of Zion National Park (which is 54 miles from East to West). We woke up early in the morning and headed to the park for a full day. First up- a hike!
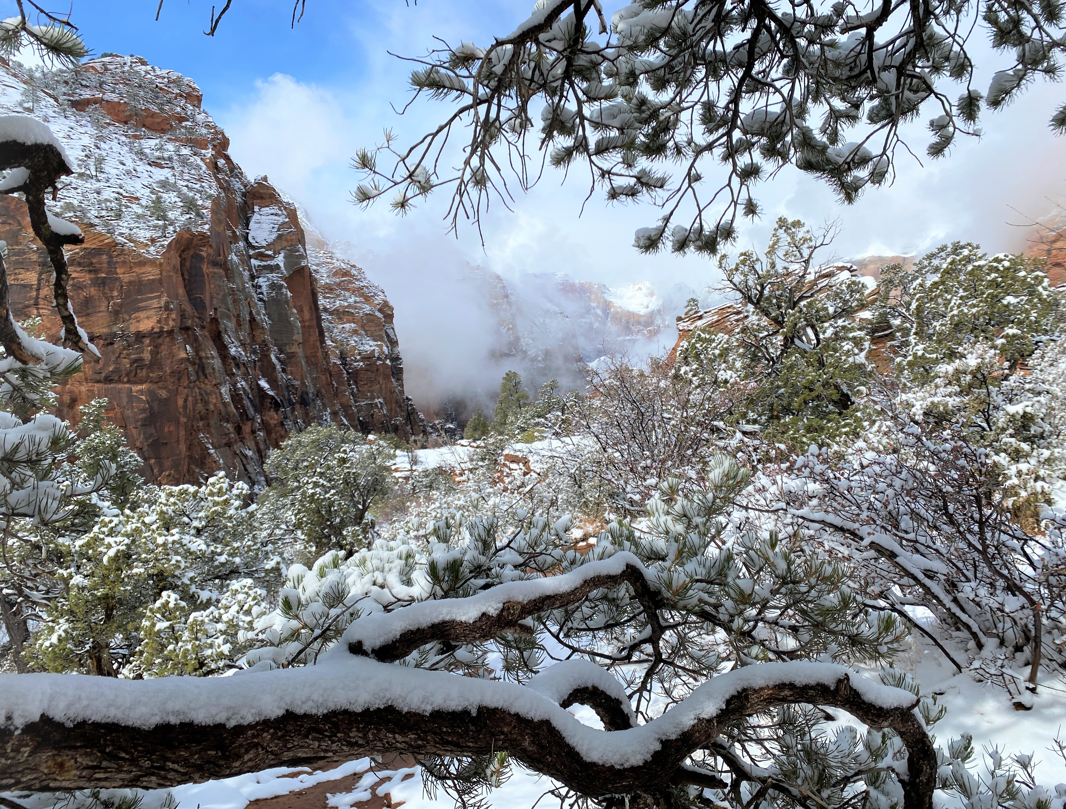
CANYON OVERLOOK TRAIL
Distance: 1.0 mi total/roundtrip
Elevation Change: 187 ft
Difficulty: Easy!
Duration: 1 hr
Location: East Zion, just before Mount Carmel Tunnel on the Right
Dog Friendly: No
The great thing about this trail is that it’s low effort for high reward- meaning the views are amazing! It’s also kid-friendly. It’s super easy to find if you have the park map and if you look out for a small parking lot right before the Mount Carmel Tunnel. I didn’t do this trail on my first trip to Zion and I definitely missed out.
You’ll start off going up a few steps and following a rock path to the finish. You will pass through a really cool bridge that overlooks the canyon.
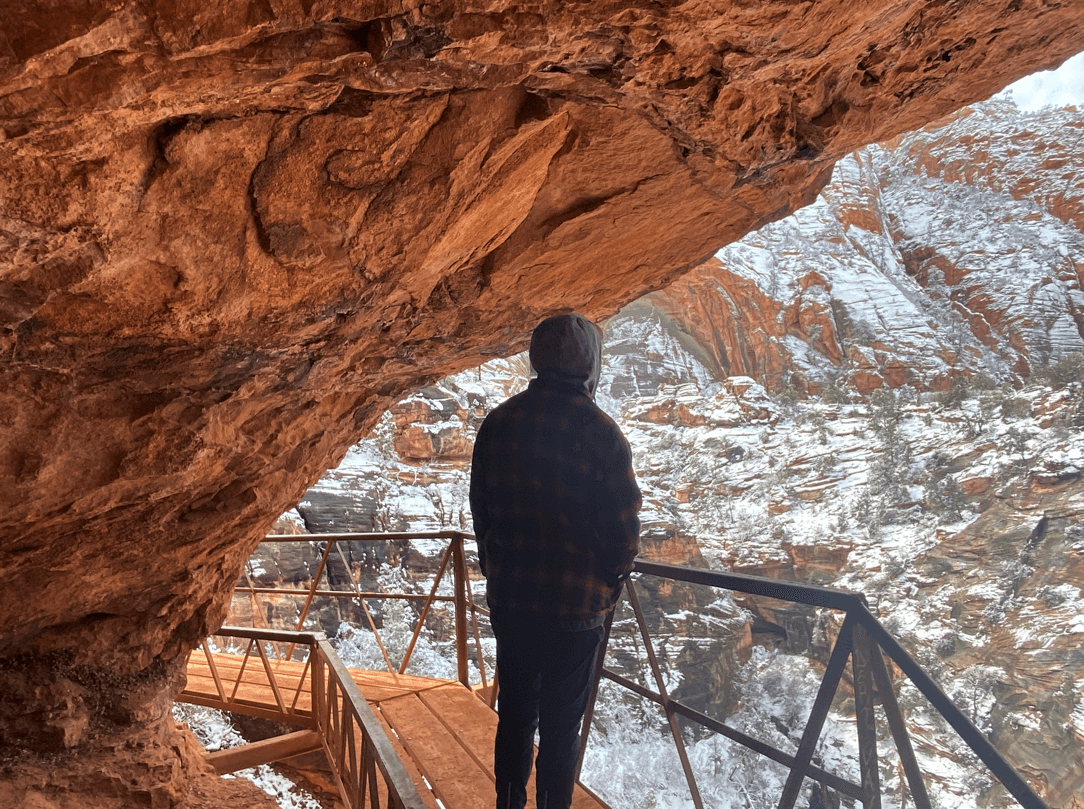
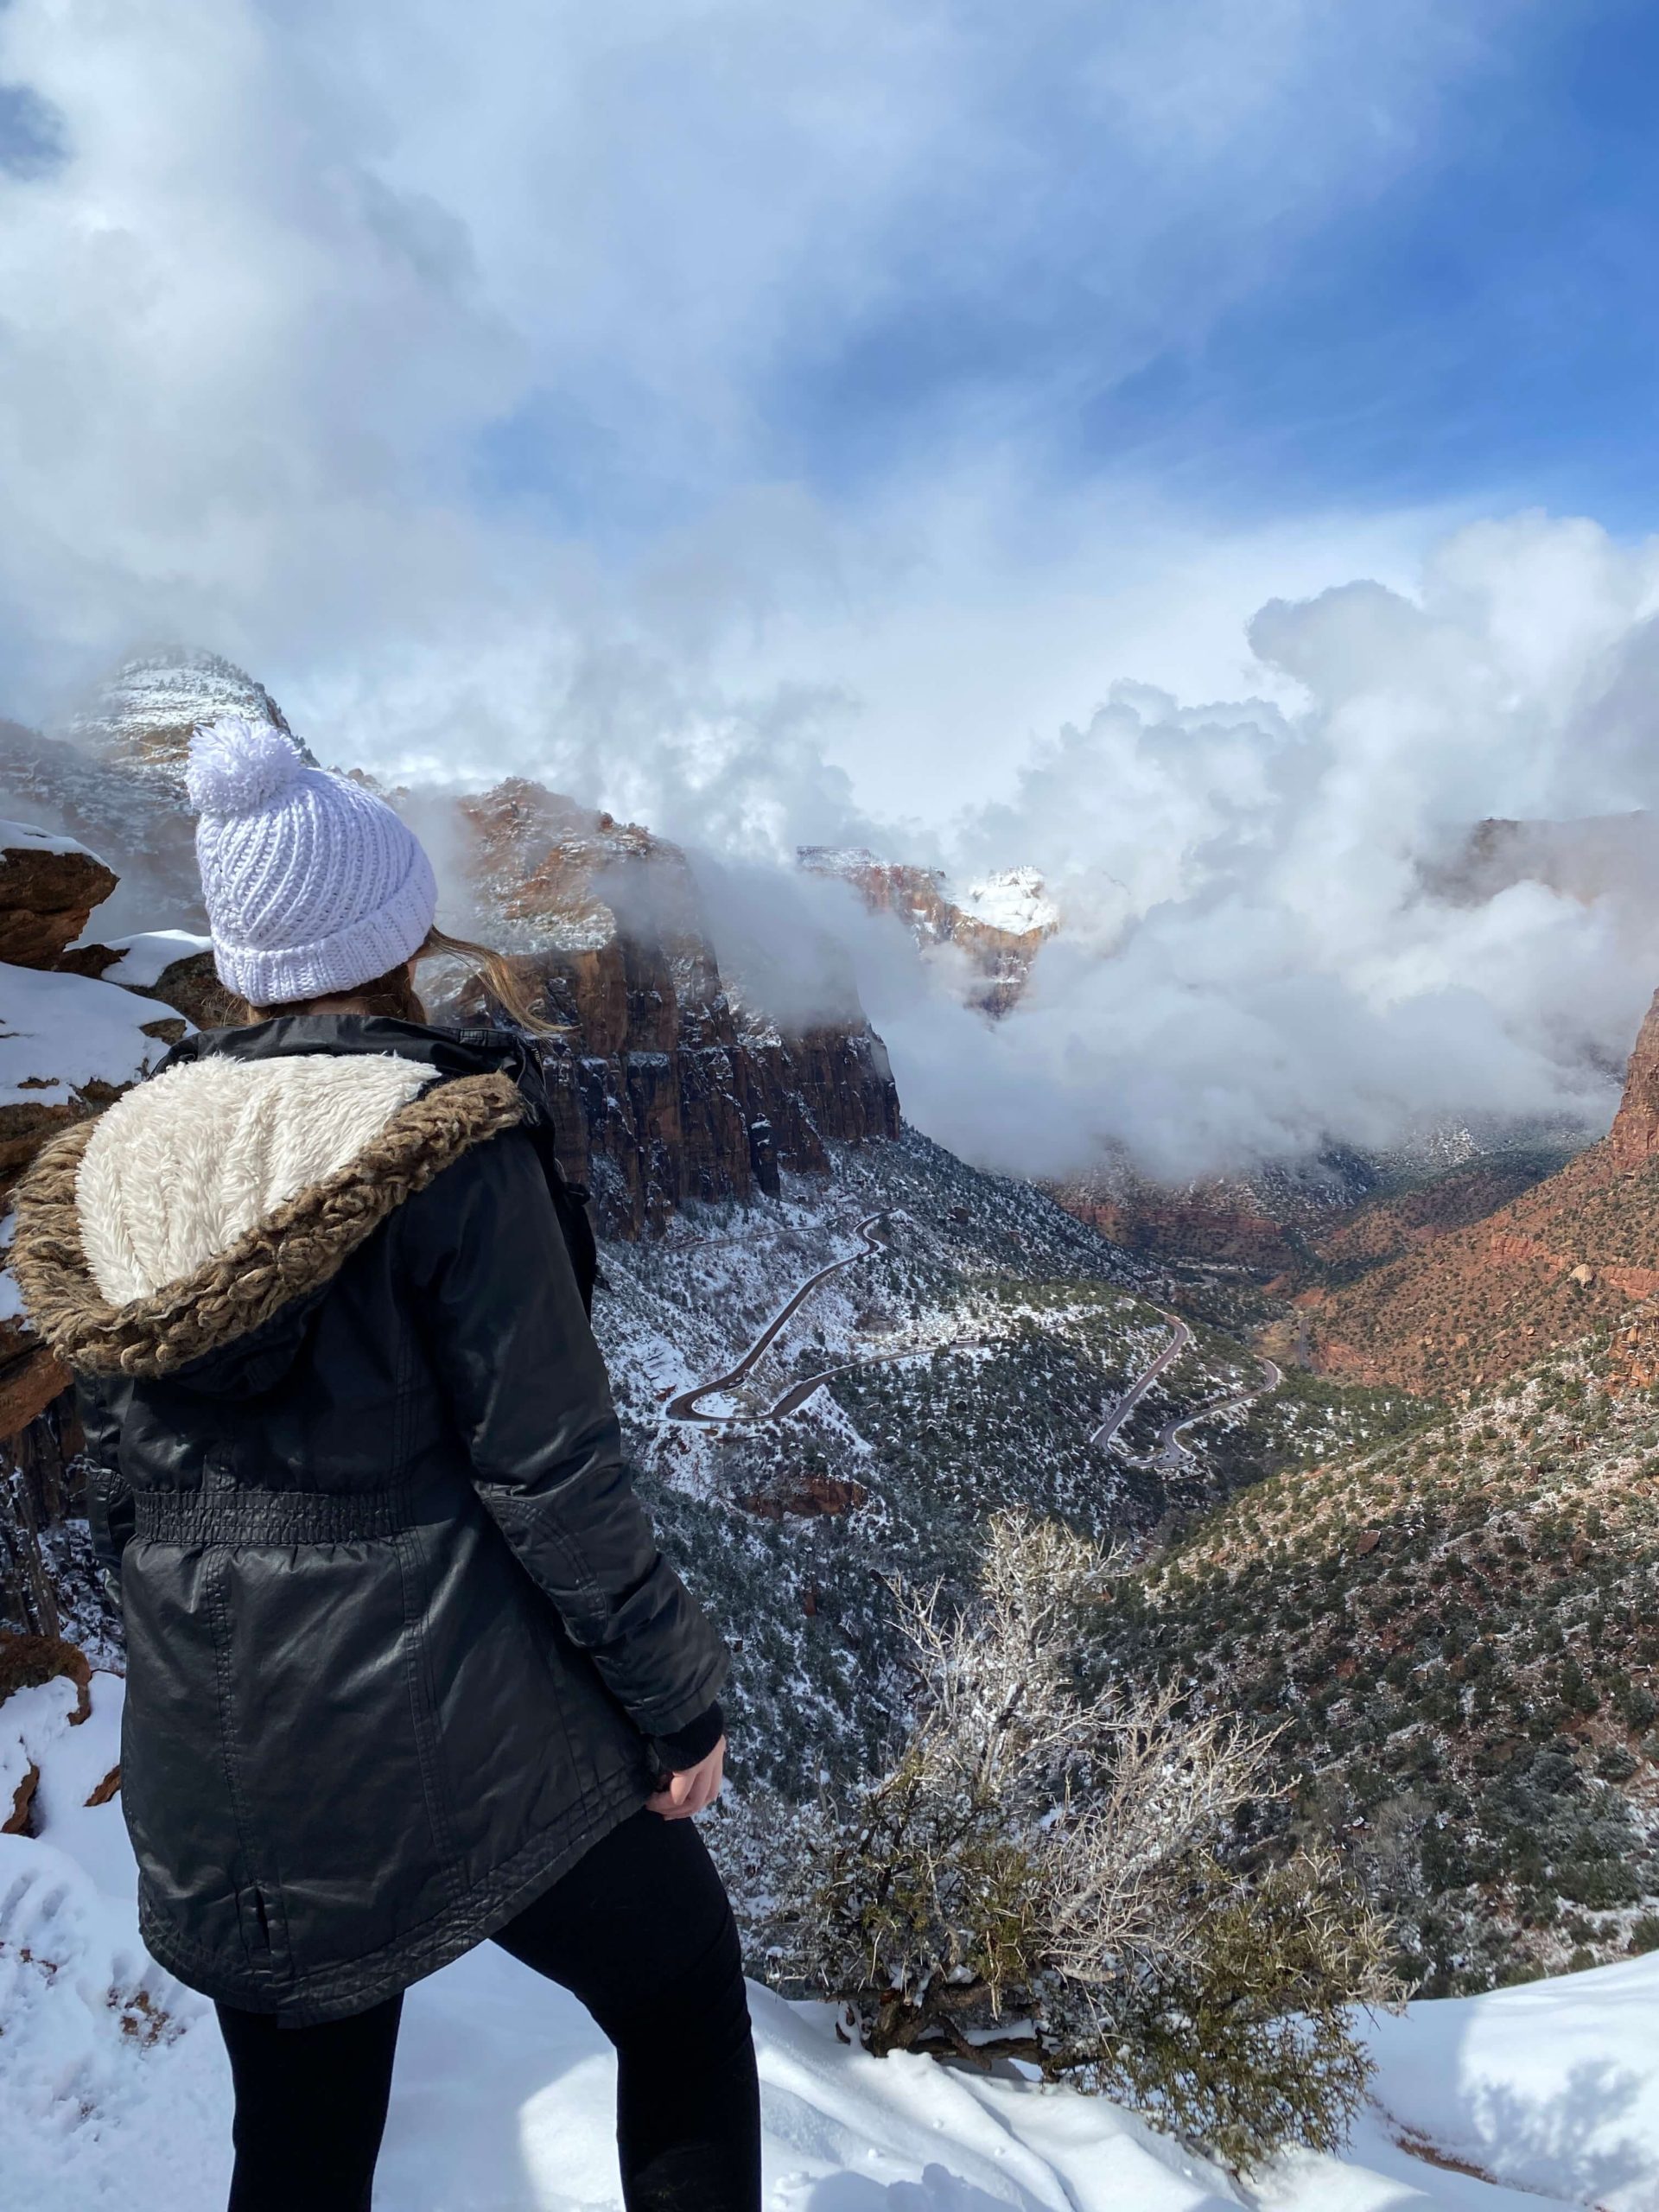
After you hit this overlook, it will only be a few minutes before you reach the end. You will see a platform with some information signs. I love the views here! You can see the Zion Highway wind down the canyon towards the west end of the park. Please be careful here- there are a lot of steep cliffs!
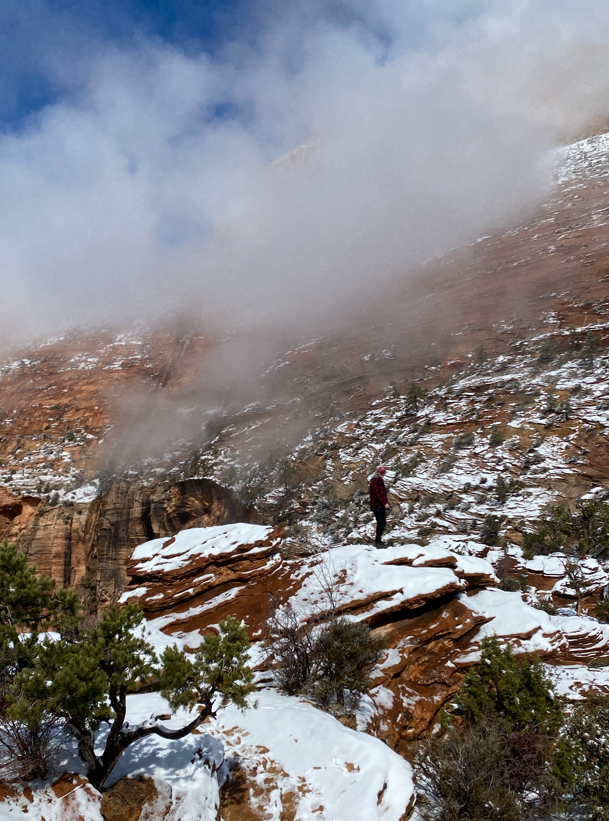
I’ve heard sunrise is absolutely beautiful here. We weren’t able to get there for sunrise, but I loved this crispy winter morning with all of the low-lying clouds.

LUNCH
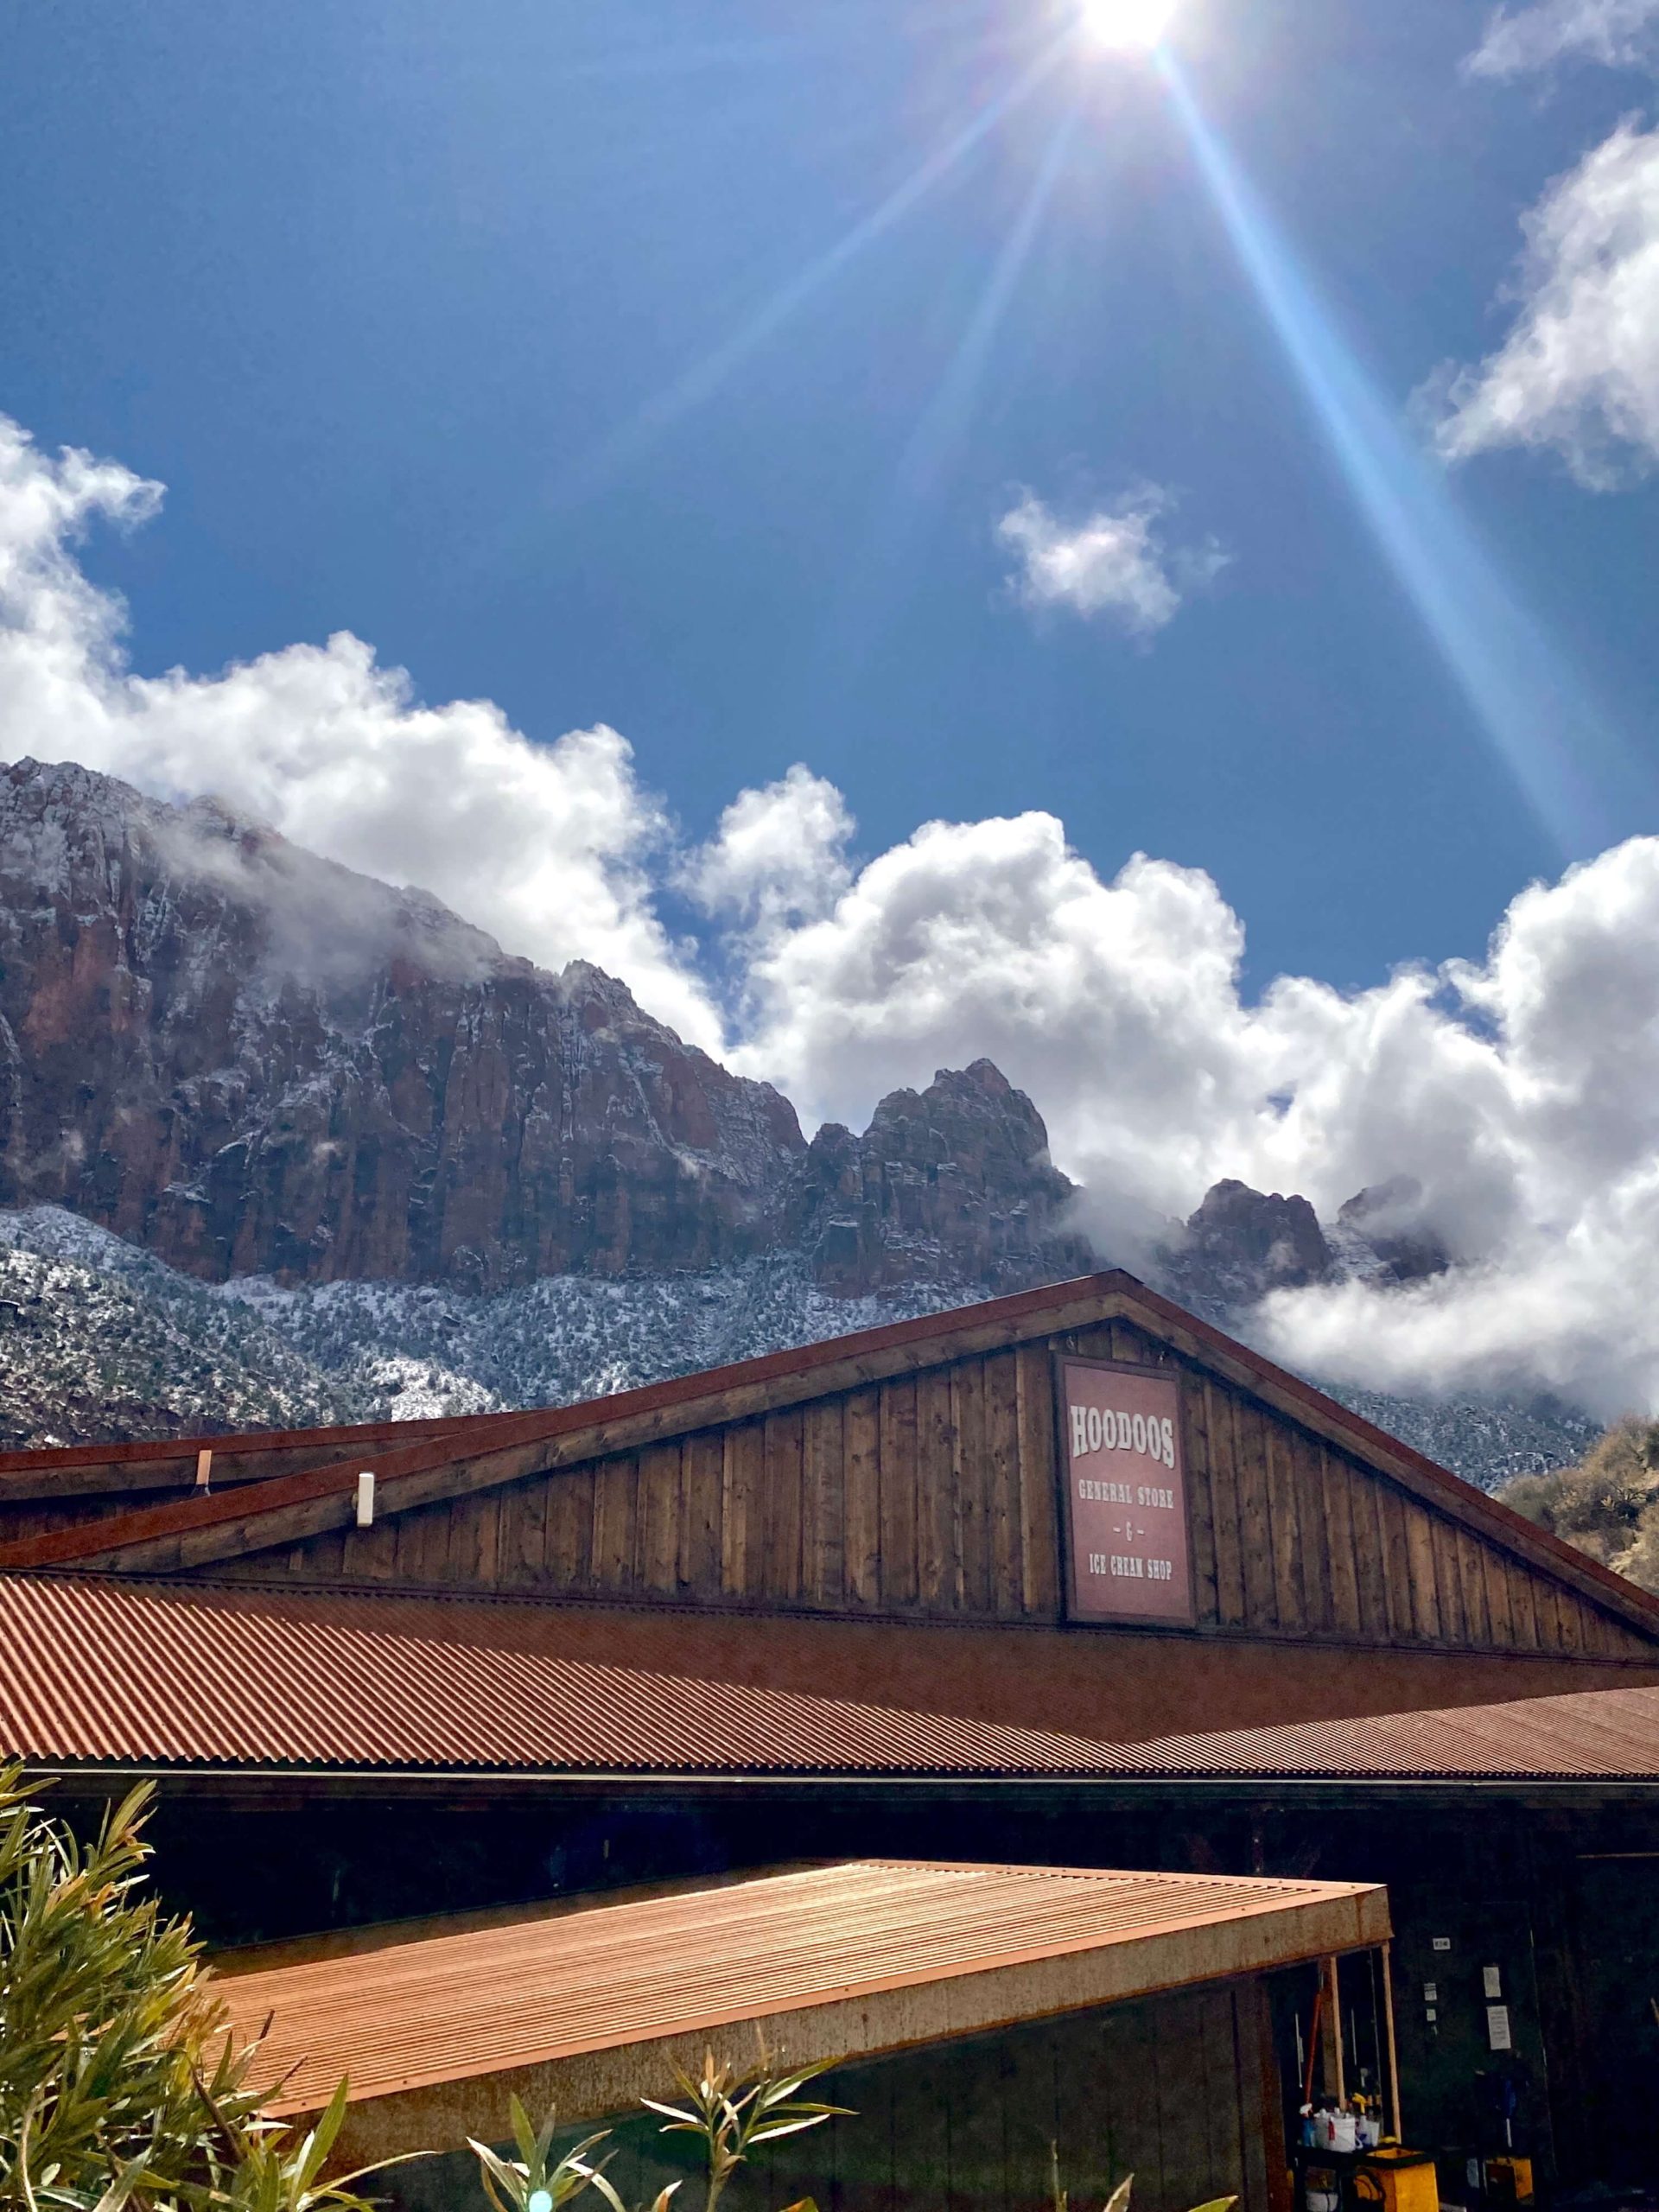
After we did Canyon Overlook, we hopped in our car to the West Entrance near Springdale, UT for our next hike… but first, LUNCH! Springdale really has everything you could ask for, from coffee to pizza joints to sit-down restaurants to general stores. We were looking for something quick and affordable, so we stopped by Hoodoos General Store. They had souvenirs, gas station food, an ice cream shop, and a little cafe. My hubby and I got warm wraps which were perfect before a hike.
Angel’s LANDING
Did you know Angel’s Landing is one of the most dangerous hikes in the United States? Over 13 people have died on this hike since 2000. Despite its danger, this hike tops many people’s bucket lists.
If you choose to do this hike (safely), park at the visitor’s center or in Springdale. PS- Parking can get CRAZY here. We visited Zion National Park in winter and still had to circle the parking lot for 20 minutes before finding a spot. You can’t drive to Angel’s Landing trailhead, so you’ll need to hop on the Zion Canyon Shuttle and get off at The Grotto.
ANGEL’S LANDING HIKE
Location: Zion Canyon, Grotto Stop
Distance: 4.9 mi
Elevation Gain: 1,600 ft
Features: Switchbacks/ Walter’s Wiggles, Scout’s Lookout, Chains
Fee: $35 park fee for 7 days, $80 for Annual Parks Pass
Shuttle Hours: Depending on the season. Click here to learn more. If you shuttle to Angel’s Landing, you need to make sure you’re done hiking by the last shuttle ride
Walking/Biking: If you don’t ride the shuttle (or you want to hike sunrise for example), you’ll need to walk or bike 5 miles from the visitor center to the trailhead.
Time: 3.5 hours+
Your hike will start off pretty tame, crossing the Virgin River and making a gradual incline. After about 20 minutes, you will hit the first set of switchbacks. Make sure to take a breather and snap a few pictures- it’s beautiful here! On our hike, we got some flurries of snow and it made the canyon even more beautiful.
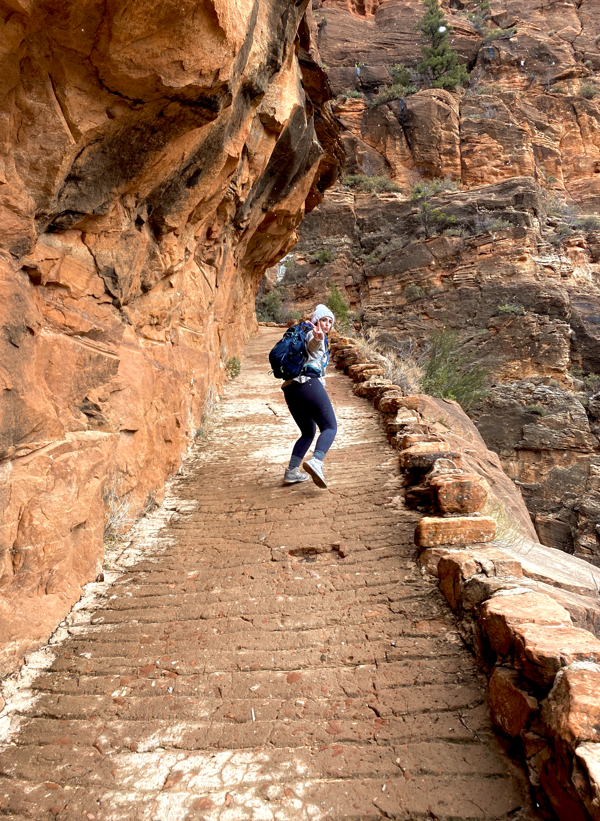
After finishing your first set of switchbacks, you will be rewarded with a flat stretch of trail through a narrow canyon. Don’t rest too much though, up next is the second set of switchbacks, termed ‘Walter’s Wiggles.’ Walter’s Wiggles is a famous set of 21 steep switchbacks going up the canyon wall.
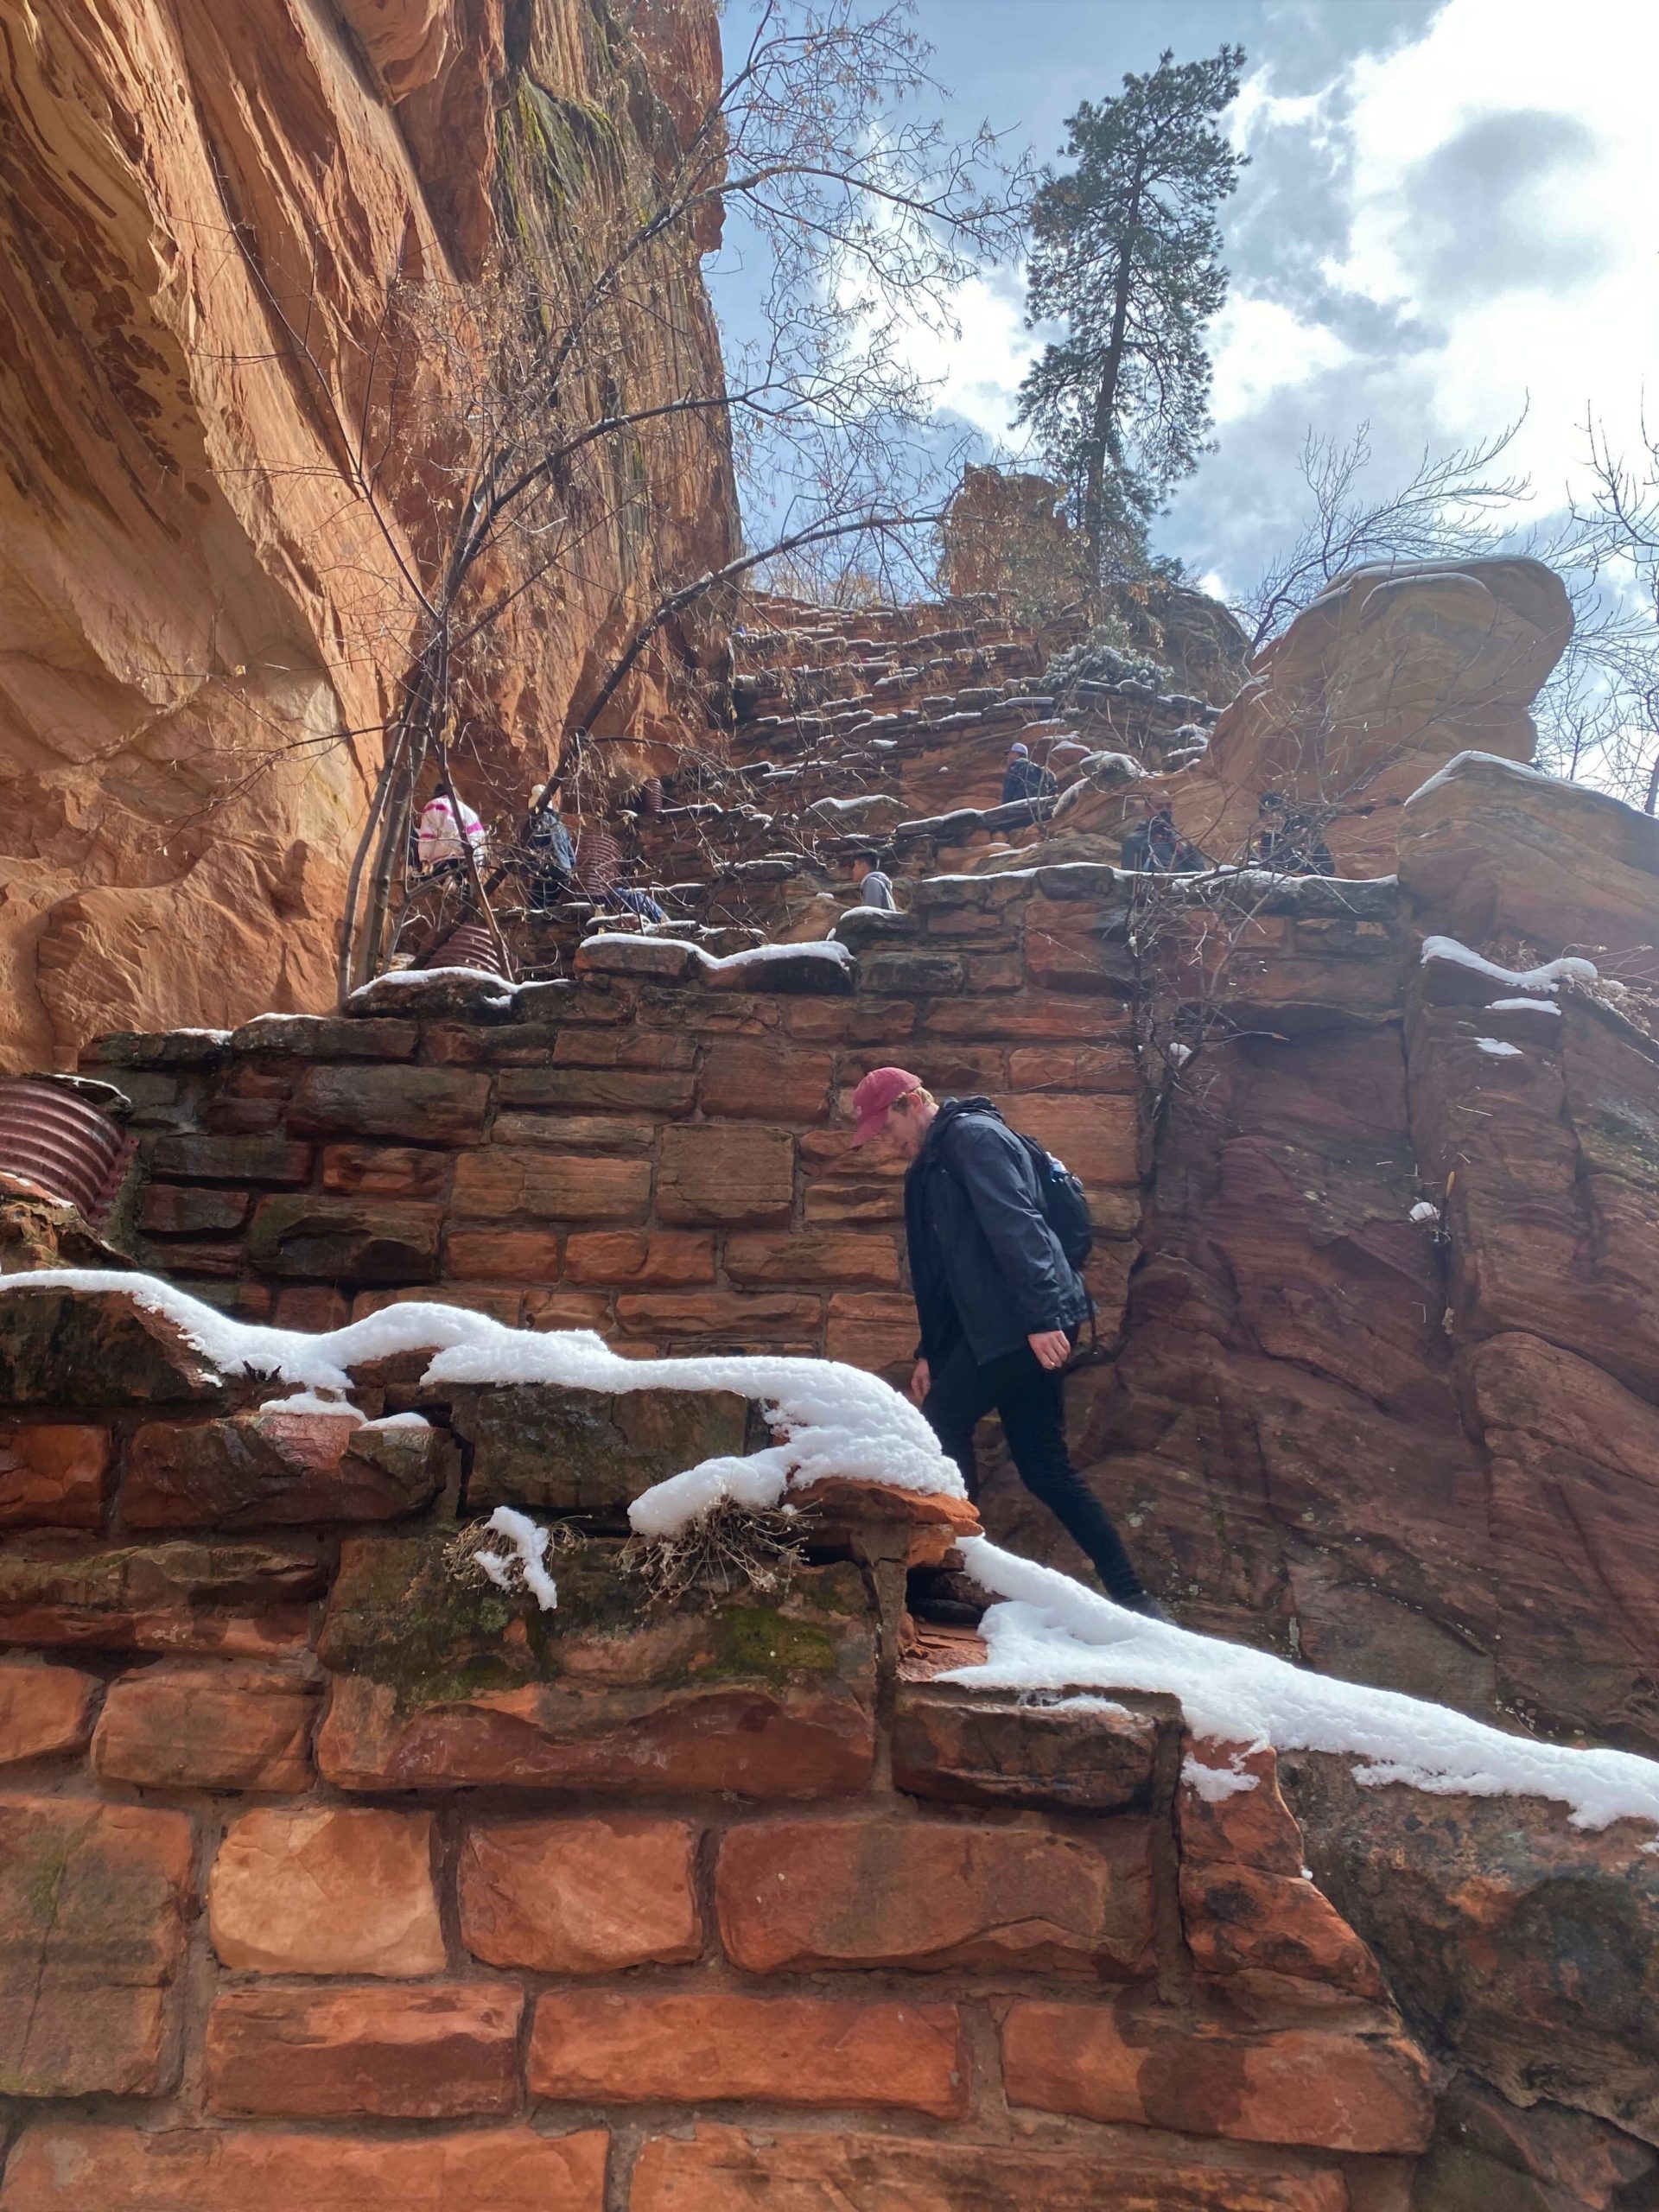
When you get up Walter’s Wiggles, you will notice the sign below. this is Scout’s Lookout. From here, you will look up to the stunning incline of Angel’s Landing. We stopped to take some pictures and have a snack here. If you’re not an experienced hiker or you’re afraid of heights, I suggest stopping here. In busy months, there can be a line to start up the chains section.

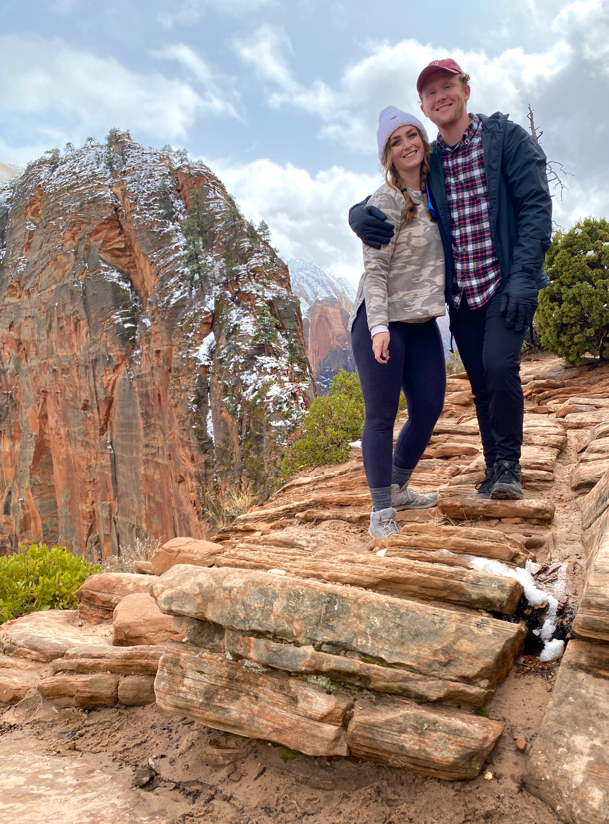
To get pictures of ourselves, we use this Bluetooth iPhone Tripod. It’s small and compact for carrying and it bends to wrap around tree branches or whatever you want!
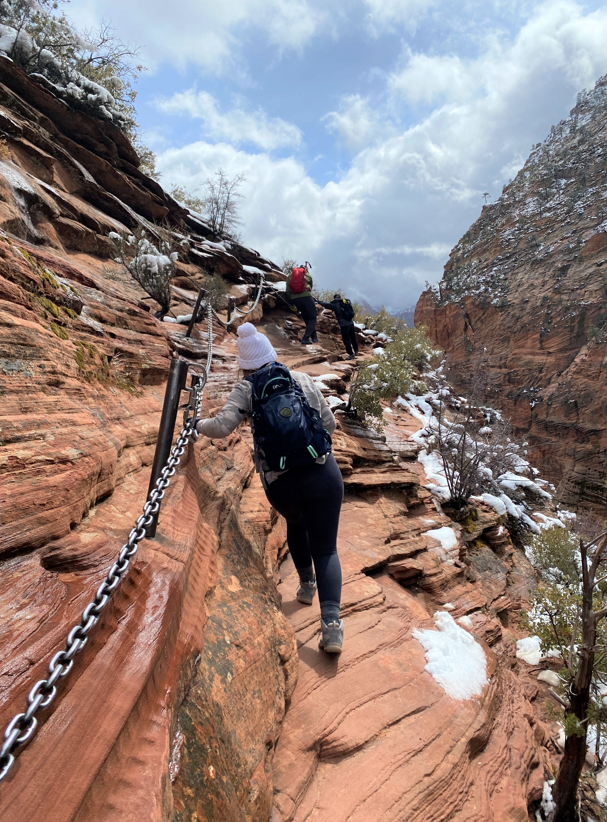
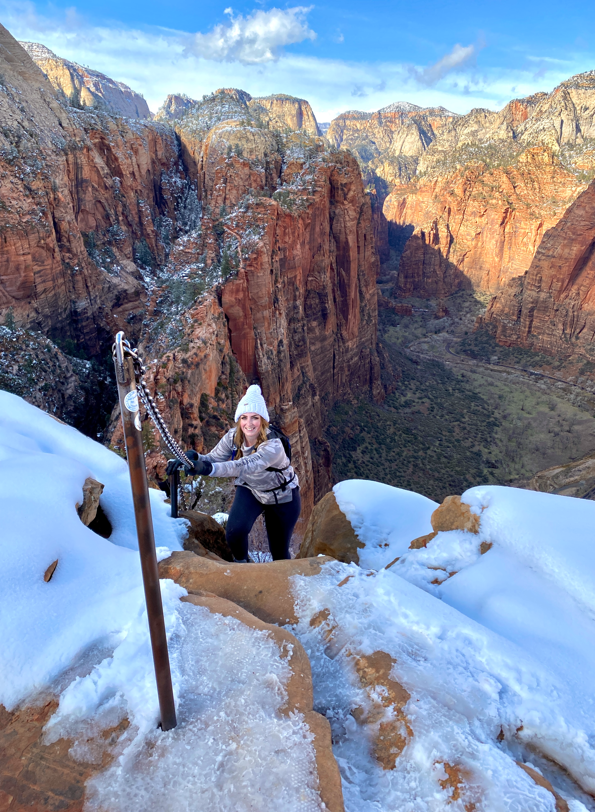
Time for the chains section! The nice part about winter is it’s less busy. In the summer, you might wait a while to get up the chains- and to pass people on the way up! In the winter, you ABSOLUTELY need gloves to grab chains and crampons in the snow (I didn’t have these, but I should have!) This section of the hike climbs over 500ft in 0.5 miles.
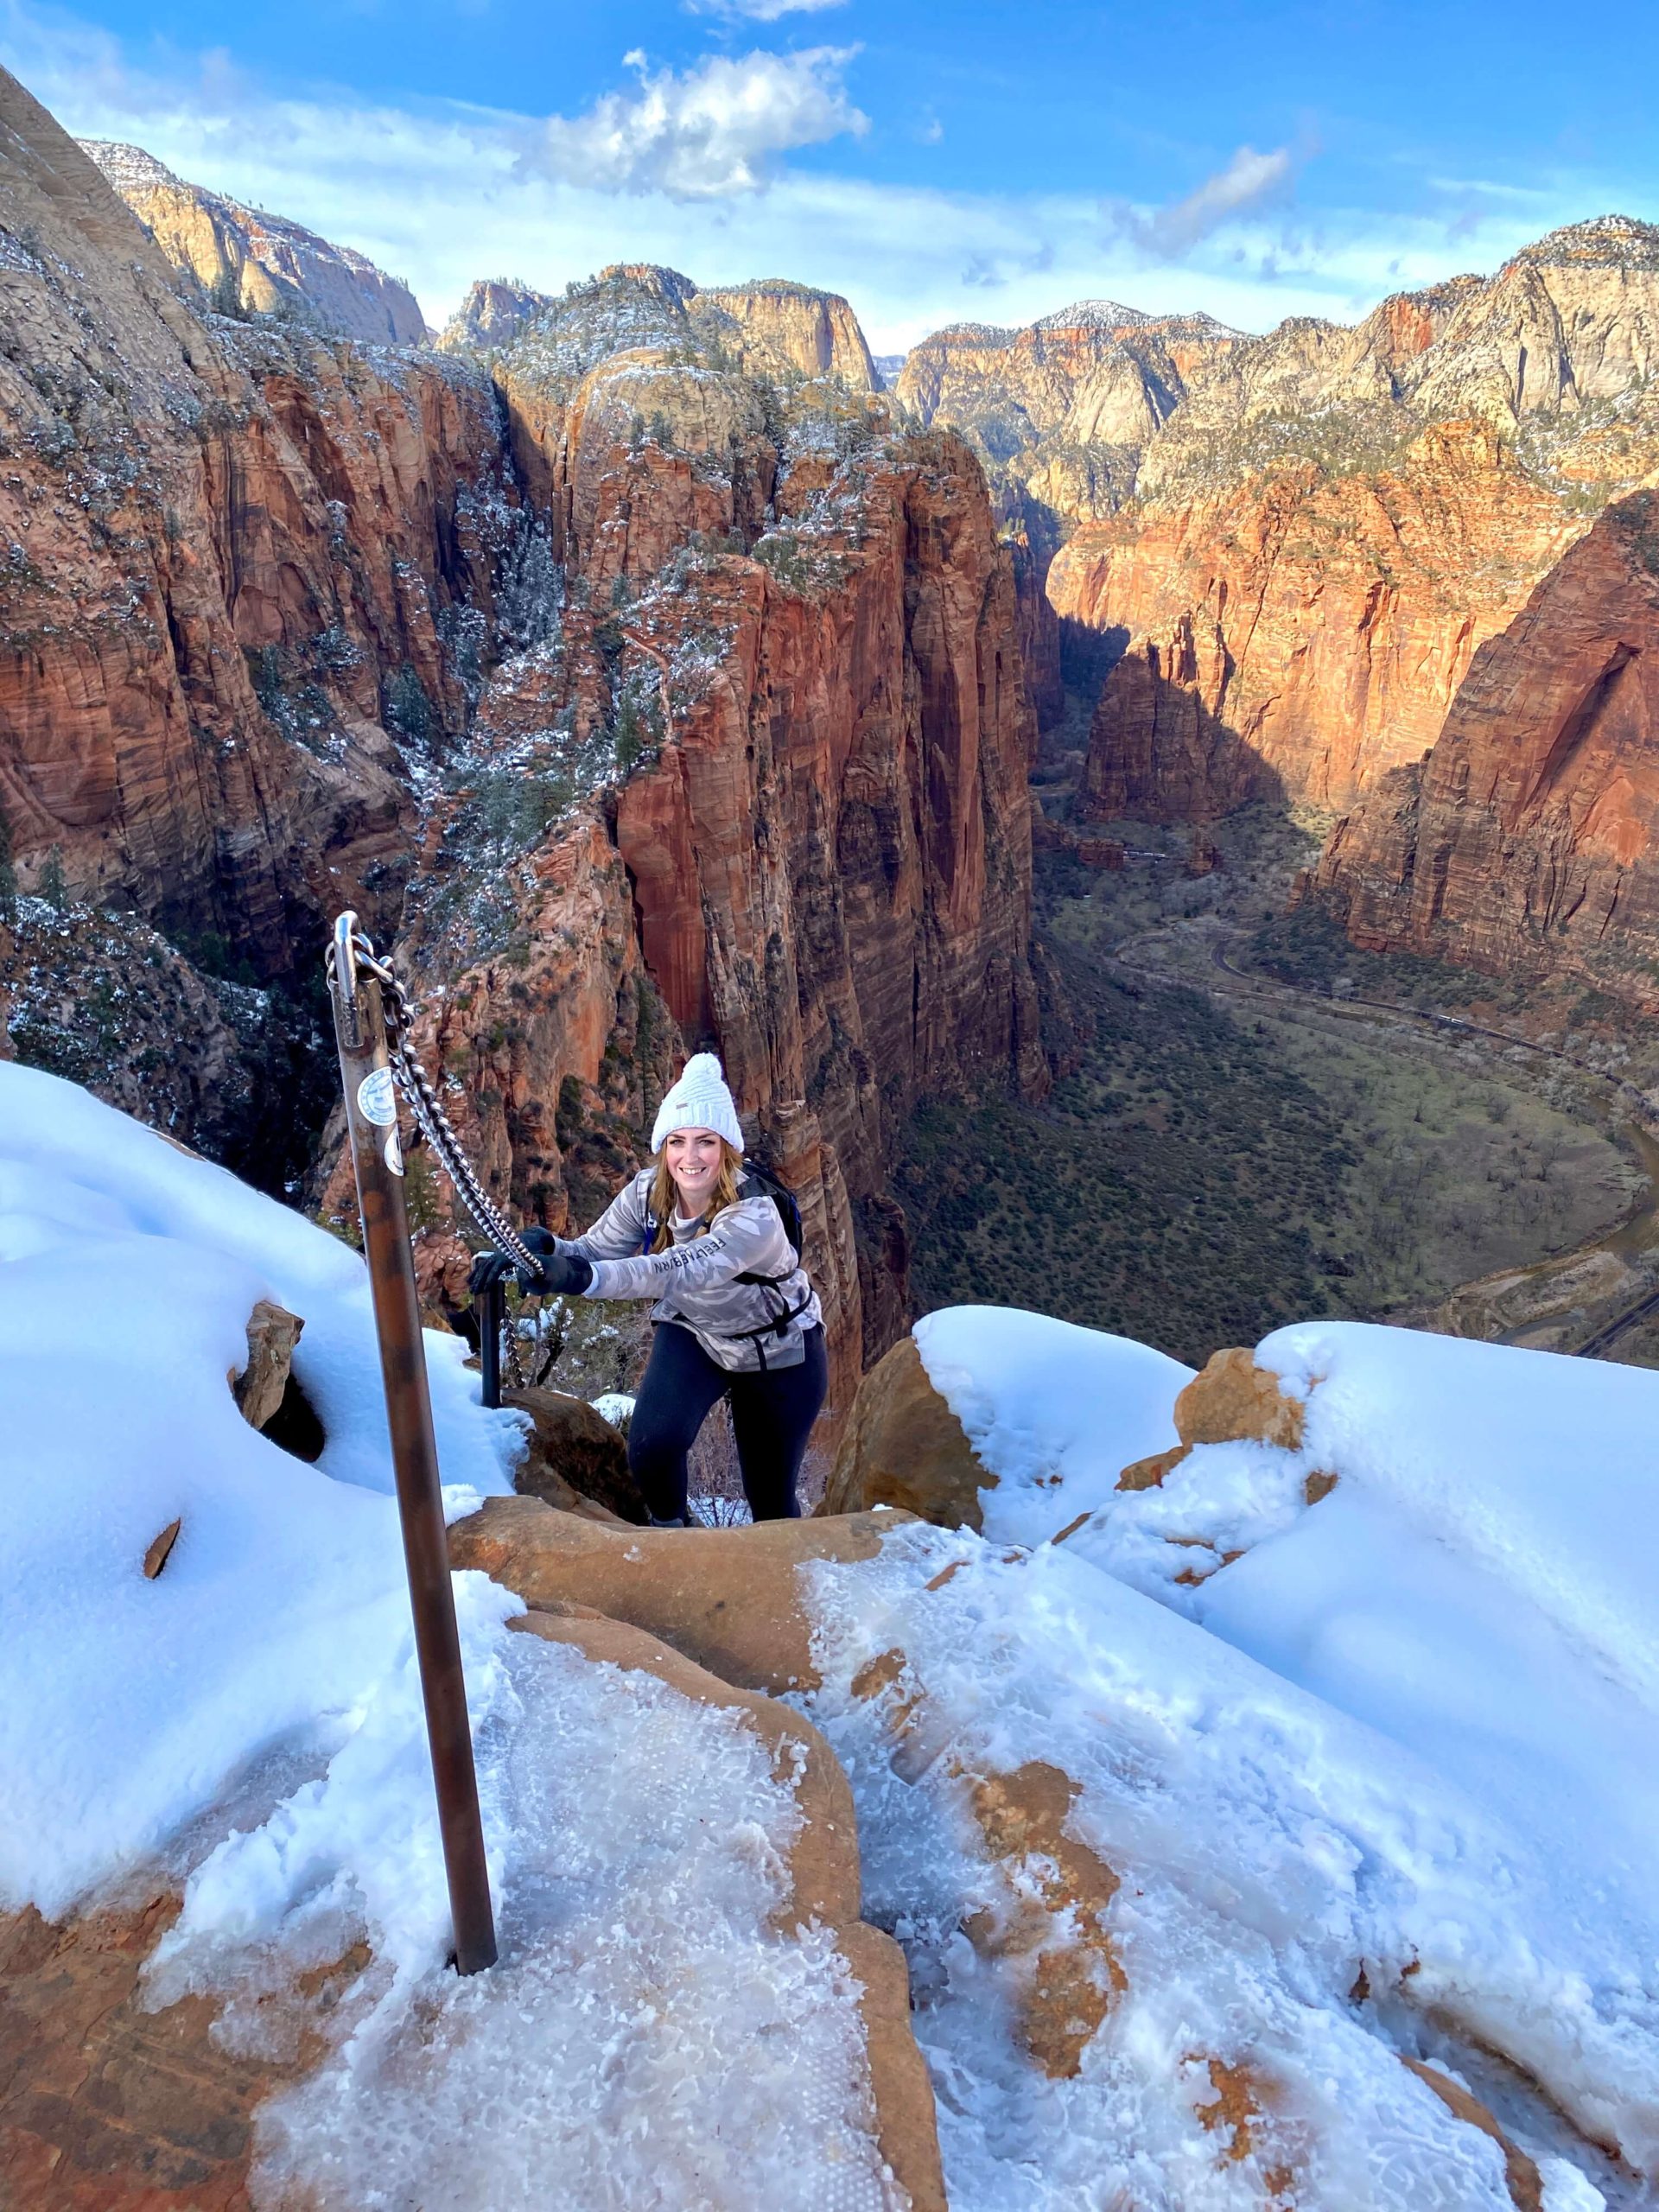


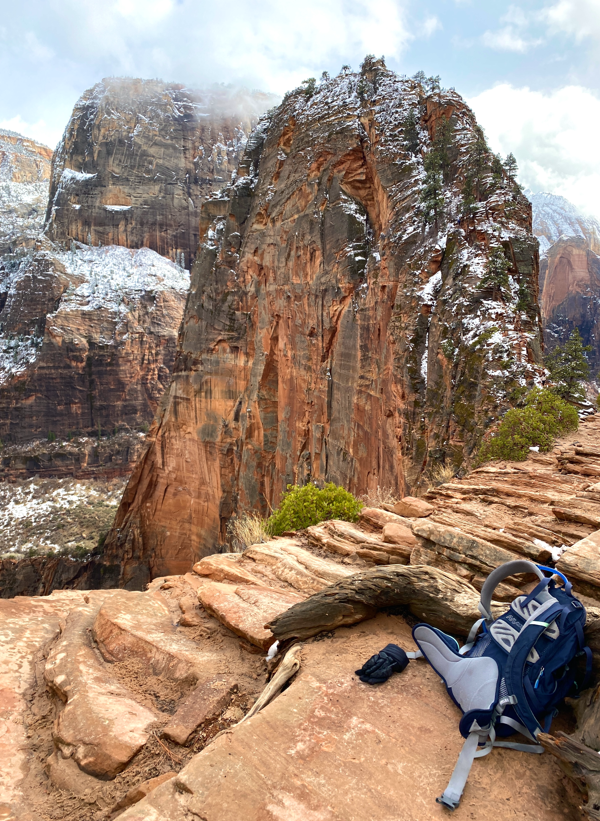
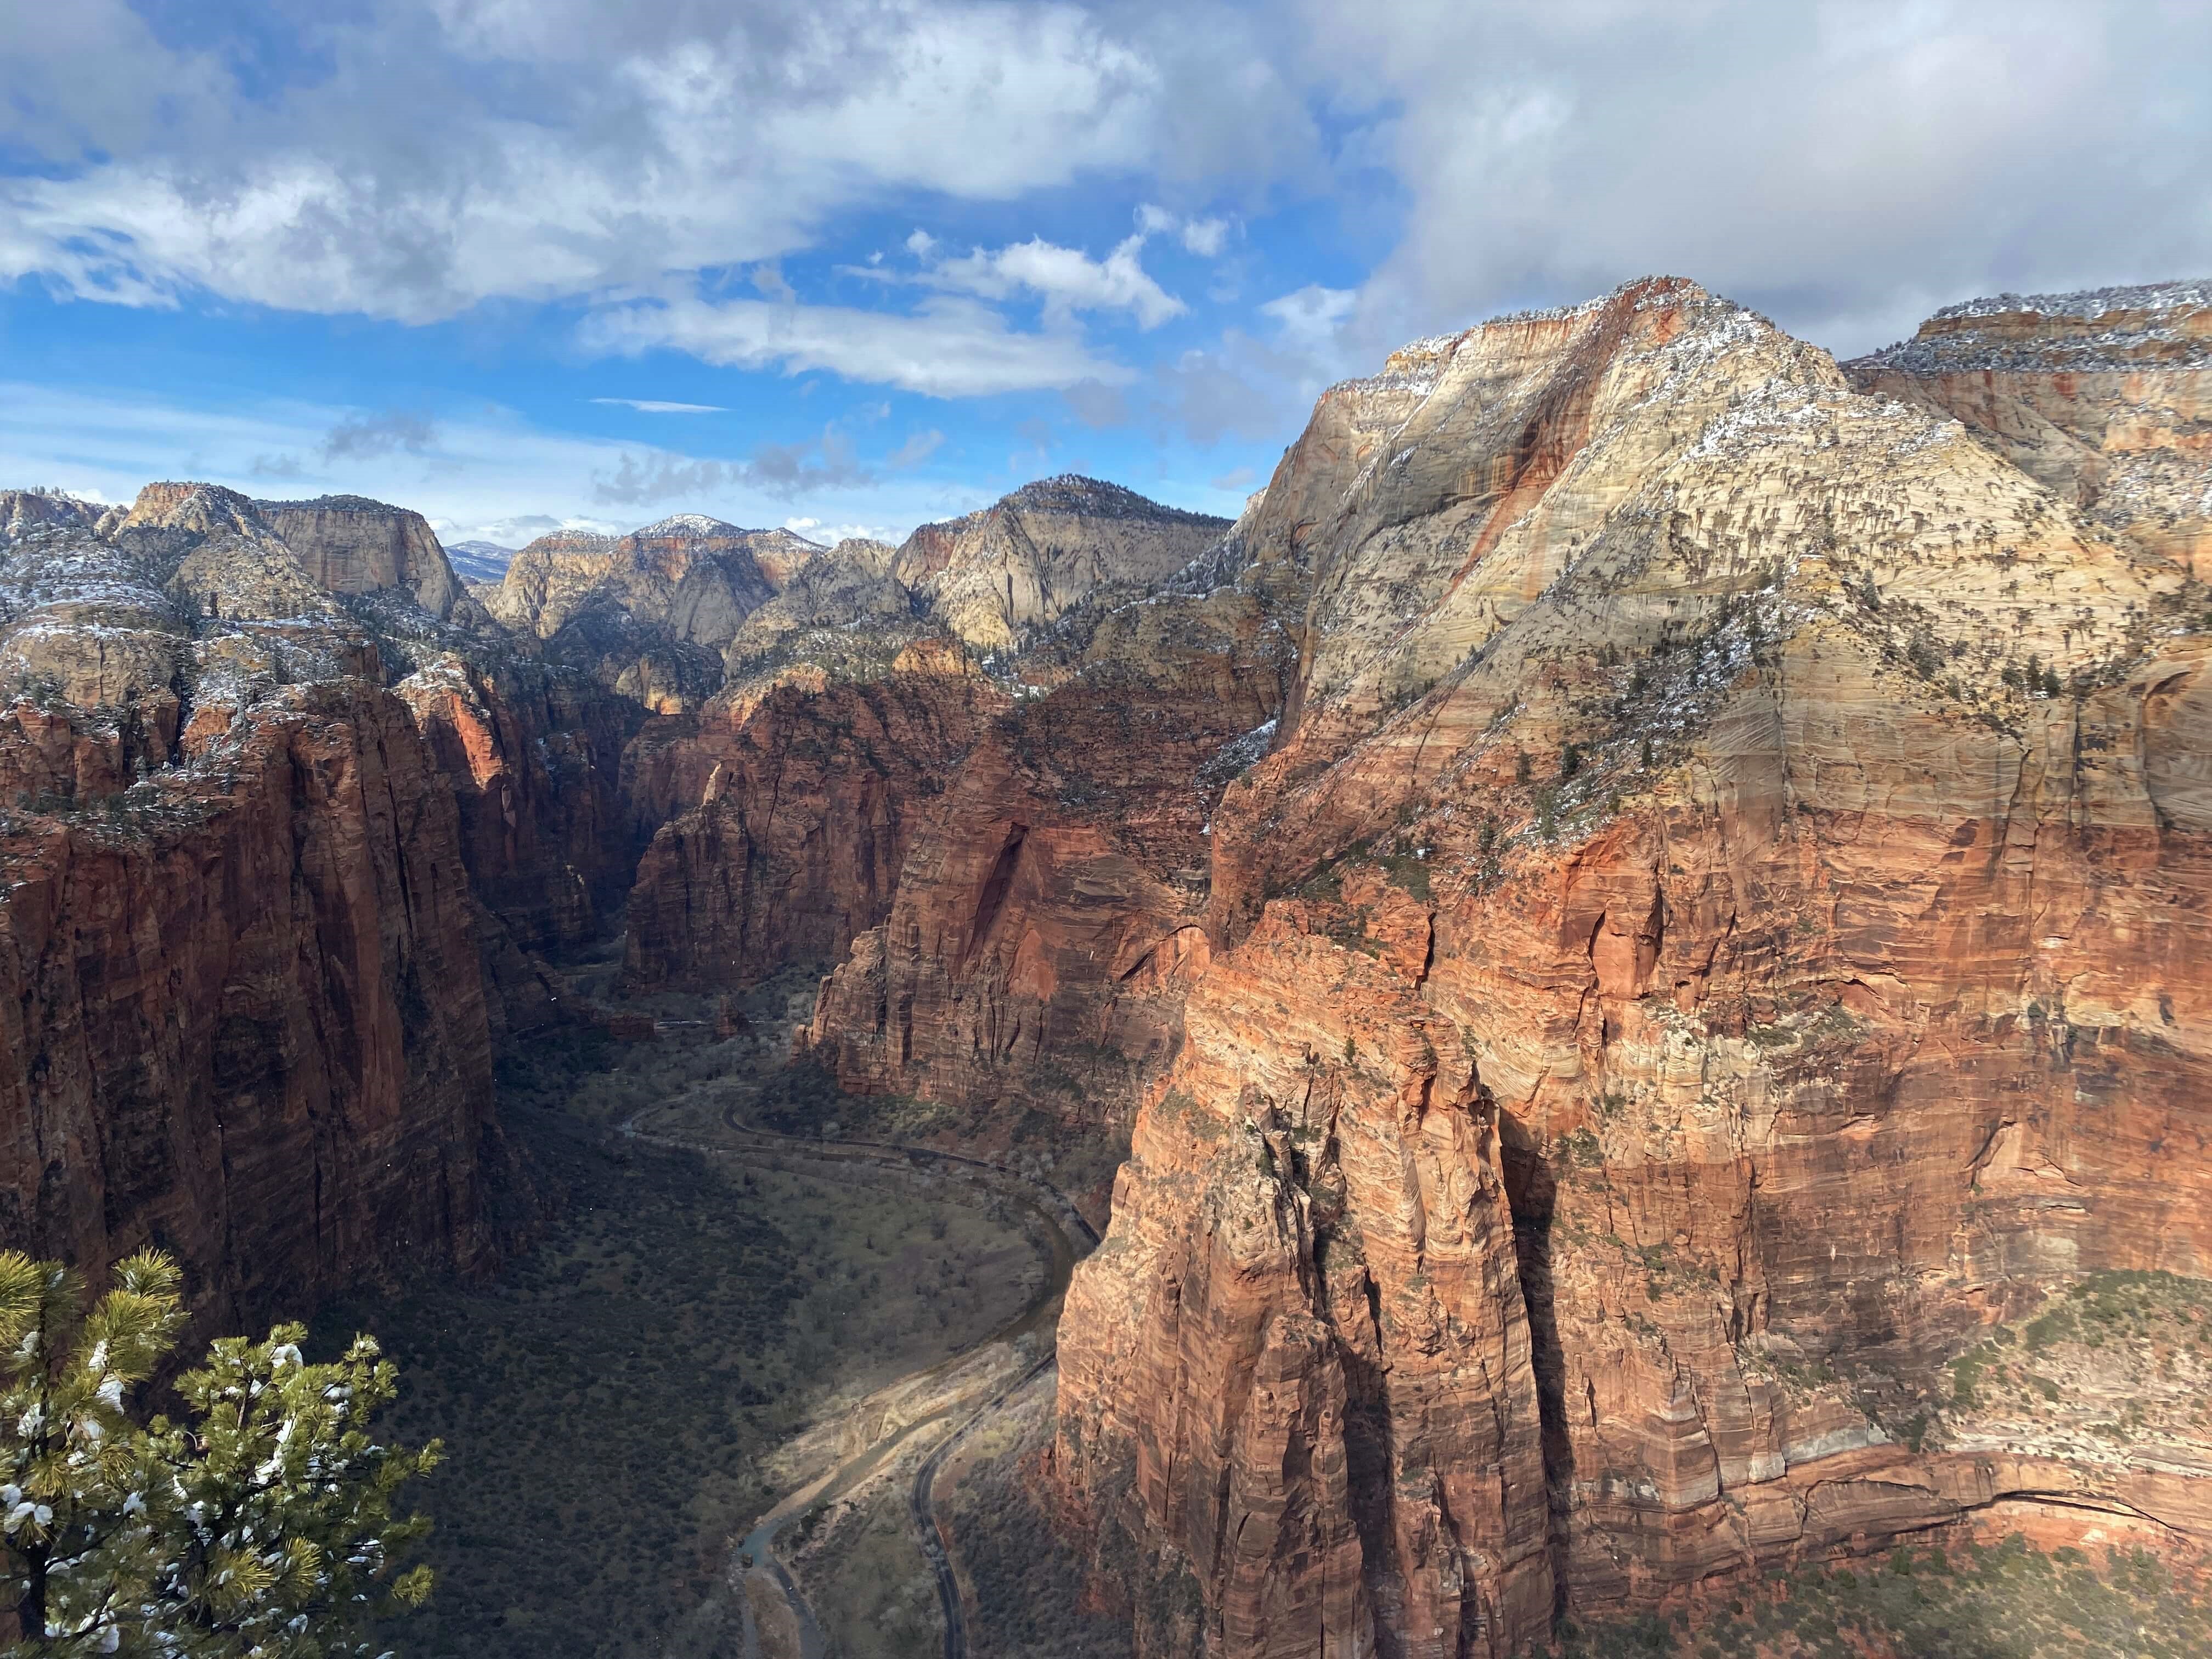
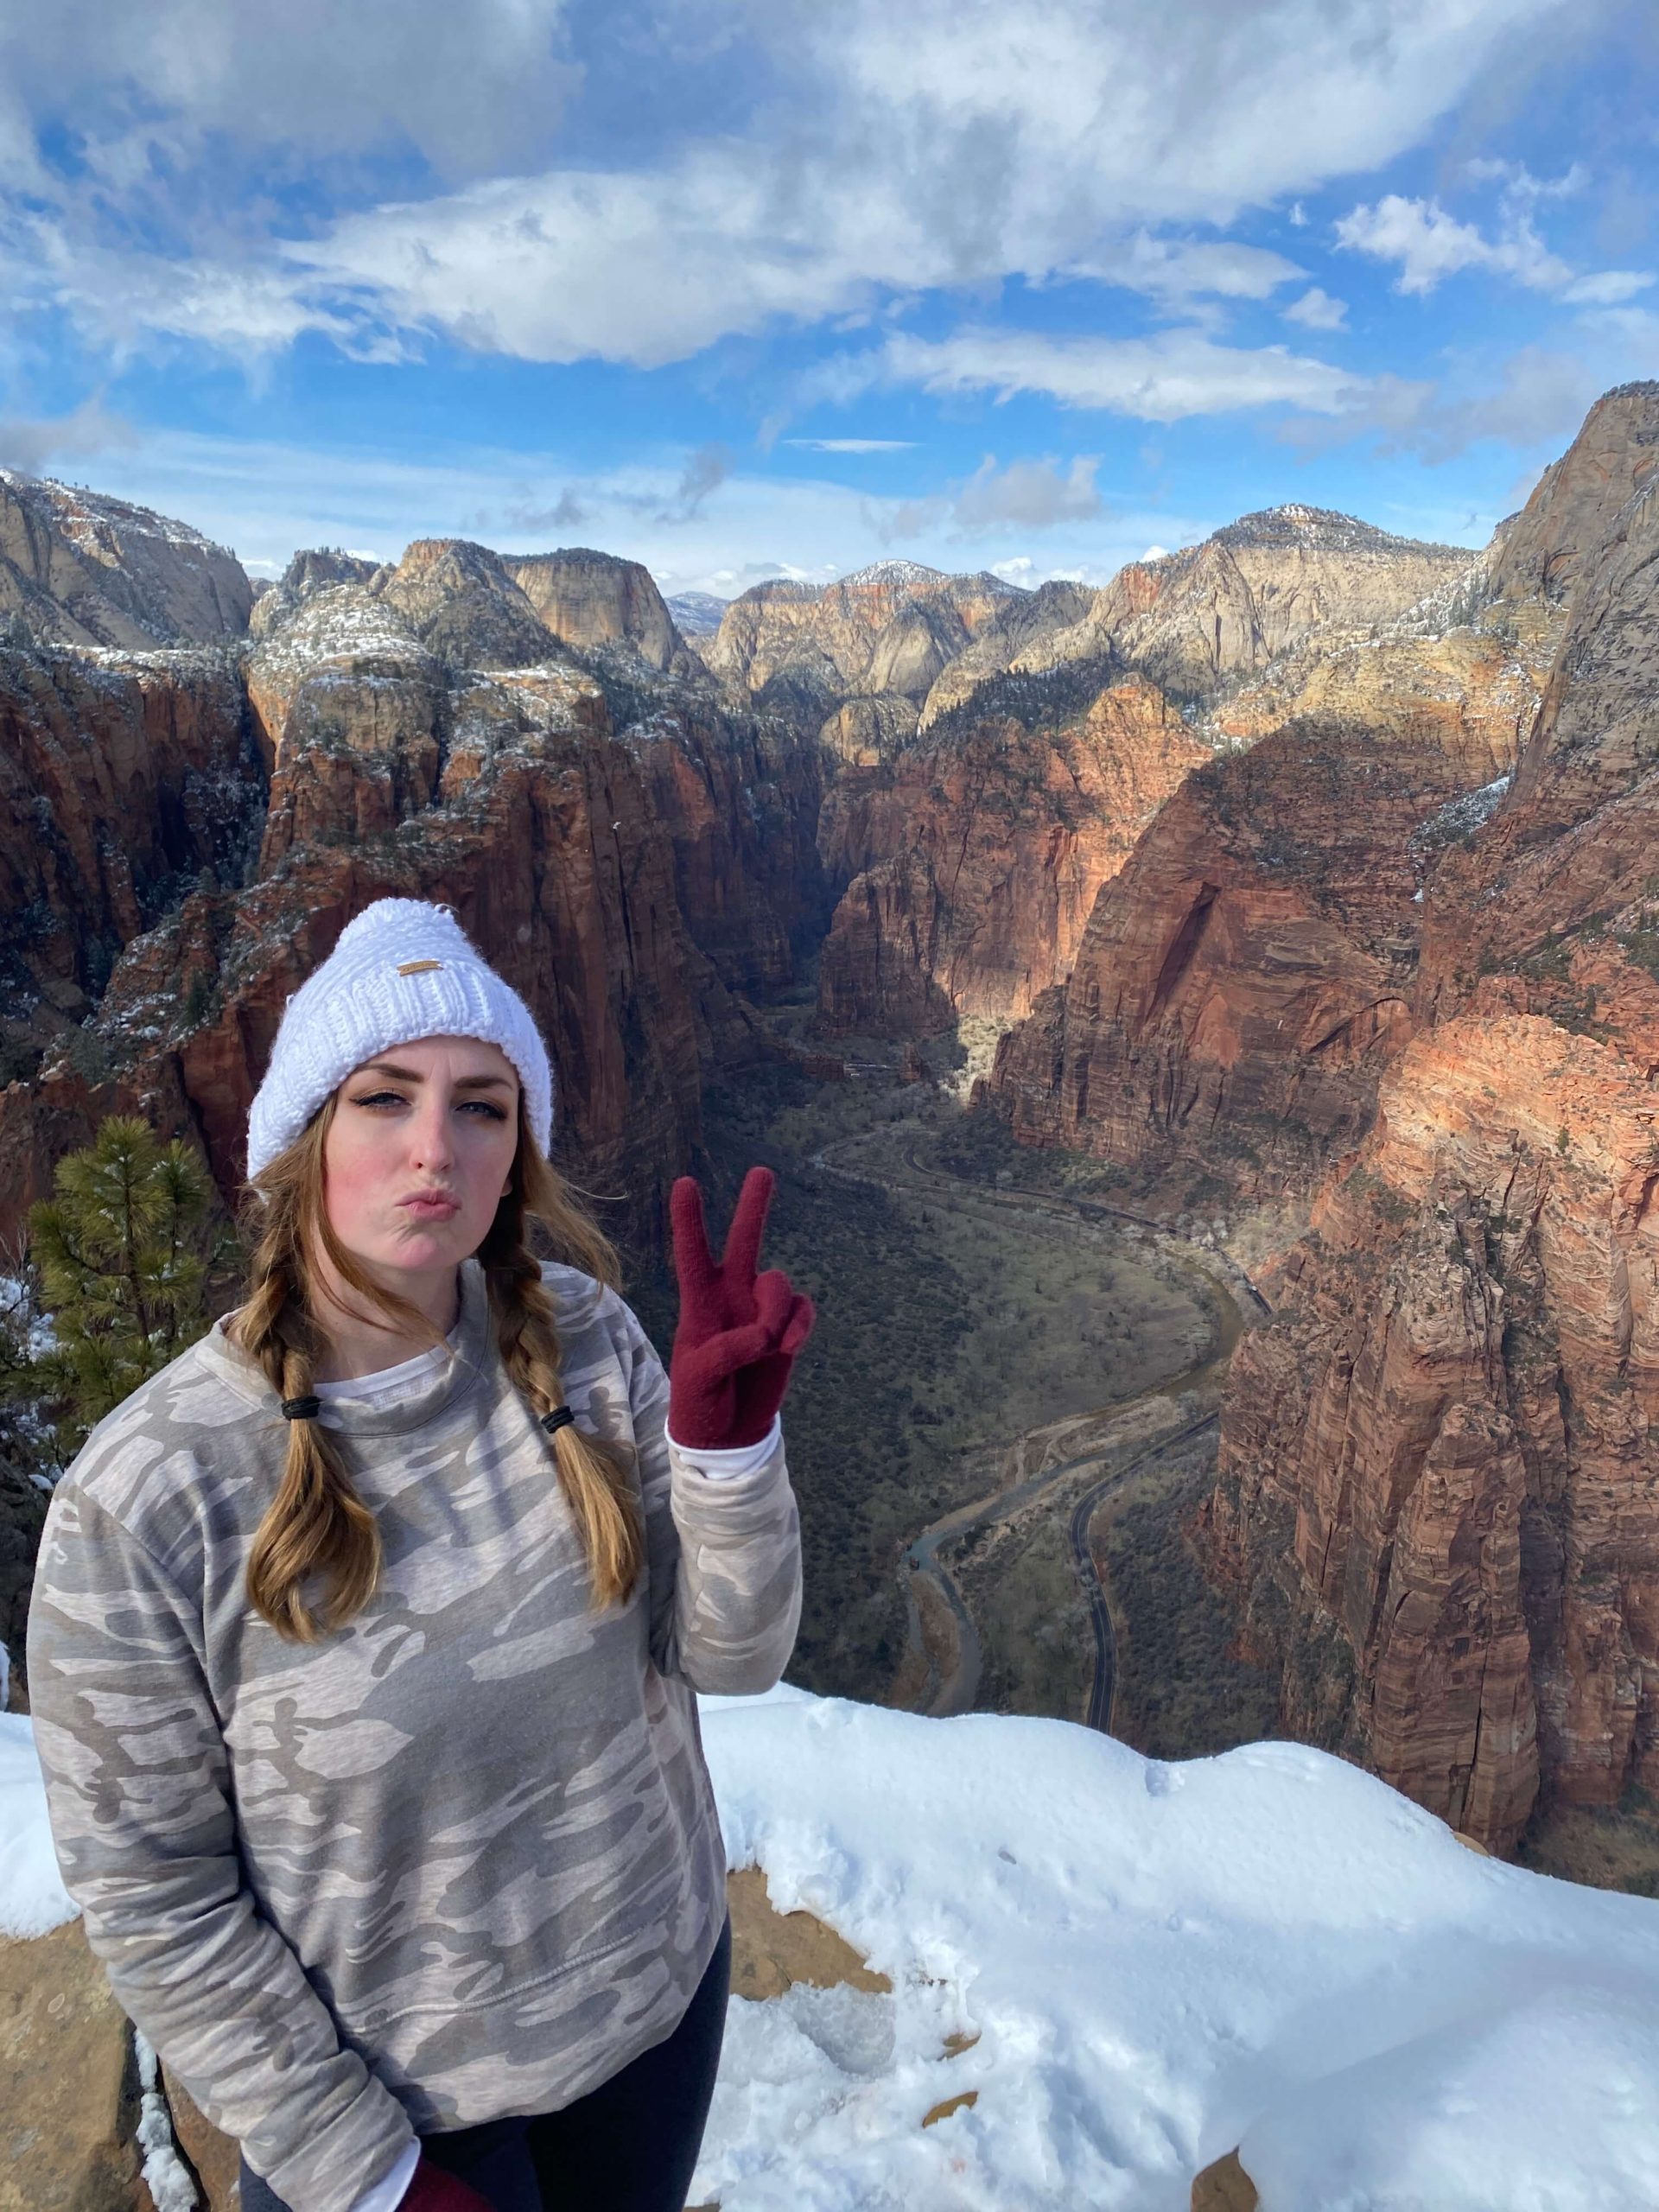
After a hard half a mile, you will finally reach the top! Take time to relax and take in the views. It’s crazy how small the Zion Shuttle looks from thousands of feet up in the air. As always, be careful up here!
On the way back down, make sure to keep close to the chains. It took us 3 1/2 hours to complete this hike with about 30 minutes at the top. We started around 1 pm to be able to be back at the Visitor’s Center by 5 pm. This hike is one of my top 10 favorites of all time. It is a must-do at Zion National Park in Winter.
DINNER
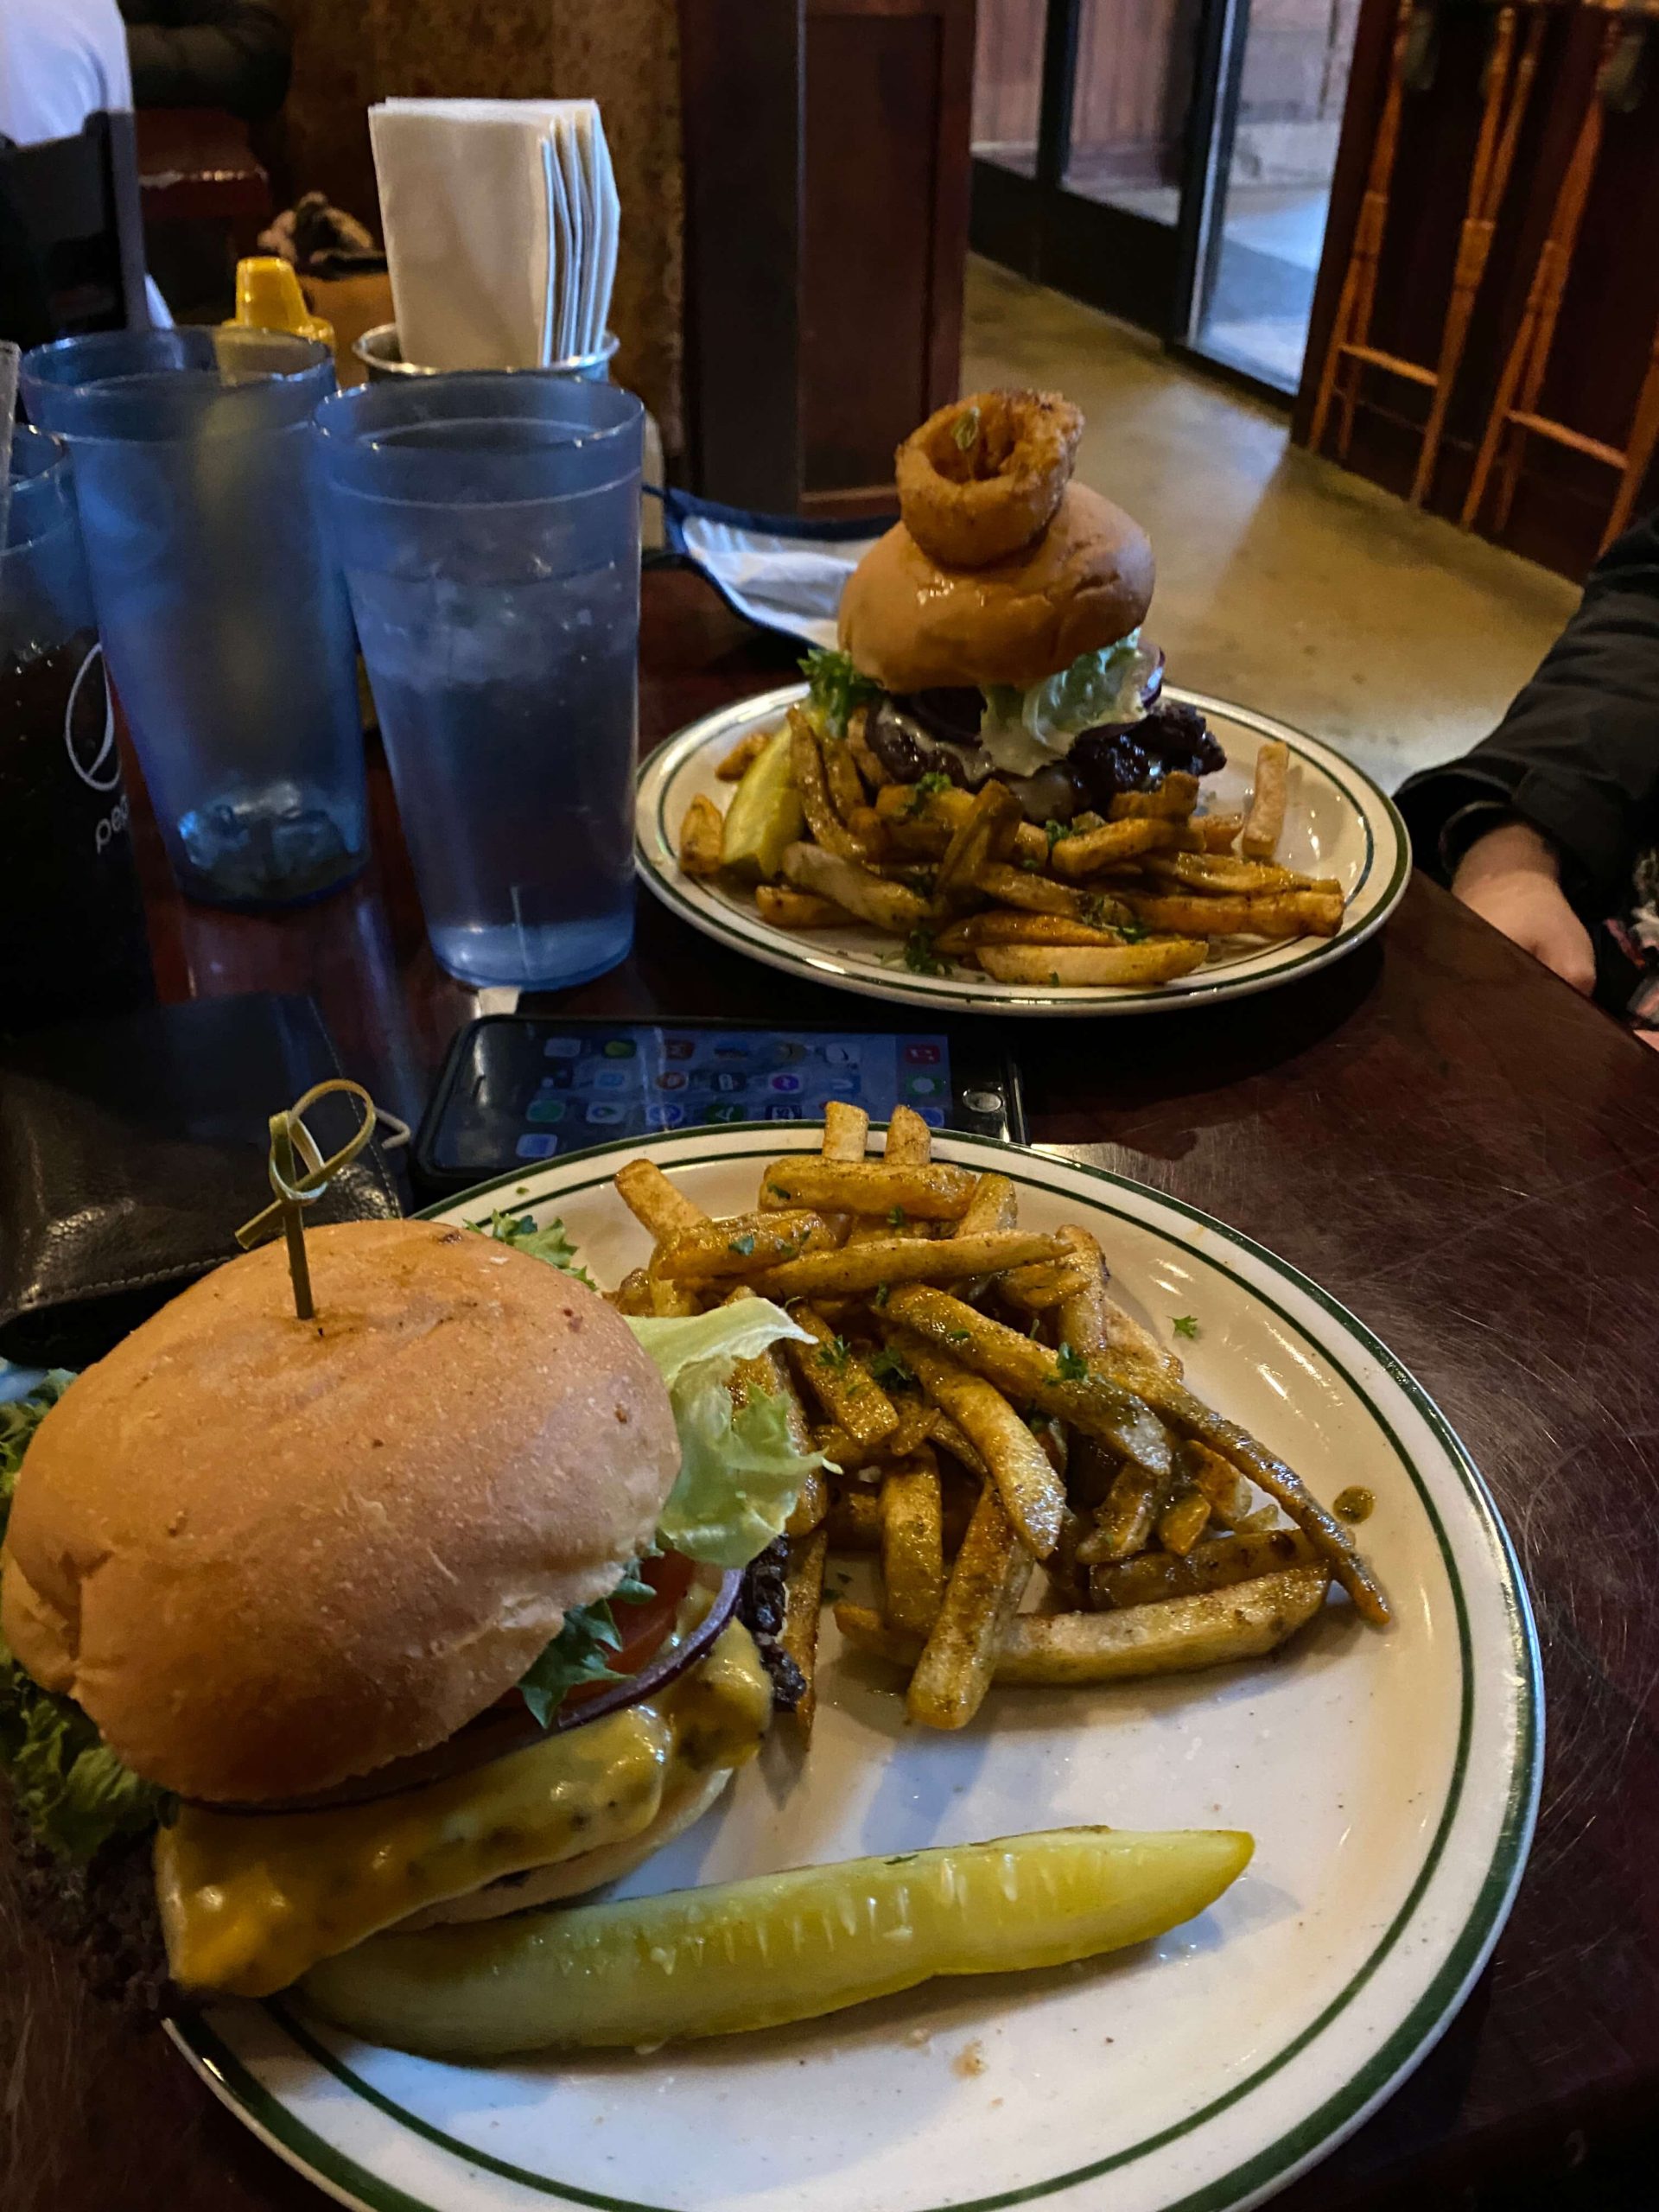
After our long hike, we decided to grab a big-calorie meal before heading back to Kanab. Even in the winter, Springdale can be PACKED around mealtime. We tried to go to a pizza pub down the road, and the wait was 2+ hours. We ended up back at Zion Canyon Brew Pub literally right outside the entrance, and it was delicious. They have indoor and outdoor seating, and there are other fun shops in the same parking lot. It was a perfect end to a day in Zion National Park in Winter.
SUMMARY
- Zion National Park is much less crowded in Winter
- Make sure to bring warm clothes and proper gear
- Know the shuttle schedule ahead of time to plan your hikes
- Hotel options in Springdale (west) or Kanab (east)
- Hike Angel’s Landing and Canyon Overlook Trail
